

Table of contents
- What is Auto-Suggestion?
- Advantages of Auto-Suggestions
- Challenges of Handling Auto-Suggestions in Selenium
- Best Practices for Handling Auto-Suggestions in Selenium
- Demonstration: Handling Auto-Suggestions in Selenium Java
- Project Setup
- Handling Auto-Suggestions in Selenium using the auto-suggestion list
- Handling Auto-Suggestions in Selenium using sendKeys()
- Handling Auto-Suggestions in Selenium using web-scraping: Google
- Bonus: Handling Auto-Suggestions in Selenium using web-scraping: Amazon
- Conclusion
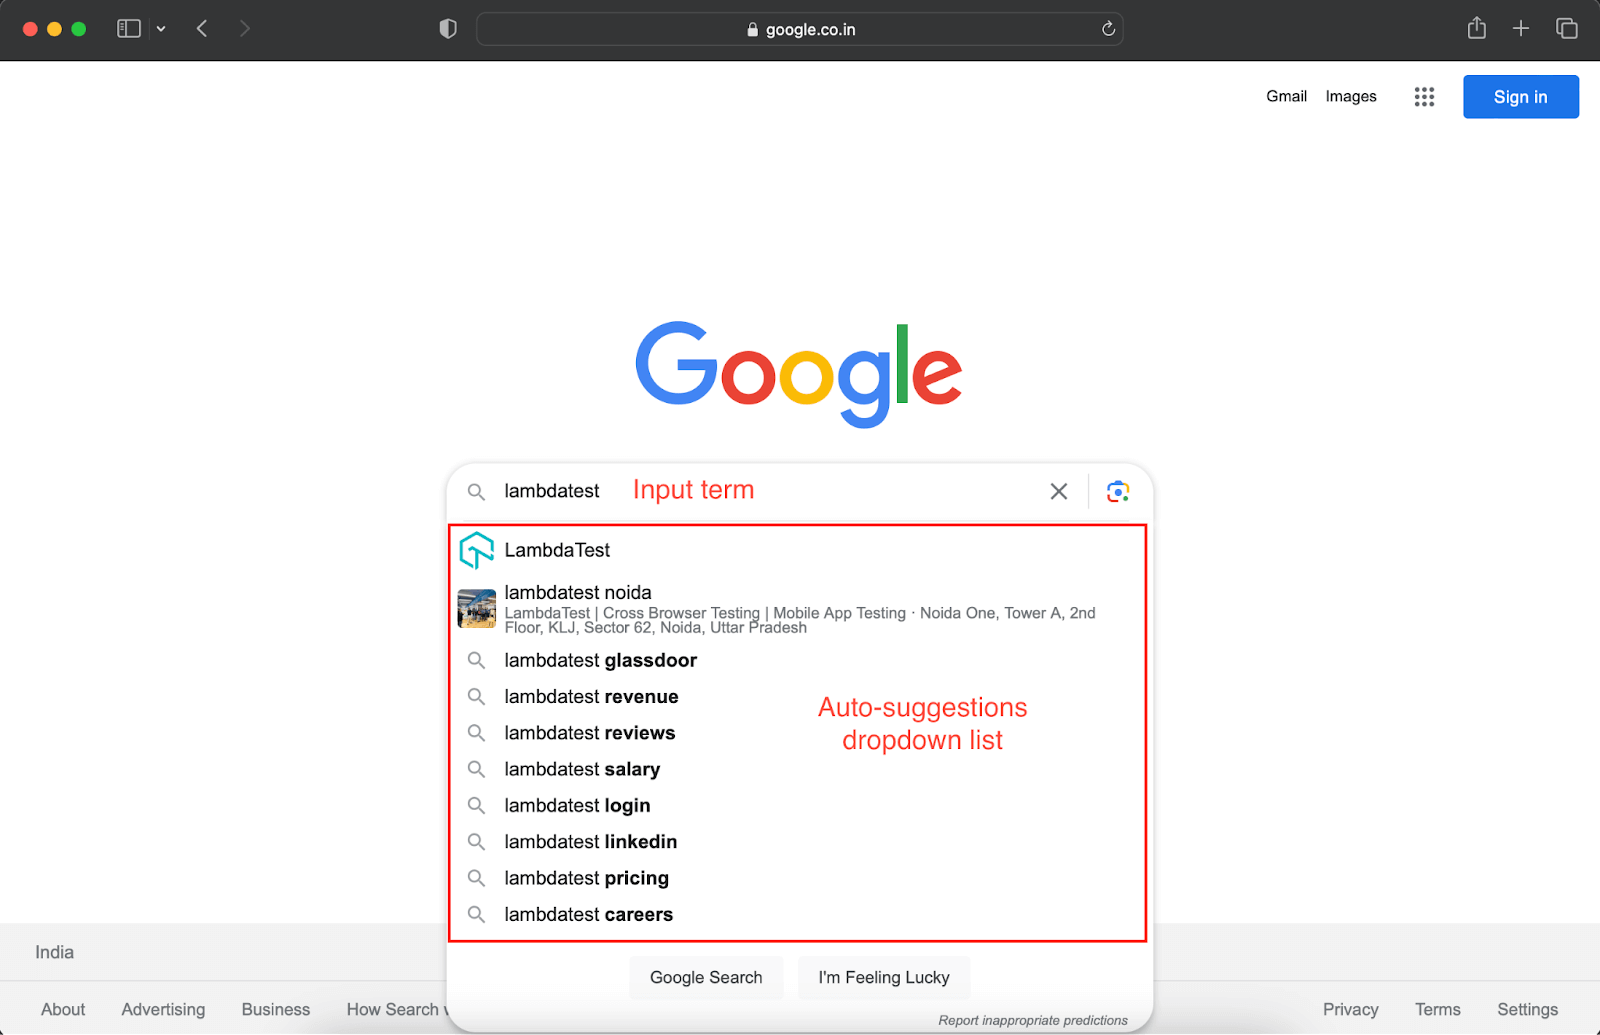
You may have observed that when searching on Google or browsing through an eCommerce platform, automatic suggestions appear almost instantly as you start typing. These suggestions, known as auto-suggestions, are intended to provide a rapid guide to potentially relevant keywords and top searches based on your input. As you type in the search box, the website presents a list of auto-suggestions to aid in refining your search and quickly accessing relevant information.
Automating website interactions with Selenium to handle auto-suggestions can present challenges due to the dynamic nature of these suggestions. Unlike static text on a web page, auto-suggestions form a constantly changing list, adapting to the input provided by users.
This blog delves into the intricacies of handling auto-suggestions in Selenium Java for web automation. We will explore different techniques to automate these suggestions in web automation scripts while gaining valuable insights into the dynamics of auto-suggestions. Additionally, we’ll address potential challenges during the automation process.
By the end of this blog on handling auto-suggestions in Selenium, you will be able to use different techniques to handle auto-suggestions and implement them in your automation scripts. So, let’s get started to explore the world of auto-suggestions!
What is Auto-Suggestion?
Auto-suggestion or auto-complete functionality offers potential suggestions to users based on their input in a search box or any other input field on a webpage. These suggestions aim to assist users in finding relevant information or completing their input more efficiently.
These are implemented as a drop-down list with a list of possible suggestions as the user proceeds to input. This helps the user select the desired term from the list without entering it completely.
Dynamic lists of suggestions change with user input, facilitated by AJAX (Asynchronous JavaScript and XML) requests. This ensures a seamless user experience as they type, with suggestions fetched from a server or API in the background.
Also, learn the ins and outs of test execution engines through our extensive guide, and enhance your testing workflow with automation.
Auto-suggestions are quite helpful since they rely on AJAX queries to provide relevant options in advance, which helps to shorten the time it takes to search for a term. These auto-suggestions also have wide applications in eCommerce and fintech domains, facilitating quick product searches and helping list all related ones.
This detailed guide explains how to detect flaky tests, its causes, strategies to reduce flakiness and much more.
Advantages of Auto-Suggestions
Auto-suggestions, or predictive search, offer several benefits by improving user experience using AJAX requests for quicker search. Here are some advantages that make auto-suggestions a popular strategy on any website.
Enhanced User Experience
Improved Search Efficiency
Higher Accuracy due to auto corrections
Mobile-Friendly Experience
Discover how TestRunner is transforming the world of automated testing. Explore its key features and benefits. Improve testing processes today with TestRunner.
Challenges of Handling Auto-Suggestions in Selenium
Auto-suggestions offer significant advantages for enhanced performance, as they provide relevant information about website topics without loading the entire content. This helps to save user time and effort in browsing through all the content on a website.
However, the content is dynamic; hence, we need to use the right approach in automation to handle the dynamism factor. Also, loading results might take time depending on external factors (particularly Internet speed). This becomes challenging while handling auto-suggestions in Selenium automation. Let’s look at some of these common challenges before we learn handling auto-suggestions in Selenium Java testing.
- Delay in auto-suggestion list
The auto-suggestion list depends on asynchronous calls to show results. Sometimes, this can lead to timing issues if Selenium tries to interact with it instantly, and the suggestion list may not have fully loaded. This can also happen due to a flaky Internet connection in the test environment.
- Highly dynamic content
Auto-suggestions are dynamically generated based on the search term. Even the slightest change in the same search term, like adding an extra space or any other character, can change the suggestions in the list. This becomes challenging while working with Selenium automation if specific web element locators are used.
Test native, hybrid, and web apps on any mobile OS with our free Android emulator online. Sign up to optimize app performance.
Best Practices for Handling Auto-Suggestions in Selenium
To overcome the challenges discussed above and make handling auto-suggestions in Selenium robust, we follow many practices while writing automation tests. Here are some of these best practices we will follow in the next demonstration section.
- Using Explicit Waits
As previously mentioned in the challenges, the auto-suggestions list may experience delays in loading, potentially causing failures if the Selenium script attempts to interact with it immediately. To address these concerns, it is strongly advised to wait for the auto-suggestion list to fully load before interacting with it. Explicit waits in Selenium are particularly valuable for handling such situations.

Explicit waits and ExpectedConditions in Selenium make the automation test wait for a certain element before proceeding. In our use case, this web element would be the auto-suggestion list.
- Unique WebElement locators
Handling auto-suggestions in Selenium can become a nightmare if proper and unique webElement locators are not used. This is because they are highly dynamic, and web element locators might keep changing based on input.
So, it is suggested to use unique locators such as ID, name, or class, which are rarely changed and help to interact with the list irrespective of search input term. Also, always remember not to use any such locator strategies with the search term reference in it, as the term might vary on each run and would make the locator obsolete.
- Verifying the suggestion value
To select the correct term from the auto-suggestion list, you should always verify the value before selecting it to reach the results page. Consider the case-insensitive approach when making this comparison, as the results of different auto-suggestion runs may vary.
Selenium assertions can be used to verify that the search term on the results page is similar to the expected value.
- Using keyboard events
One of the most common ways for handling auto-suggestions in Selenium automation is to use keyboard events like the arrow down key and enter button. This is recommended when selecting the first or second element from the list in your automation case without comparing the value.

From the above code snippet, you can see that we want to click on the 2nd element from the list. For the same, a for loop has been created to press the arrow down key using the sendKeys() method in Selenium.
Once the desired element from the list is reached, for loop breaks, the sendKeys() method is used again to hit the Enter button to select that option.
For this, we can also use ActionsChains in Selenium Java to create a chain of actions using the Actions class. This helps to perform low-level mouse actions like click, drag, hover, or keyboard actions using the WebDriver instance.
In this blog, we cover only the sendKeys() method implementation for handling auto-suggestions in Selenium Java. This is because, in this scenario, ActionChains is not required as we only have two quick key actions to perform.
So, we have understood the challenges and the best practices that would help in handling auto-suggestions in Selenium. Let us look at some practical implementations of how these can be used in Selenium Java automation projects.
Elevate Your Mobile App Test Quality: Make the most of your mobile application testing & Test on LambdaTest Cloud for Comprehensive Testing, Bug Detection & More.
Demonstration: Handling Auto-Suggestions in Selenium Java
To demonstrate the best approaches for handling auto-suggestions in Selenium automation, we will create a Java project with Maven and TestNG using Selenium 4.
The following test scenarios will be automated in this blog to help understand all the approaches and best practices discussed so far.
Test Scenario — 1 (Handling auto-suggestions in Selenium by fetching auto-suggestion list)
Navigate to https://www.google.com.
Enter lambdatest as the search term in the search box.
Wait for the auto-suggestion list to be available.
Fetch WebElement reference to all the auto-suggestions and store in a List variable of type WebElement.
Start a loop to traverse each WebElement from the list.
Compare if the auto-suggestion matches the required term.
If it matches, select the same by clicking and breaking the loop. Else, continue until the end of the list Wait for the search results page to load.
Assert that the search term on the results page is the same as expected or not.
Test Scenario — 2 (Handling auto-suggestions in Selenium using sendkeys())
Navigate to https://www.google.com.
Enter lambdatest as the search term in the search box.
Wait for the auto-suggestion list to be available.
Start a loop to reach the 2nd suggestion from the auto-suggestions list by clicking the down arrow key.
Click Enter on this term.
Wait for the search results page to load.
Assert that the search term on the results page contains the initially given search keyword.
Test Scenario — 3 (Handling auto-suggestions in Selenium using web scraping: Google)
Navigate to https://www.google.com
Enter lambdatest as the search term in the search box.
Wait for the auto-suggestion list to be available.
Fetch WebElement reference to the auto-suggestions list and store it in a variable.
Start a loop to scrape (or scrap) the suggestion data for each term from the auto-suggestions list.
Compare if the list data from web scraping matches the required term.
If it matches, select the same by clicking and breaking the loop. Else, continue until the end of the list Wait for the search results page to load.
Assert whether the search term on the results page is the same as expected.
Automate Cypress testing and perform browser automation testing with LambdaTest. Our cloud infrastructure has 3000+ desktop & mobile environments. Try for free!
Project Setup
In this blog, Eclipse IDE is used for creating the project. You can also choose any other IDE of your choice.
For all the test scenarios in this blog, the same project setup is being used. We keep adding new test cases for each scenario in a new test file. So do the setup carefully on your machine to avoid any errors at the execution stage.
All the test scenarios demonstrated in this blog are Selenium web automation scripts. We will be executing them on a cloud Selenium Grid. Using a Selenium cloud Grid offers improved speed and scalability and makes automation testing faster and more reliable. It also allows executing multiple cases across various browsers and OS.
To achieve the same, the LambdaTest cloud Selenium Grid is being used in this blog. LambdaTest is an AI-powered test orchestration and execution platform that empowers users to conduct Java automation testing for web and mobile applications across a vast array of over 3000+ real browsers, devices, and operating system combinations.
Check out the documentation on how to get started with Selenium testing with Java on LambdaTest.
Additionally, it provides a diverse selection of automated testing tools and frameworks such as Selenium, Cypress, Playwright, and Appium, enabling efficient execution of test cases.
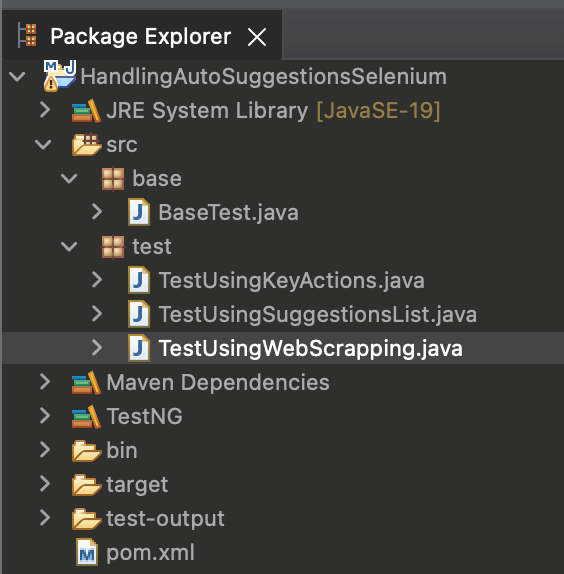
Step 1. Launch Eclipse IDE and create a new Maven project, HandlingAutoSuggestionsSelenium.
Step 2. Add 2 new packages inside the src package and name them as base and test.
Step 3. Add a Java class file inside the base package and name it BaseTest.java. This file will have the common code for all test cases, like initializing the WebDriver, browser interactions, and doing the initial search for the auto-suggestion list.
Step 4. Add 3 Java class files under the test package. These will have the code for our different test scenarios.
Once all these steps are done, the project structure should look like this:
As we use Selenium and TestNG for our project, add Selenium 4 and TestNG dependencies inside the pom.xml. Using the latest stable versions of the project is recommended for the best results.
The final pom.xml would be like the one below.
    <project xmlns="http://maven.apache.org/POM/4.0.0"
       xmlns:xsi="http://www.w3.org/2001/XMLSchema-instance"
      xsi:schemaLocation="http://maven.apache.org/POM/4.0.0 https://maven.apache.org/xsd/maven-4.0.0.xsd">
       <modelVersion>4.0.0</modelVersion>
       <groupId>HandlingAutoSuggestionsSelenium</groupId>
       <artifactId>HandlingAutoSuggestionsSelenium</artifactId>
       <version>0.0.1-SNAPSHOT</version>
       <build>
           <sourceDirectory>src</sourceDirectory>
           <plugins>
               <plugin>
                   <artifactId>maven-compiler-plugin</artifactId>
                   <version>3.8.1</version>
                   <configuration>
                       <release>19</release>
                   </configuration>
               </plugin>
           </plugins>
       </build>
       <dependencies>
           <dependency>
               <groupId>org.seleniumhq.selenium</groupId>
               <artifactId>selenium-java</artifactId>
               <version>4.8.3</version>
           </dependency>
           <dependency>
               <groupId>org.testng</groupId>
               <artifactId>testng</artifactId>
               <version>7.7.1</version>
               <scope>test</scope>
           </dependency>
       </dependencies>
    </project>
Next, we move to BaseTest.java. This file will have the primary driver functions like initialize driver, quit driver, etc.
package base;
import java.net.MalformedURLException;
import java.net.URL;
import java.time.Duration;
import java.util.HashMap;
import org.openqa.selenium.By;
import org.openqa.selenium.remote.RemoteWebDriver;
import org.openqa.selenium.safari.SafariOptions;
import org.openqa.selenium.support.ui.ExpectedConditions;
import org.openqa.selenium.support.ui.WebDriverWait;
import org.testng.annotations.AfterTest;
import org.testng.annotations.BeforeTest;
public class BaseTest {
public RemoteWebDriver driver = null;
public WebDriverWait wait;
String username = System.getenv("LT_USERNAME") == null ? "<lambdatest_username>" : System.getenv("LT_USERNAME");
String accessKey = System.getenv("LT_ACCESS_KEY") == null ? "<lambdatest_accesskey>" : System.getenv("LT_ACCESS");
@BeforeTest
public void setup() {
try {
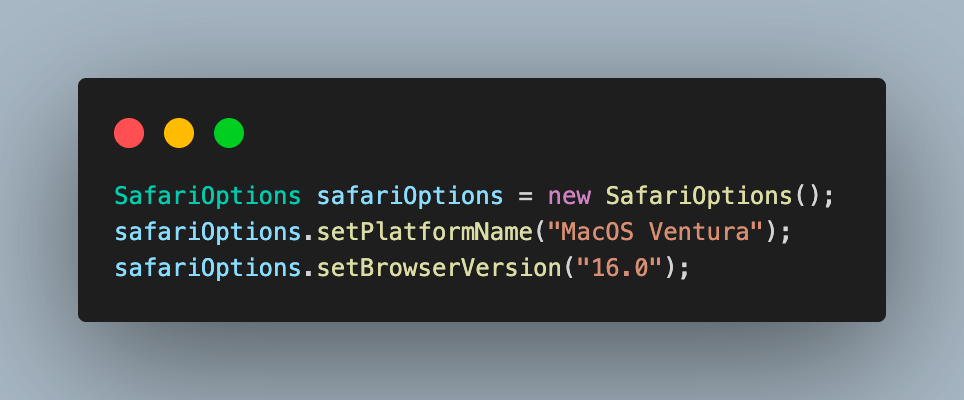
SafariOptions safariOptions = new SafariOptions();
safariOptions.setPlatformName("MacOS Ventura");
safariOptions.setBrowserVersion("16.0");
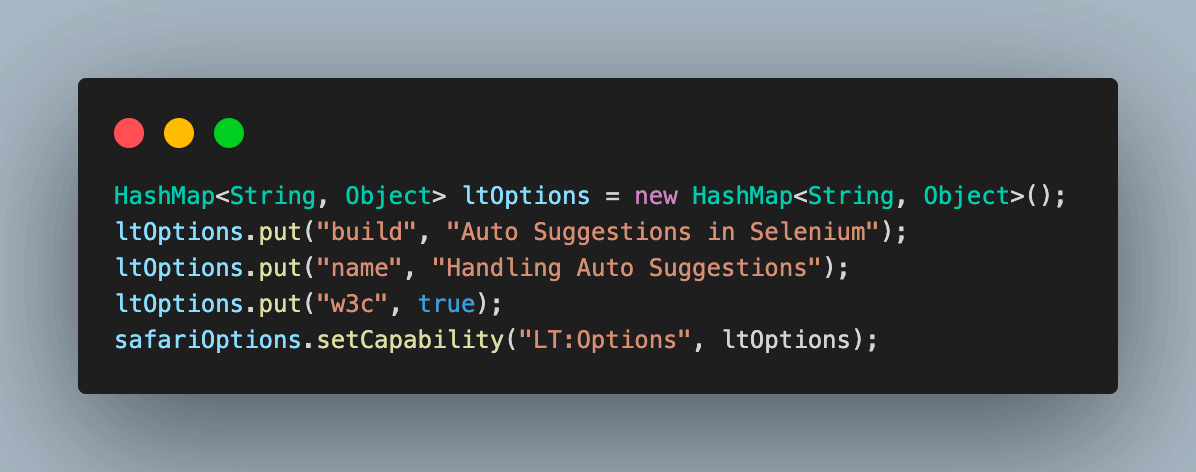
HashMap<String, Object> ltOptions = new HashMap<String, Object>();
ltOptions.put("build", "Auto Suggestions in Selenium");
ltOptions.put("name", "Handling Auto Suggestions");
ltOptions.put("w3c", true);
safariOptions.setCapability("LT:Options", ltOptions);
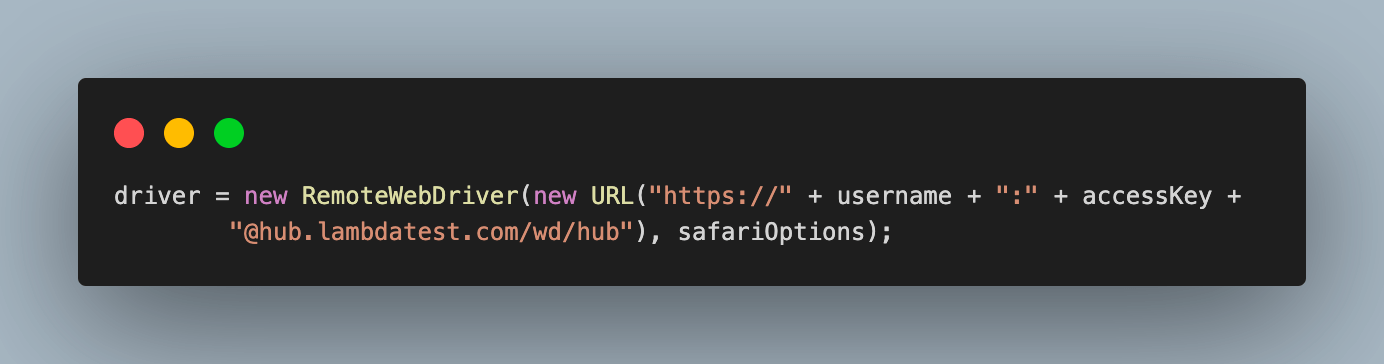
driver = new RemoteWebDriver(
new URL("https://" + username + ":" + accessKey + "@hub.lambdatest.com/wd/hub"), safariOptions);
} catch (MalformedURLException e) {
e.printStackTrace();
}
}
@AfterTest
public void tearDown() {
driver.quit();
}
/*
* 1. Navigate to Google 2. Enter search term 3. Wait for auto-suggestions list
* to be visible
*/
public void navigateToGoogleAndSearch() {
// to navigate to the website and enter the search term
System.out.println("Navigating to the website");
driver.get("https://www.google.com");
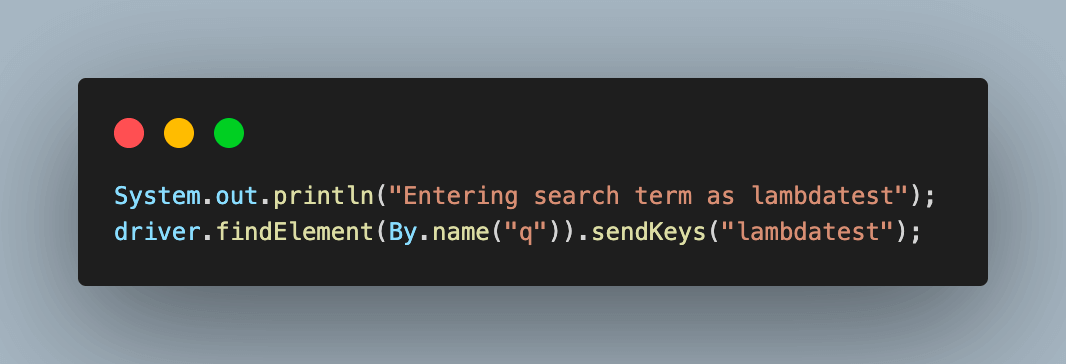
System.out.println("Entering search term as lambdatest");
driver.findElement(By.name("q")).sendKeys("lambdatest");
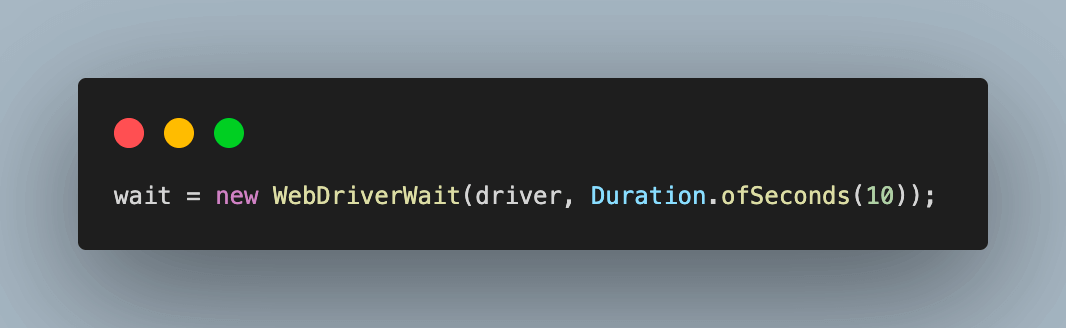
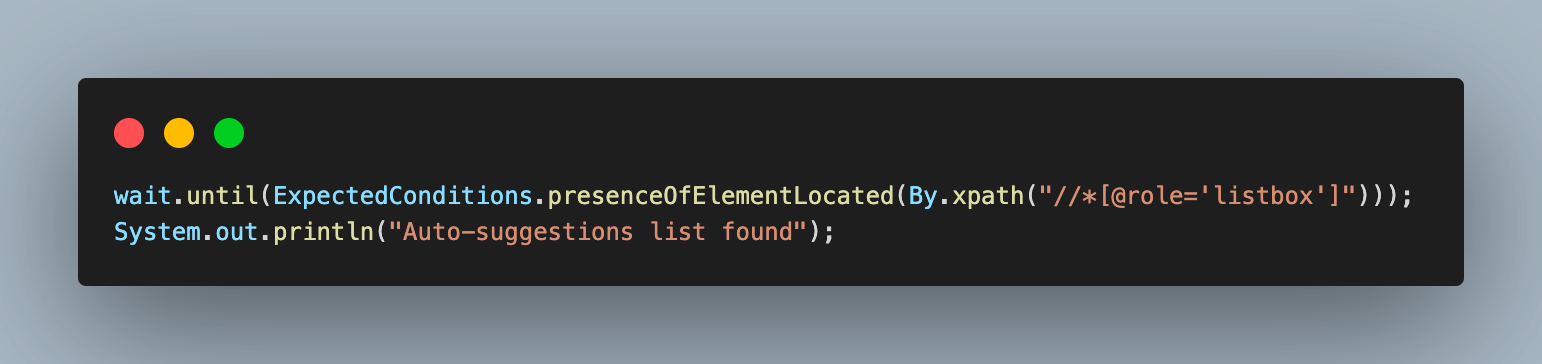
// explicit wait to wait for the auto suggestions list to be present
wait = new WebDriverWait(driver, Duration.ofSeconds(10));
wait.until(ExpectedConditions.presenceOfElementLocated(By.xpath("//*[@role='listbox']")));
System.out.println("Auto-suggestions list found");
}
}
This guide explores Digital Transformation, its benefits, goals, importance and challenges involved in Digital Transformation.
Code Walkthrough
Step 1. Create an object of RemoteWebDriver and initialize it as null.
Also, create an object of WebDriverWait, which will be used at later stages to implement explicit waits. This wait object will allow the code to wait for a given time until a given condition is fulfilled before moving forward.
Step 2. Fetch the username and access key for your LambdaTest Account from the LambdaTest Password & Security section to connect to their cloud grid.

Alternatively, you can configure these as environment variables and directly fetch them in code.
For macOS and Linux:
 export LT_USERNAME=LT_USERNAME
    export LT_ACCESS_KEY=LT_ACCESS_KEY
For Windows:
 set LT_USERNAME=LT_USERNAME
    set LT_ACCESS_KEY=LT_ACCESS_KEY
Step 3. Next, add a method and name it setup(). This will contain the code for WebDriver initialization using browser properties and LambdaTest cloud Selenium Grid properties. Annotate this with the @BeforeTest annotation in TestNG to execute it before each test execution.
Step 4. Create an object of SafariOptions class. This will help to set the required browser properties on which the tests are executed. Using this, set the OS and browser versions.
Step 5. Use a Hashmap type variable to specify the additional browser capabilities required by the LambdaTest platform to support test execution on their Selenium cloud grid. This will help to identify the test results on the dashboard using the build name and other details.
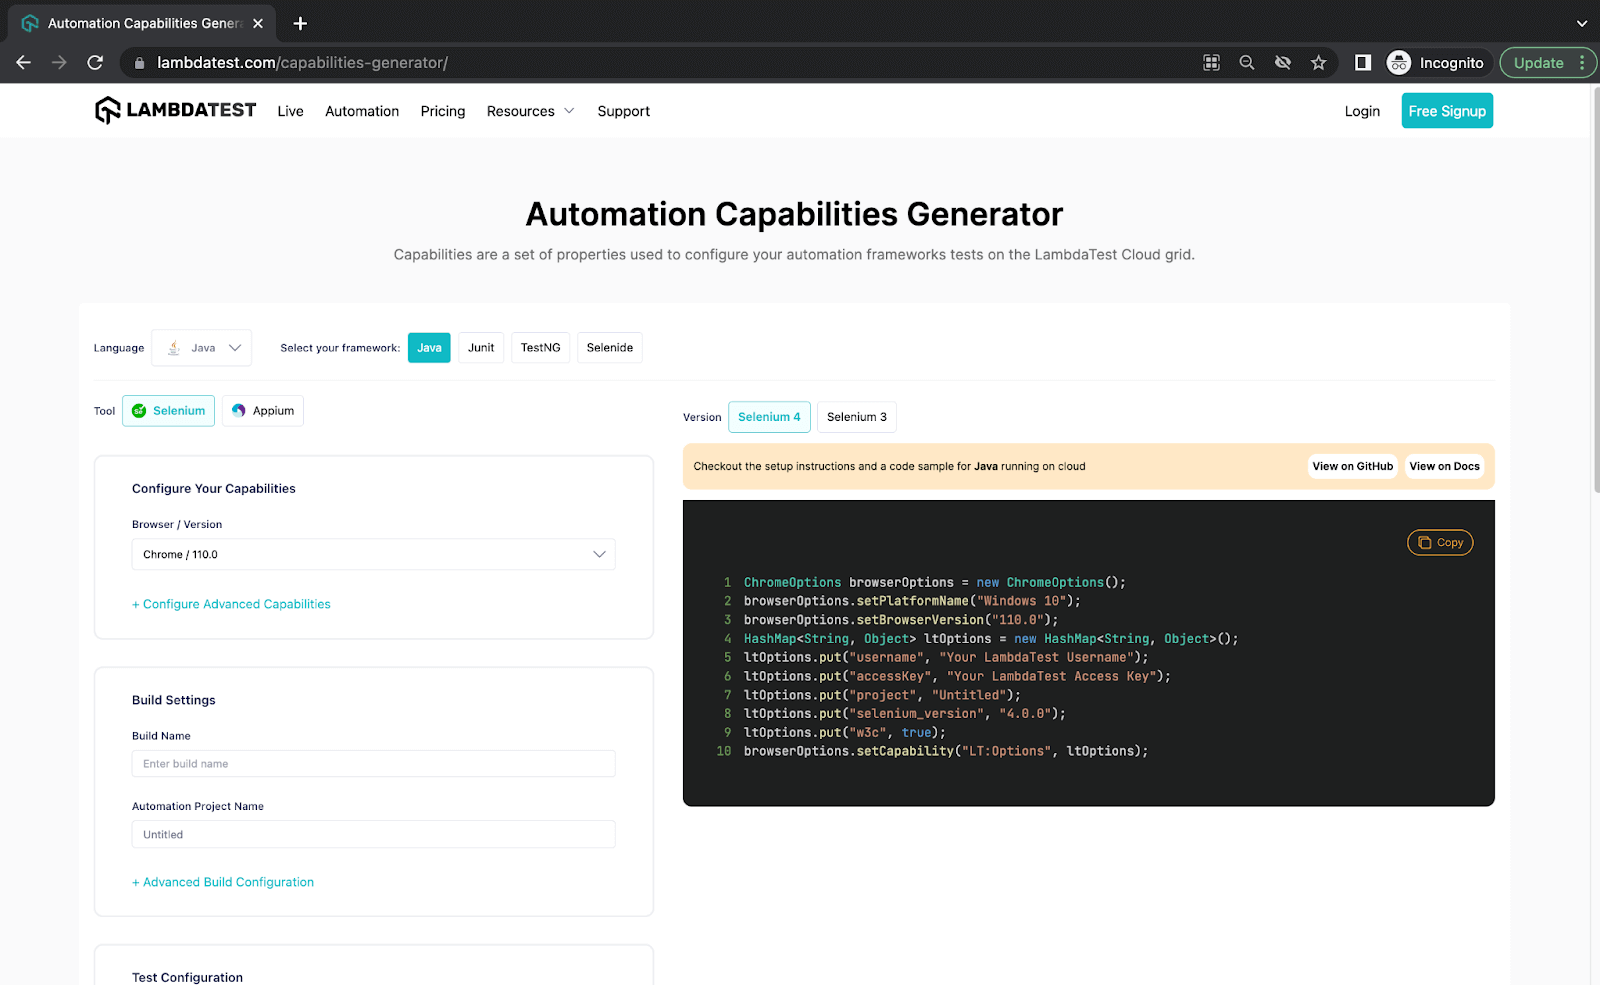
We can also fetch the required browser capabilities for the LambdaTest platform by navigating to Automation Capabilities Generator. This helps by offering ready-to-use code for setting up browser capabilities that can be used in execution.
Step 6. Finally, use the Selenium RemoteWebDriver to connect to the LambdaTest remote grid using your credentials and safariOptions object containing all specified browser capabilities.
Step 7. Add a new method, tearDown(), and annotate it with @AfterTest. This will be called after each test execution to close the browser and terminate the web driver session.

Step 8. Finally, we add the last utility method to this base file, containing common steps for each test scenario.
8.1) Use the driver.get() method to navigate to the website under test.

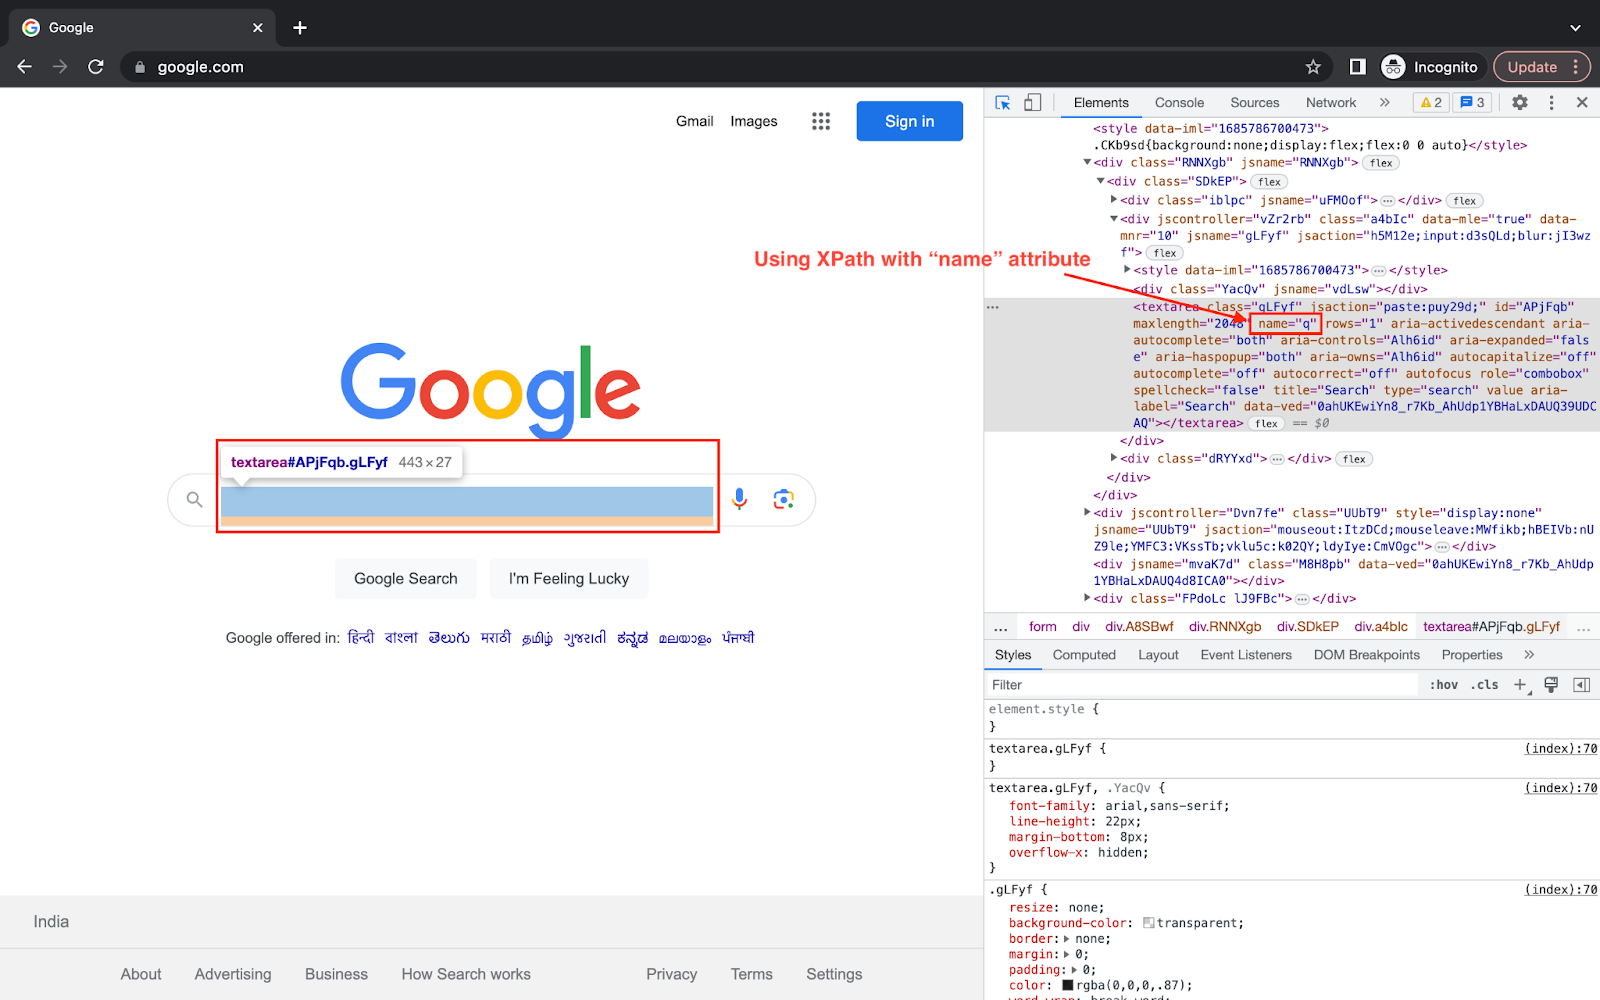
8.2) Fetch the web element of the search input box and enter the search term.
We are using the name locator here to locate this web element.
8.3) Instantiate the WebDriverWait class object we initially created, with the maximum time to wait for any condition as 10 sec. This will block the WebDriver for the given time, preventing it from performing any further action and unblocking it as soon as the condition is fulfilled.
8.4) Using this wait object, we implement ExpectedConditions in Selenium, which tells the driver to wait for the given web element to be visible. In this case, we wait for the auto-suggestions list to be visible before proceeding with different approaches.
Which are the most wanted automation testing tools in 2023 that have climbed the top of the ladder so far? Let’s take a look.
Handling Auto-Suggestions in Selenium using the auto-suggestion list
First and the most used approach for handling auto-suggestions in Selenium automation script is by traversing the whole auto-suggestion list and comparing the values to select the required one. This is highly useful when we already know the exact search term we are looking for and do not wish to select any random one.
It’s crucial to remember that, depending on the geolocation, the same search query would provide a different auto-suggestion list. This occurs because the same term may have different references in different places, or occasionally it may refer to something in one place while generating no results in another. So be careful and determine an accurate search term for your test case while applying this strategy.
package test;
import java.util.List;
import org.openqa.selenium.By;
import org.openqa.selenium.WebElement;
import org.openqa.selenium.support.ui.ExpectedConditions;
import org.testng.Assert;
import org.testng.annotations.Test;
import base.BaseTest;
public class TestUsingSuggestionsList extends BaseTest {
@Test
public void testUsingAutoSuggestionsList() {
String expectedSearchTerm = "lambdatest careers";
navigateToGoogleAndSearch();
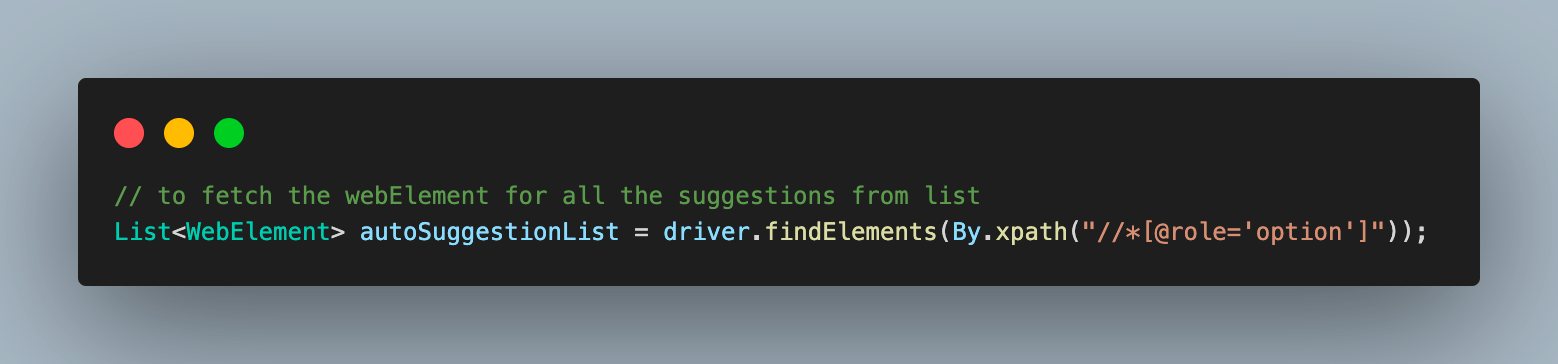
// to fetch the webElement for all the suggestions from list
List<WebElement> autoSuggestionList = driver.findElements(By.xpath("//*[@role='option']"));
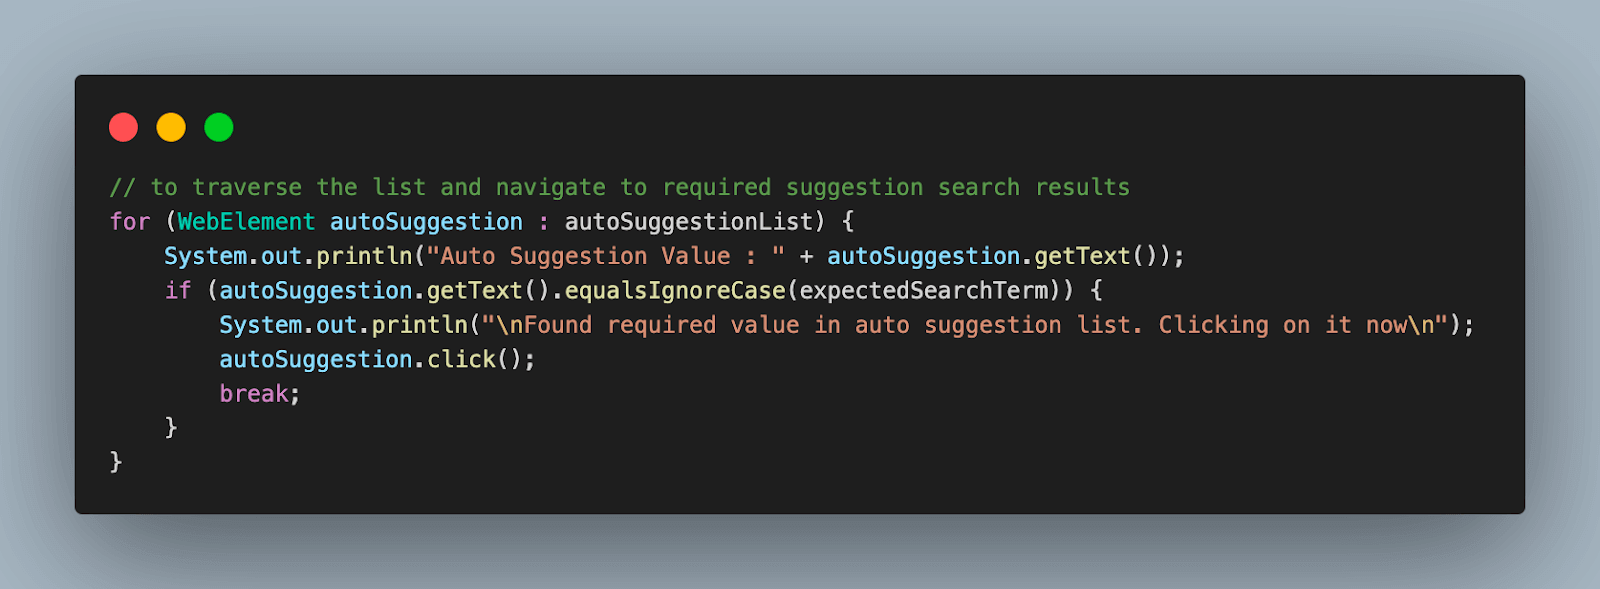
// to traverse the list and navigate to required suggestion search results
for (WebElement autoSuggestion : autoSuggestionList) {
System.out.println("Auto Suggestion Value : " + autoSuggestion.getText());
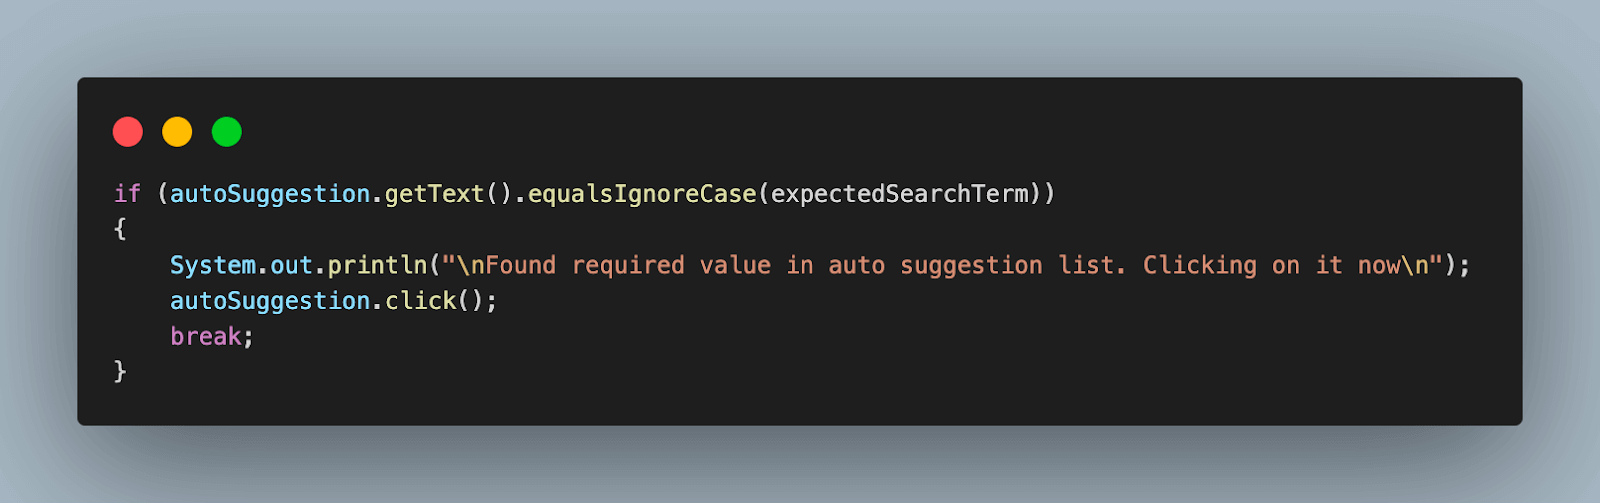
if (autoSuggestion.getText().equalsIgnoreCase(expectedSearchTerm)) {
System.out.println("\nFound required value in auto suggestion list. Clicking on it now\n");
autoSuggestion.click();
break;
}
}
// wait for the search results page to load and verify if it has the same term as we
// expected.
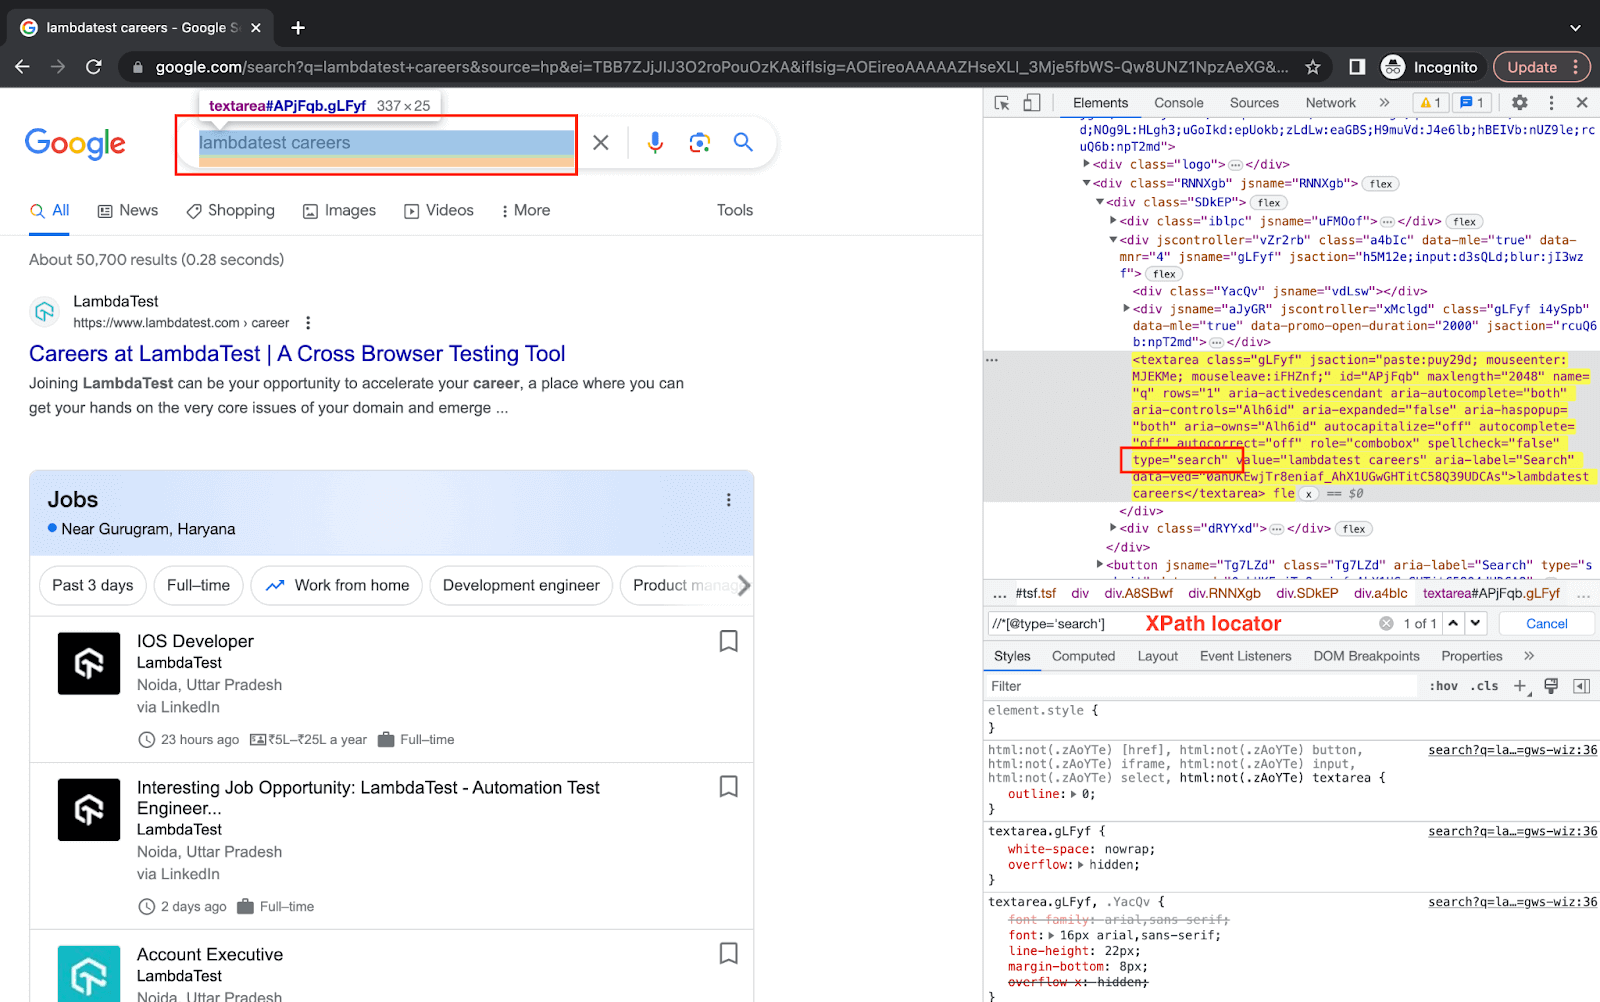
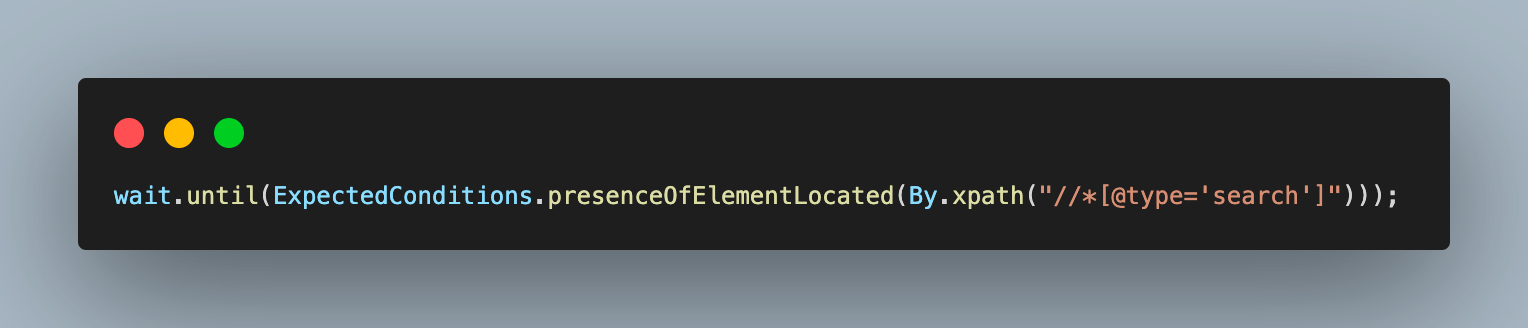
wait.until(ExpectedConditions.presenceOfElementLocated(By.xpath("//*[@type='search']")));
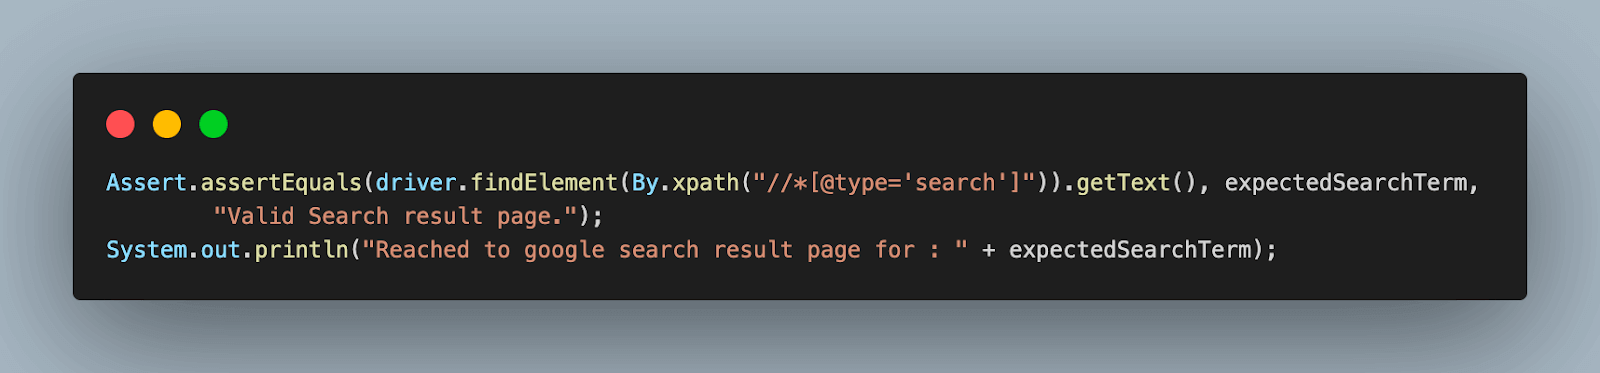
Assert.assertEquals(driver.findElement(By.xpath("//*[@type='search']")).getText(), expectedSearchTerm,
"Valid Search result page.");
System.out.println("Reached to google search result page for : " + expectedSearchTerm);
}
}
Code Walkthrough Step 1. Add a new Java file under the test package, TestUsingSuggestionsList. This class will extend BaseTest.java to inherit the common methods and variables from it.
Step 2. Add the test case as testUsingAutoSuggestionsList() and annotate it with @Test annotation.

Step 3. Set the expected search term in a variable that we will find from the auto-suggestion list and then assert on the results page at the end.
Step 4. Call the navigateToGoogleAndSearch() of BaseTest.java to navigate to the website, enter the search term, and wait for the auto-suggestion list to be visible.
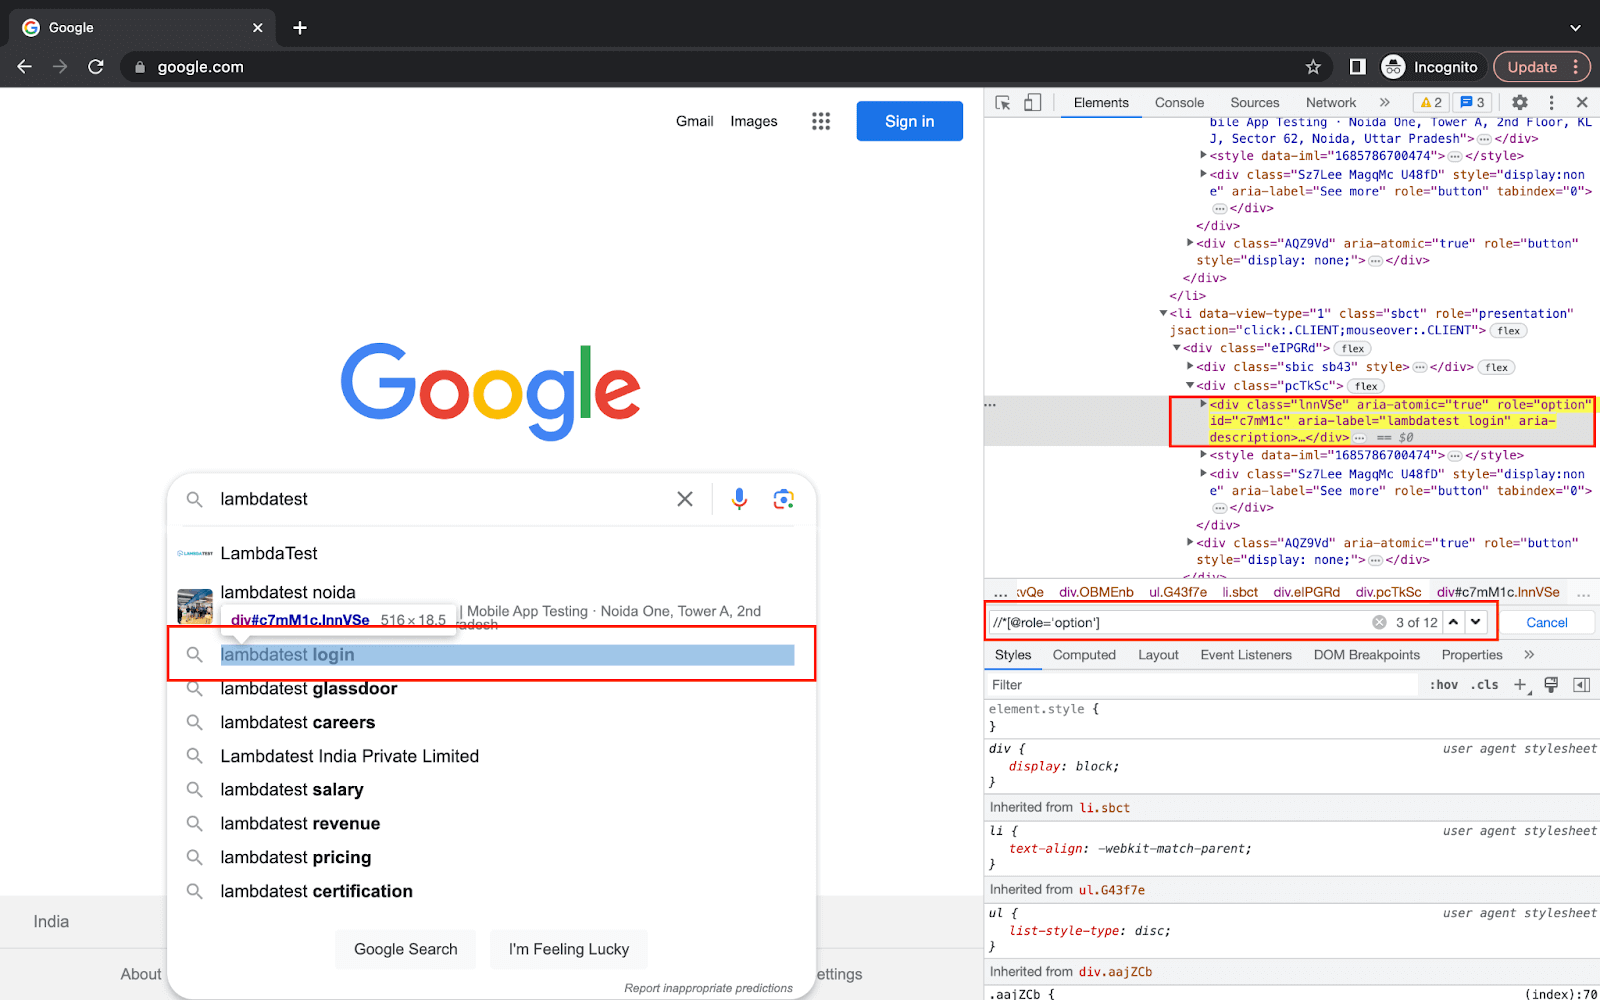
Step 5. Next, we fetch the list of all the auto-suggestion options using a web element locator and store them in a variable.
The screenshot below shows that we are using role attributes to fetch the entire list. It gives a total number of occurrences, and each can be visited individually in the code.
Step 6. Start a loop to traverse this list of suggestions and fetch the values from it. We first log each value found and then compare it with the actual expected term.
If both matches, the loop is stopped, and that particular auto-suggestion value is clicked. If it is not a match, we continue the loop.
Step 7. Wait for the search results page for the selected term to load.
We use the same WebDriverWait object again, but this time ExpectedConditions is implemented to wait for a different element on the results page.
Step 8. Finally, assert that the search term on this page matches the expected search term. You can learn more about it through this blog on assertions in TestNG.
Executing this test case would give you an output like the below:
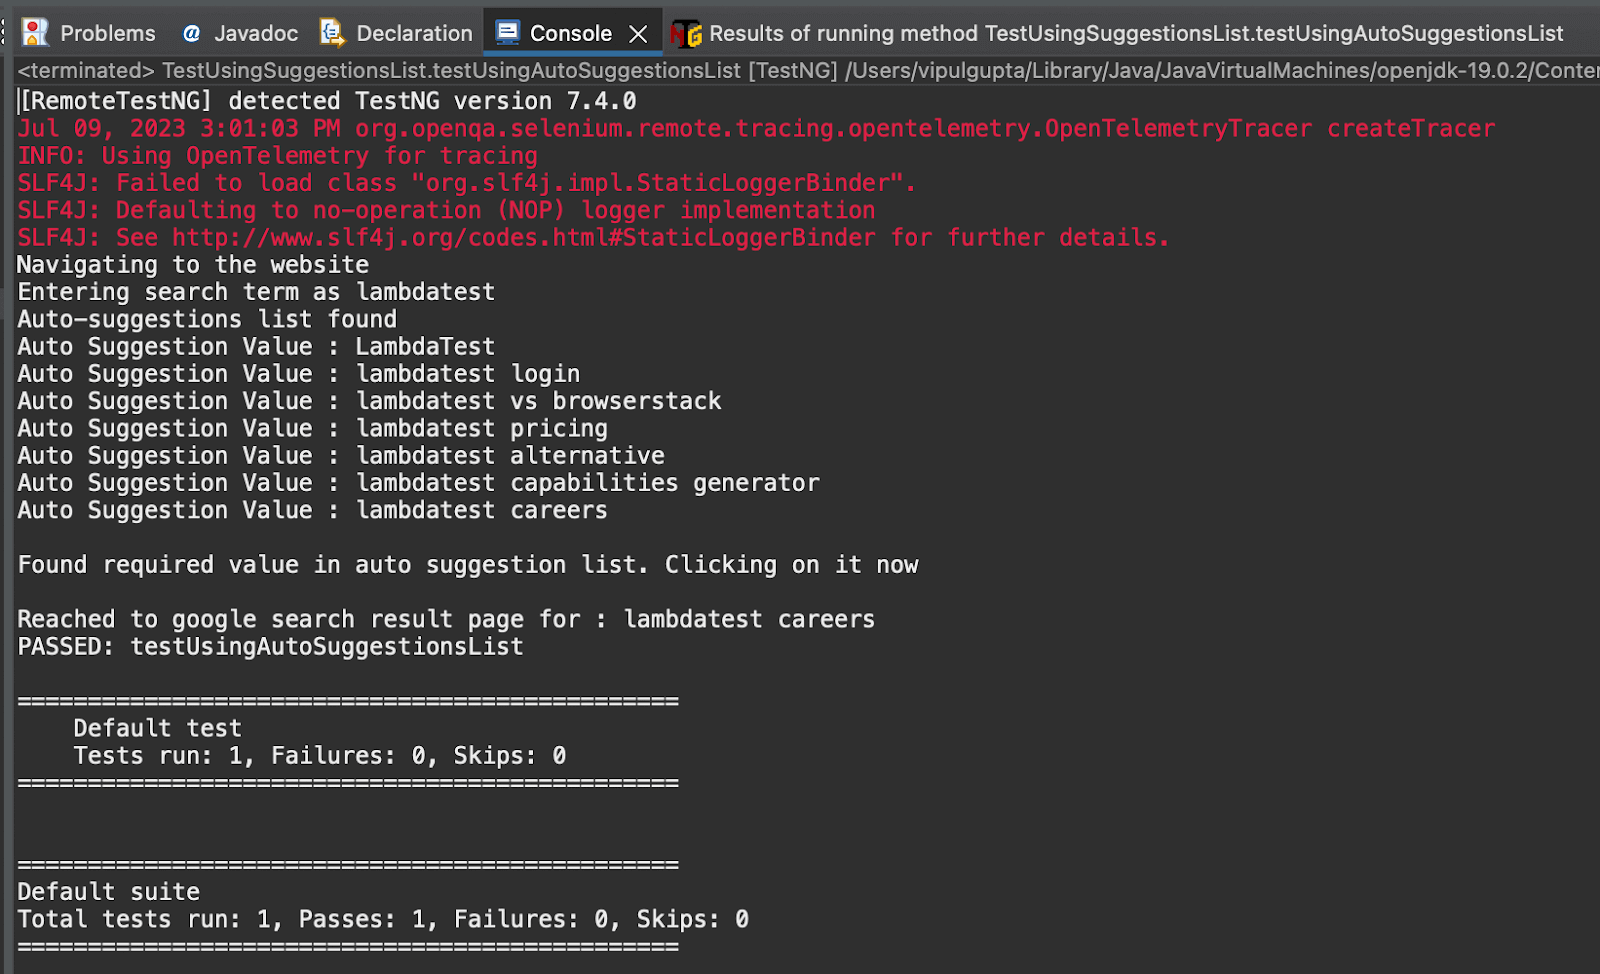
Execution logs on the LambdaTest Dashboard for this would look like the below. You can notice that all the auto-suggestion list values are being fetched.

Don’t miss out on thе latеst tutorials on automation tеsting! Subscribe to thе LambdaTеst YouTubе Channеl for tutorials on Sеlеnium tеsting, Playwright testing, and more.
In this blog on the mobile automation testing tools, we list the best 11 mobile automation testing tools with their advantages and business-friendly features.
Handling Auto-Suggestions in Selenium using sendKeys()
This approach to handling auto-suggestions in Selenium using keyboard key actions is useful when we do not have a predefined target search term to be selected. It is used in cases when only handling the auto-suggestions list and selecting a term is the requirement of our Selenium test case.
package test;
import org.openqa.selenium.By;
import org.openqa.selenium.Keys;
import org.openqa.selenium.support.ui.ExpectedConditions;
import org.testng.Assert;
import org.testng.annotations.Test;
import base.BaseTest;
public class TestUsingKeyActions extends BaseTest {
@Test
public void testUsingArrowKeys() {
navigateToGoogleAndSearch();
// if we want to specifically click on the second term from auto-suggestions
// list
for (int i = 1; i < 3; i++) {
driver.findElement(By.name("q")).sendKeys(Keys.ARROW_DOWN);
System.out.println("Pressing down arrow key to reach " + i + " search term");
}
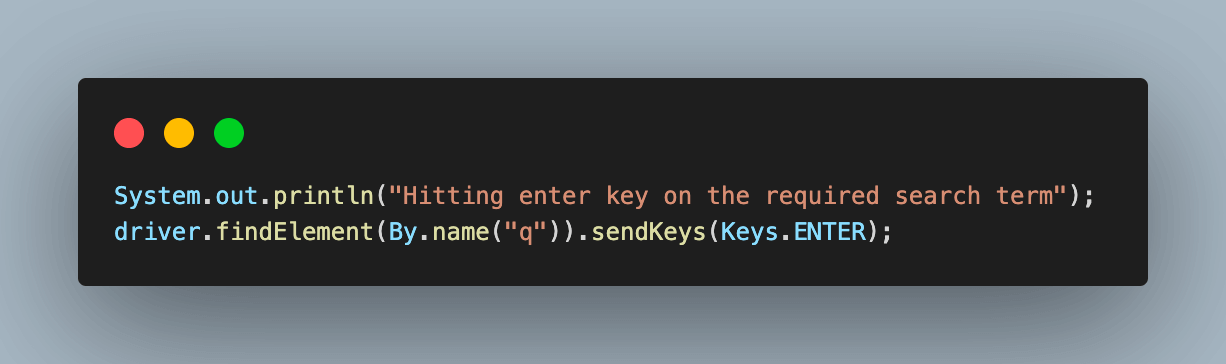
System.out.println("Hitting enter key on the required search term");
driver.findElement(By.name("q")).sendKeys(Keys.ENTER);
// wait for the search results page to load and verify if it has the same term as we
// expected.
wait.until(ExpectedConditions.presenceOfElementLocated(By.xpath("//*[@type='search']")));
System.out.println(
"Search term on results page: " + driver.findElement(By.xpath("//*[@type='search']")).getText());
// verify that search term on results page consists of the initial input term given
Assert.assertEquals(driver.findElement(By.xpath("//*[@type='search']")).getText().contains("lambdatest"), true,
"Valid Search result page.");
System.out.println("Reached to search result page for given term");
}
}
Code Walkthrough
Step 1. Add a new Java test file in the same package and name it TestHandleAutoSuggestions_UsingKeyActions. Just like the previous test file, this will also extend BaseTest.java.
Step 2. Create the test method in this class, testUsingArrowKeys(), and annotate it with @Test annotation.
Step 3. The first step in this test case will also be similar to the previous one, i.e., to call the navigateToGoogleAndSearch() method of BaseTest.java to navigate to the test website and get the auto-suggestion list for our search input term.
Step 4. As already mentioned, in this approach, we do not have any specified term to select from the auto-suggestions list. We will use Key actions to press keyboard buttons to reach the 2nd item from the list.
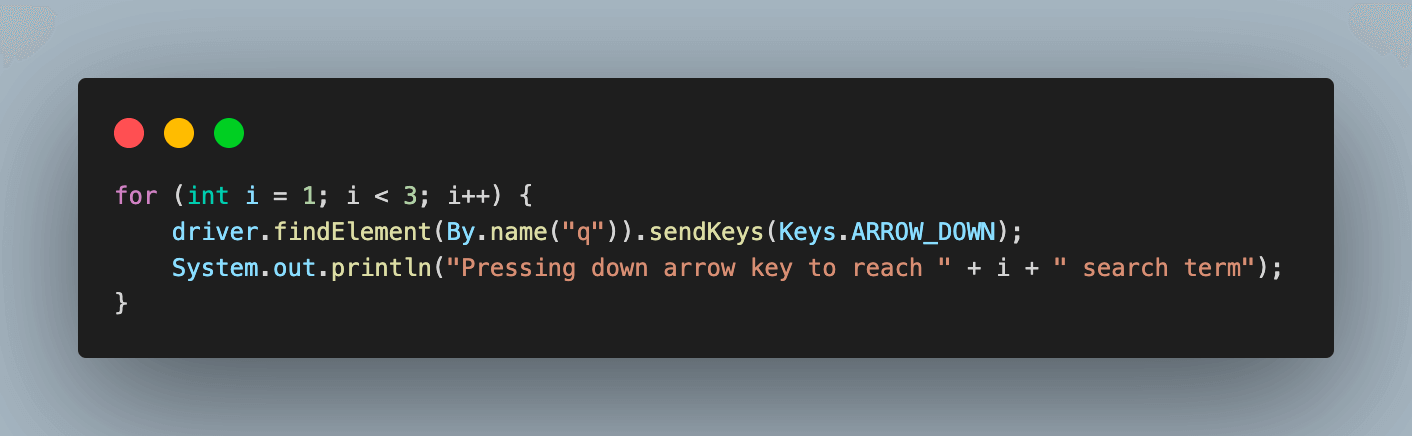
4.1) Initial position for the driver will be the search input box. Keyboard actions will be performed about it. That is why the web element reference on the code is the locator for this box.

4.2) Now, to reach the first value from the list, LambdaTest, we need to press the arrow down key. At this point value for i = 1.

4.3) After this the value for i gets incremented to 2, which is valid to execute the loop again. The keyboard down arrow key is pressed again to reach the next value, lambdatest noida.

4.4) At this step, the value of i = 3, and our condition for the loop to continue fails. This means driver focus has reached the required element.
Step 5. Use the Keys action again to press the enter key on this value and reach the search results page.
Step 6. Wait for the search results page to load with the help of the WebDriverWait object by using ExpectedConditions.

Step 7. Once the search results page is loaded, fetch the search term value from the page.

Assert that this value contains the initial given search term.

An important point to note here is that, unlike the last test case, we would not assert an exact matching term as the code did not select a particular value from the auto-suggestions list by matching it.
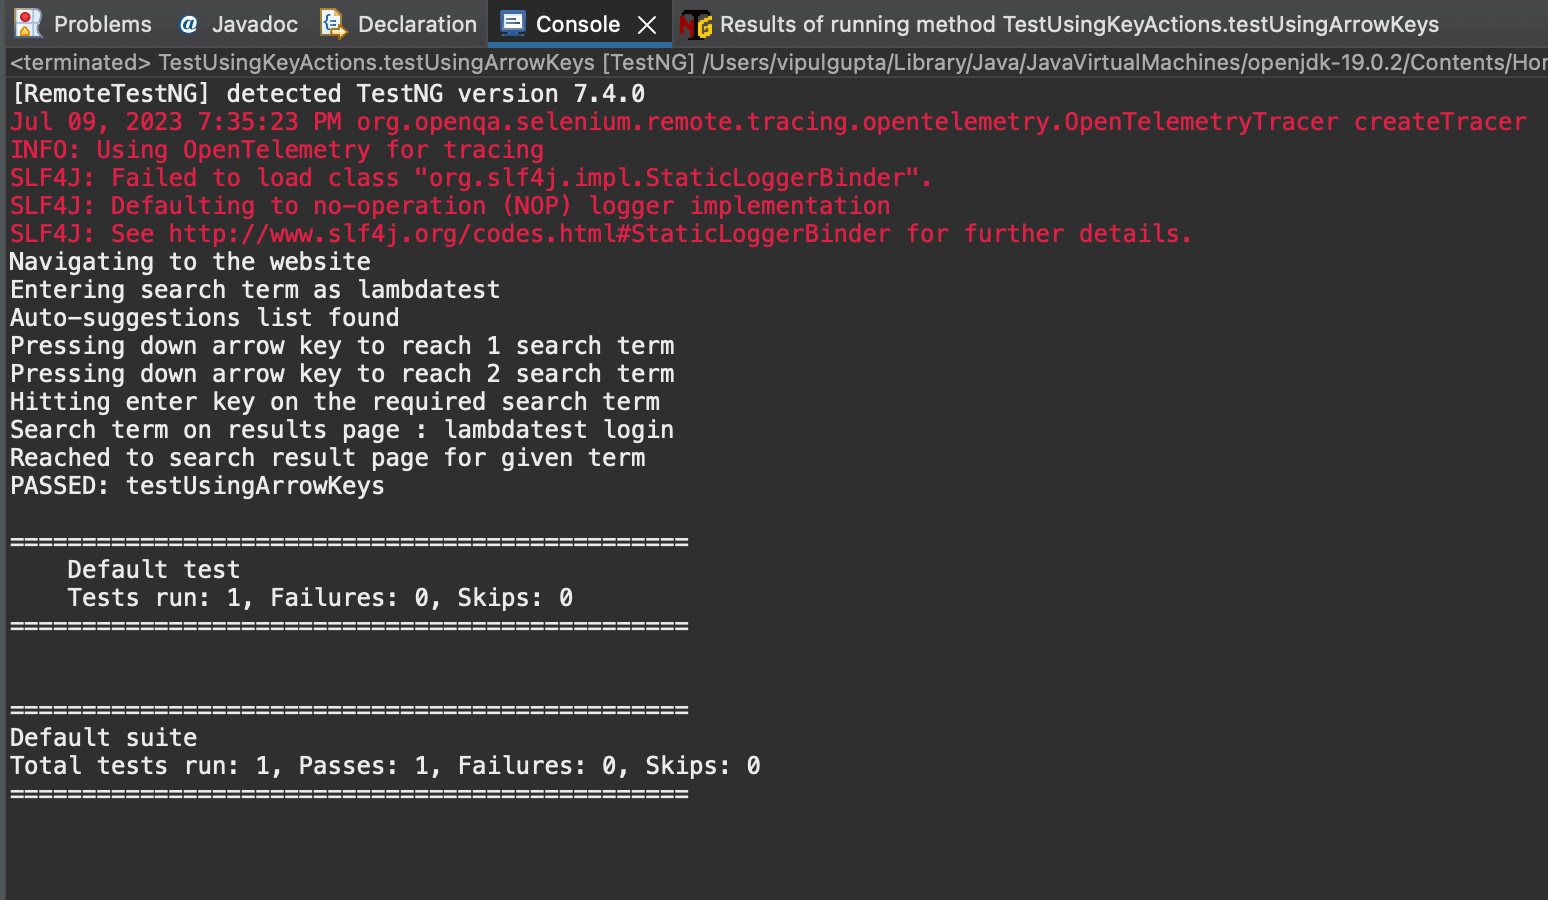
On executing this test case, you get output like below.
Explore our in-depth guide comparing Protractor vs Selenium to make informed decisions for your test automation needs. Gain valuable insights into the key differences, advantages, and ideal use cases of these widely-used testing frameworks.
Handling Auto-Suggestions in Selenium using web-scraping: Google
This approach is similar to the first one, i.e., using the entire auto-suggestions list to compare and select the required search term. It only differs in how we access the list and fetch the values from the auto-suggestion list. This approach uses the technique of Web Scraping.
Web scraping is the process of automatically extracting data from websites. It involves writing a program to fetch web pages, parse the HTML content, and extract the desired information. Web scraping enables gathering data for analysis, research, or automation, but it should be done in compliance with website terms and legal regulations.
Let’s look at the below file to better understand how web scraping can be used for handling auto-suggestions in Selenium.
package test;
import java.util.List;
import org.openqa.selenium.By;
import org.openqa.selenium.WebElement;
import org.openqa.selenium.support.ui.ExpectedConditions;
import org.testng.Assert;
import org.testng.annotations.Test;
import base.BaseTest;
public class TestUsingWebScrapping extends BaseTest {
@Test
public void testUsingWebScraping_Google() {
String expectedSearchTerm = "lambdatest careers";
navigateToGoogleAndSearch();
// Fetch the list of all suggestions
System.out.println("Fetching the web element list for all suggestions");
WebElement autoSuggestionListBox = driver.findElement(By.xpath("//*[@role='listbox']"));
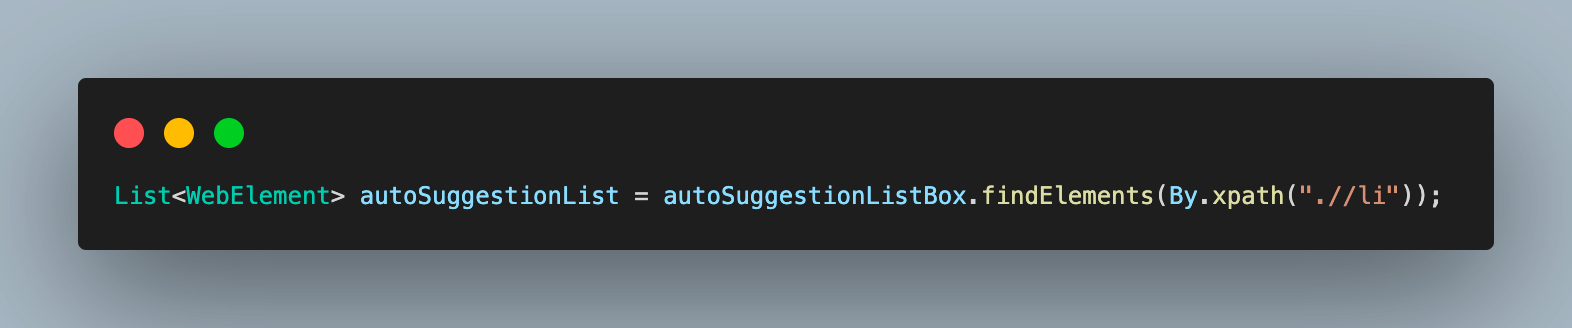
List<WebElement> autoSuggestionList = autoSuggestionListBox.findElements(By.xpath(".//li"));
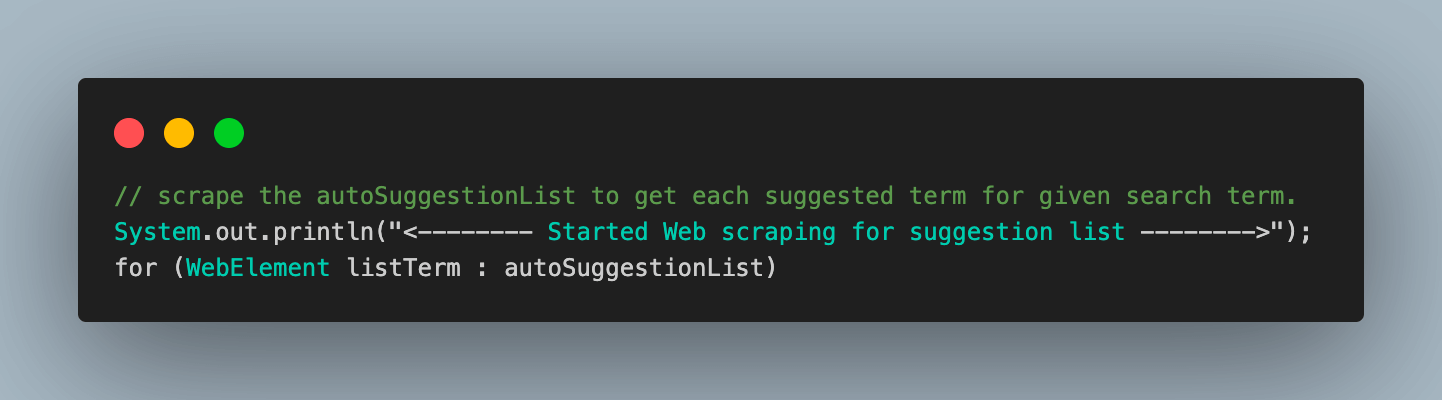
// scrape the autoSuggestionList to get each suggested term for given search
// term.
System.out.println("<-------- Started Web scraping for suggestion list -------->");
for (WebElement listTerm : autoSuggestionList) {
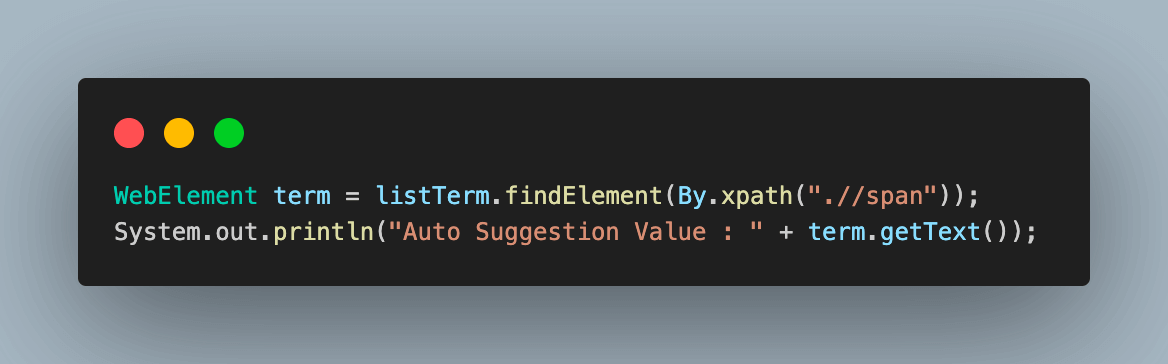
WebElement term = listTerm.findElement(By.xpath(".//span"));
System.out.println("Auto Suggestion Value : " + term.getText());
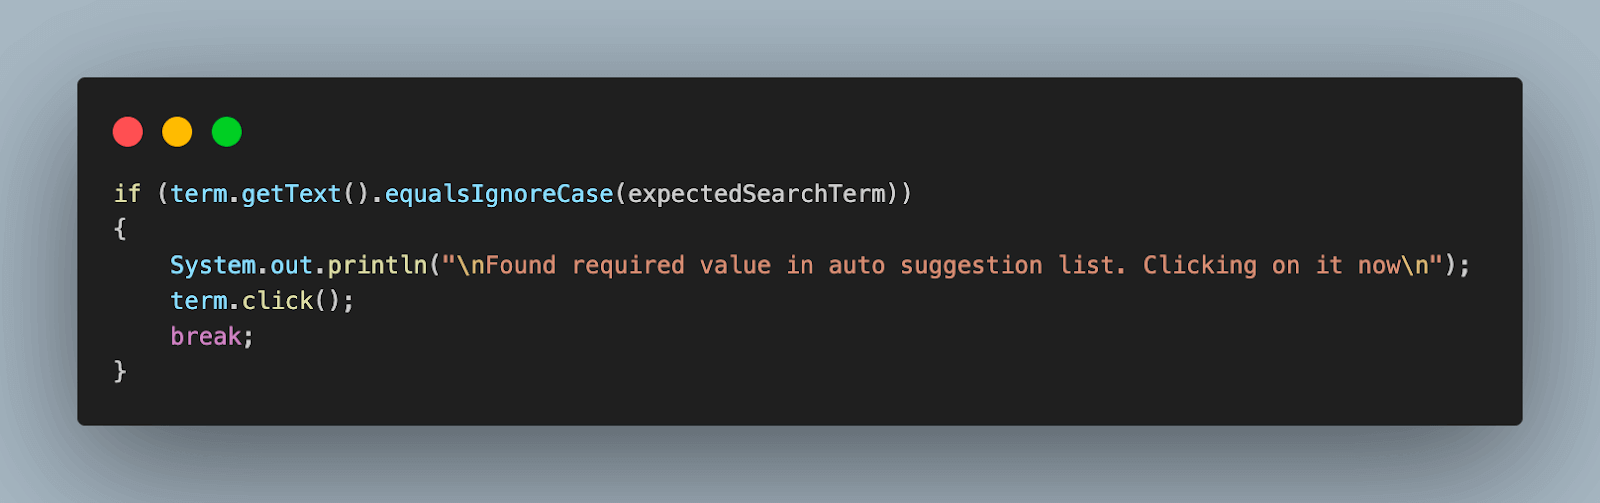
if (term.getText().equalsIgnoreCase(expectedSearchTerm)) {
System.out.println("\nFound required value in auto-suggestion list. Clicking on it now\n");
term.click();
break;
}
}
// wait for the search results page to load and verify if it has the same term as we
// expected.
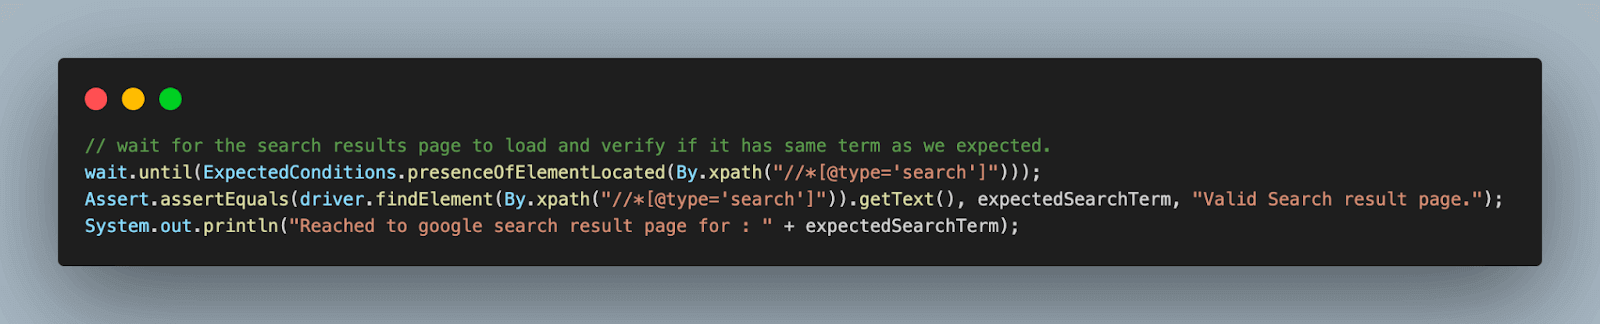
wait.until(ExpectedConditions.presenceOfElementLocated(By.xpath("//*[@type='search']")));
Assert.assertEquals(driver.findElement(By.xpath("//*[@type='search']")).getText(), expectedSearchTerm,
"Valid Search result page.");
System.out.println("Reached to google search result page for : " + expectedSearchTerm);
}
}
Code Walkthrough
Step 1. Add a new java test file, TestHandleAutoSuggestions_UsingWebScrapping, and extend BaseTest.java to it.
Step 2. Add the first test case, testUsingWebScraping_Google(), and annotate it with the @Test annotation of TestNG.

Step 3. Similar to the steps in previous cases, we define an expected search term and call the navigateToGoogleAndSearch() method of BaseTest.java to navigate to Google and enter the search term.
Step 4. This is the most important step when using the web scraping approach.
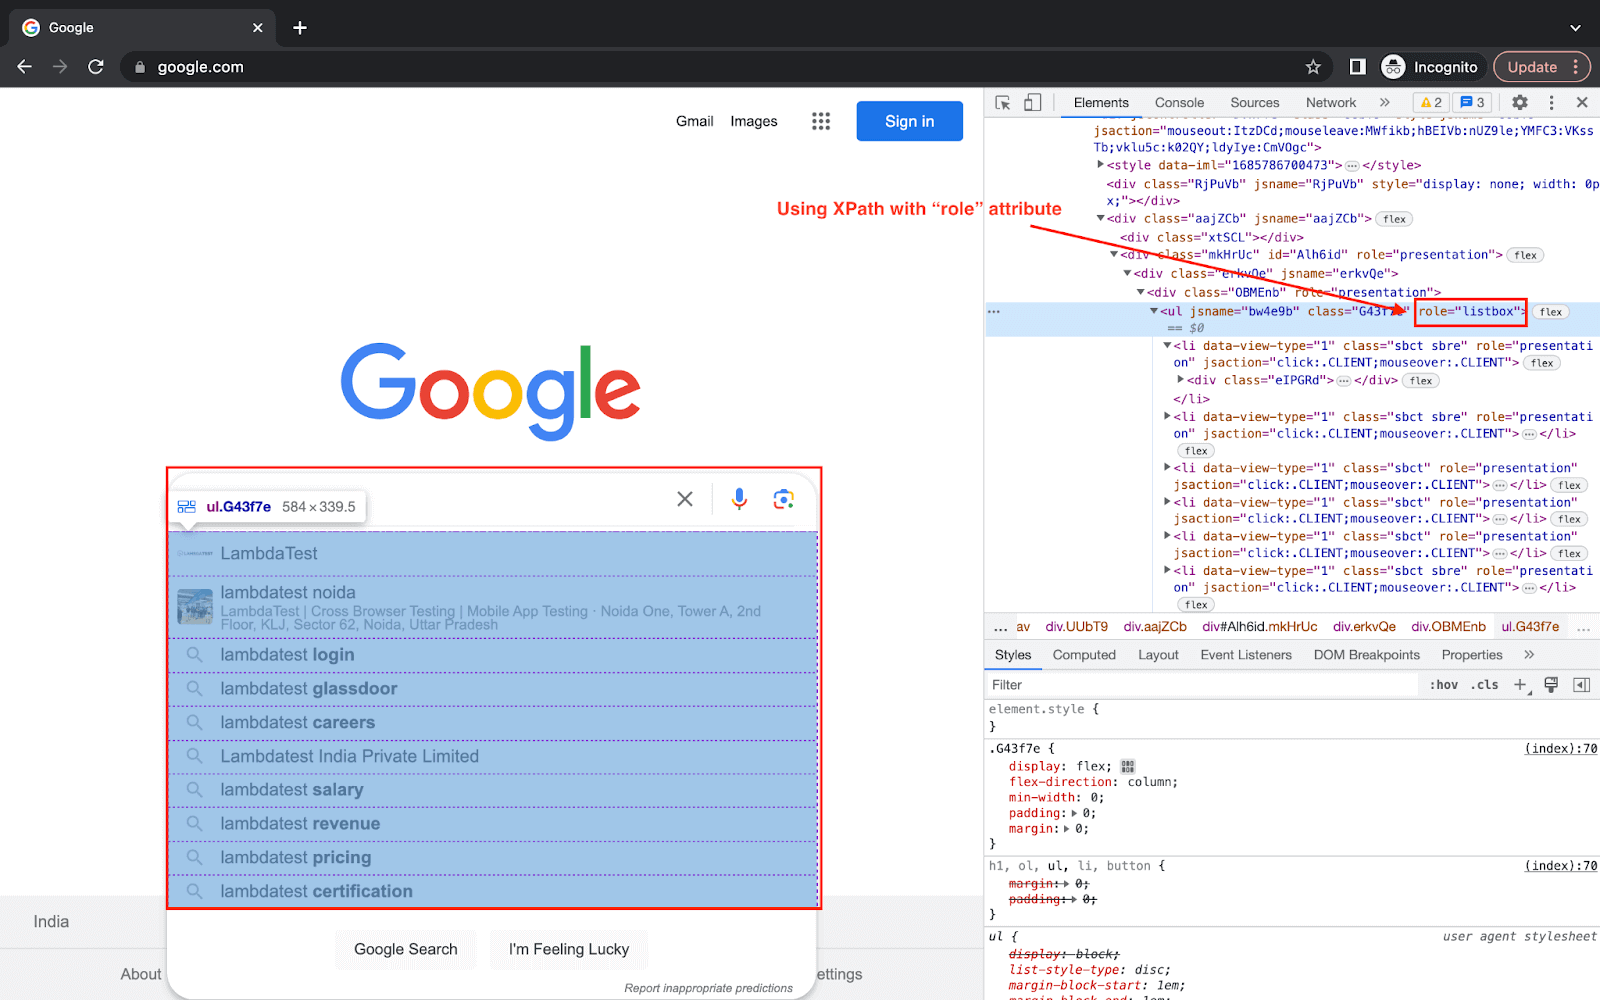
4.1) First, we need to identify the main container web element in which the entire auto-suggestion list is present.
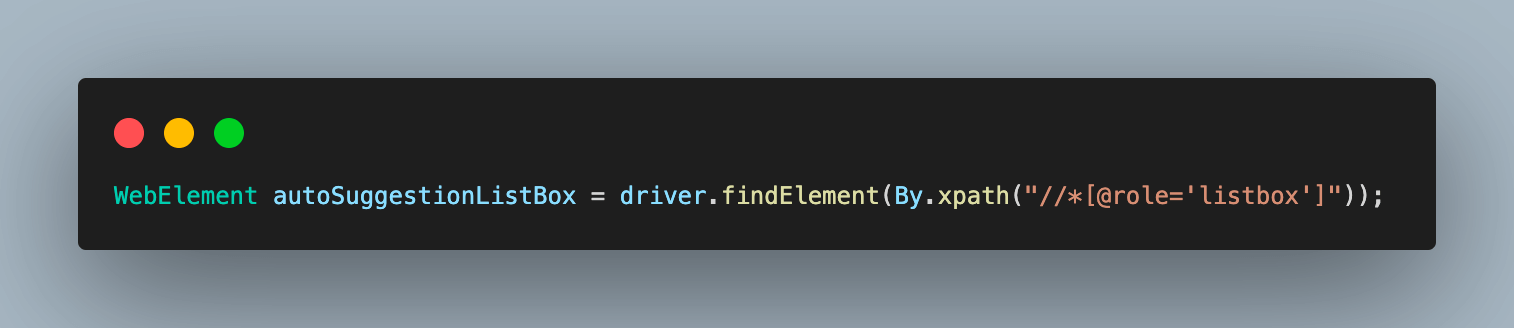
The screenshot below shows it is inside a < ul > tag with attribute role=”listbox”.
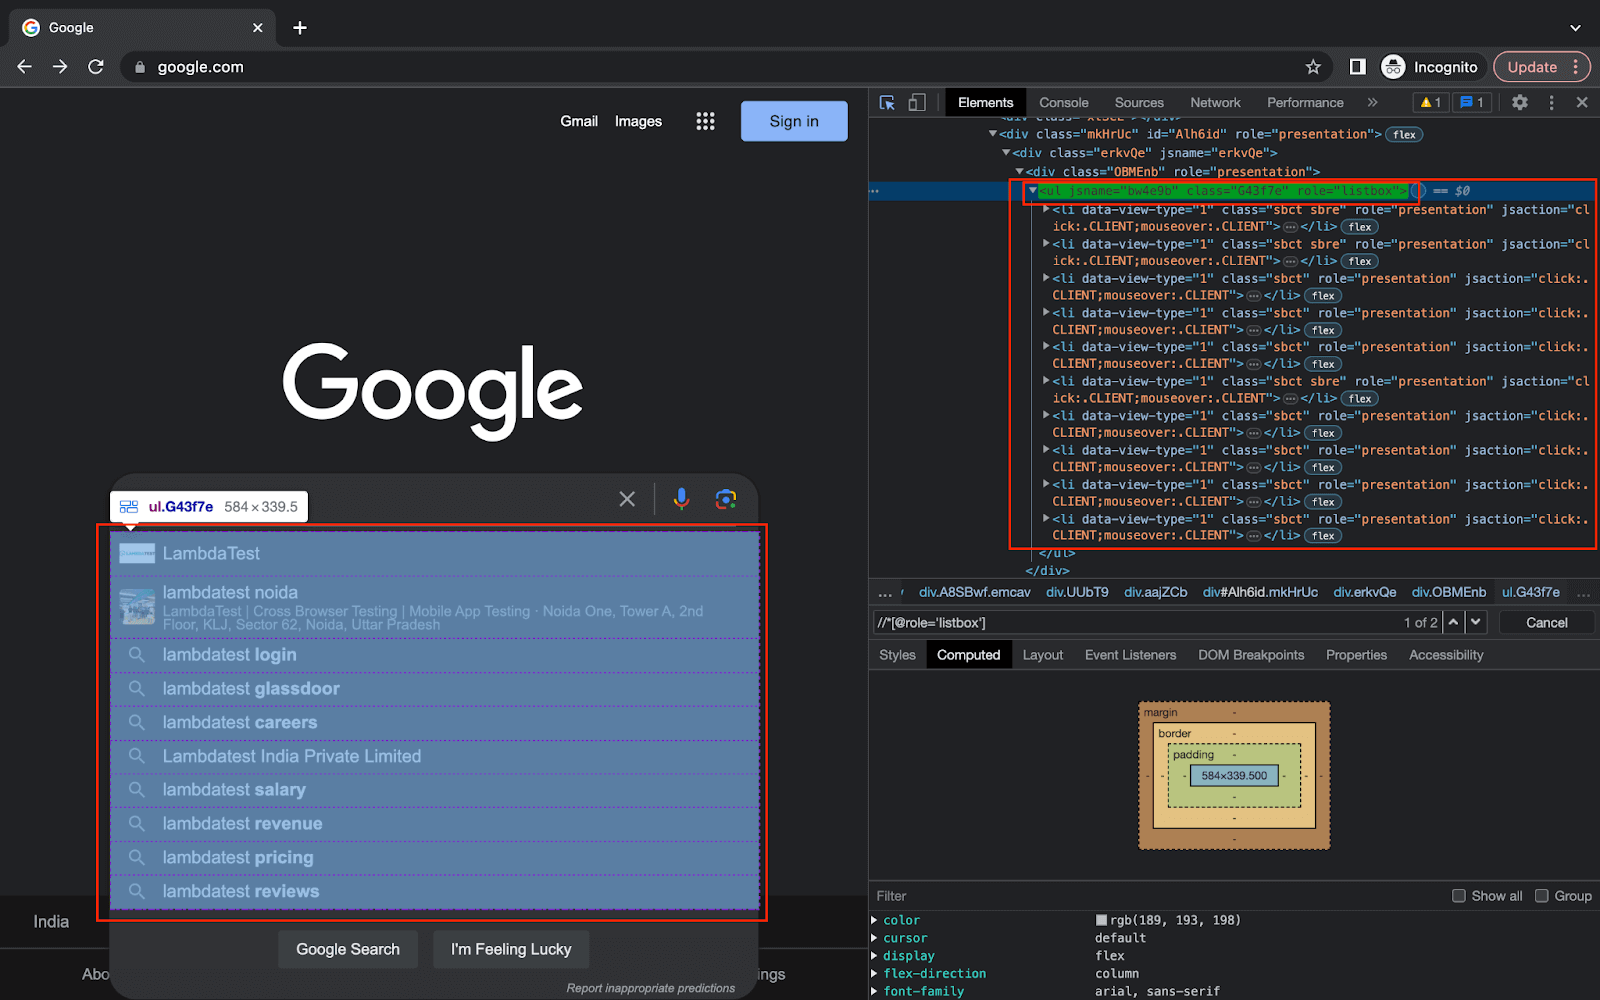
4.2) Inside this element is the list of all auto-suggestion elements. We need to fetch this using the container element reference from the previous step.
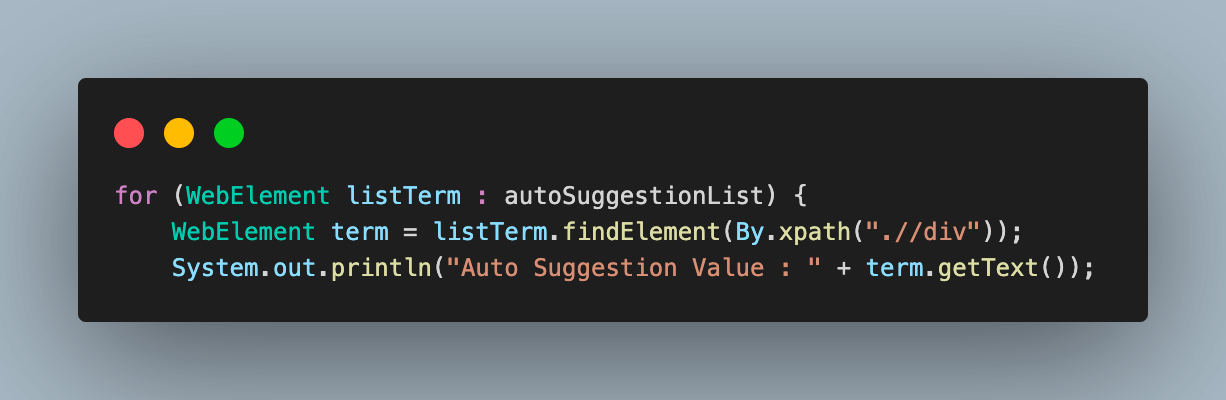
Step 5. This web element list hosts the relevant auto-suggestion value data. It is present inside the < span > tag of these elements.
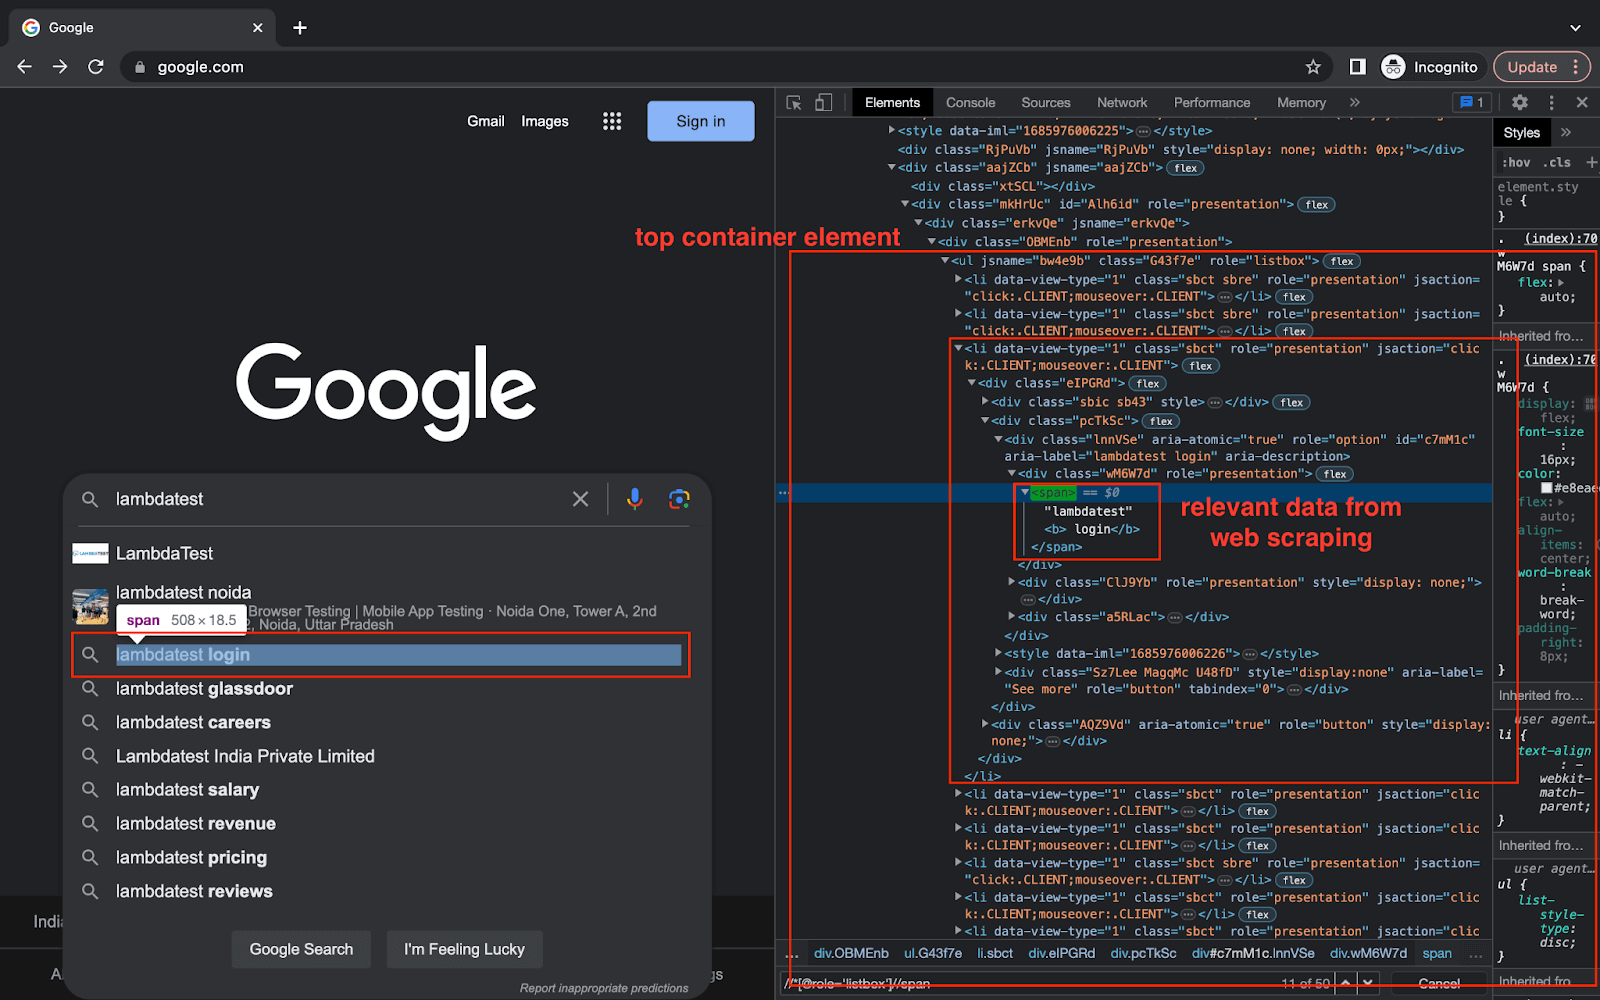
5.1) We start by traversing this list to fetch the required data for each element using a for loop.
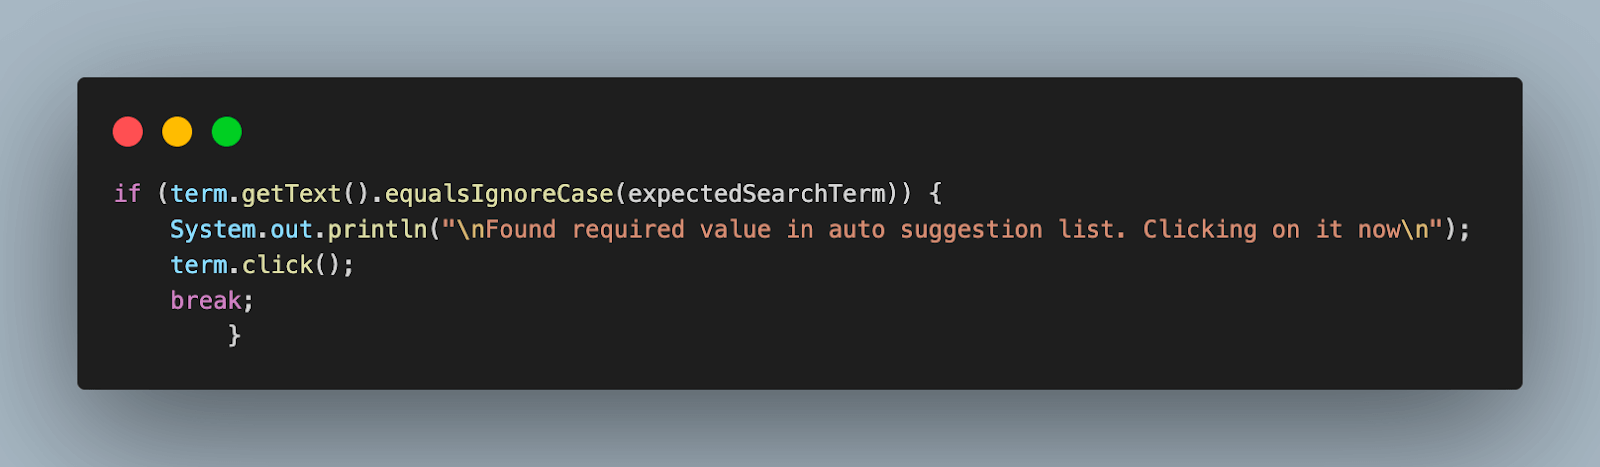
5.2) For each element use the < span > tag to get the value. Log the auto-suggestion value for better debugging.
5.3) Compare it with the expected search term. If it matches, click on it and break the loop, if not continue the process.
Step 6. After selecting the search term, wait for the search results page to load and verify if it matches the expected result. This is similar to what we did in previous test scenarios.
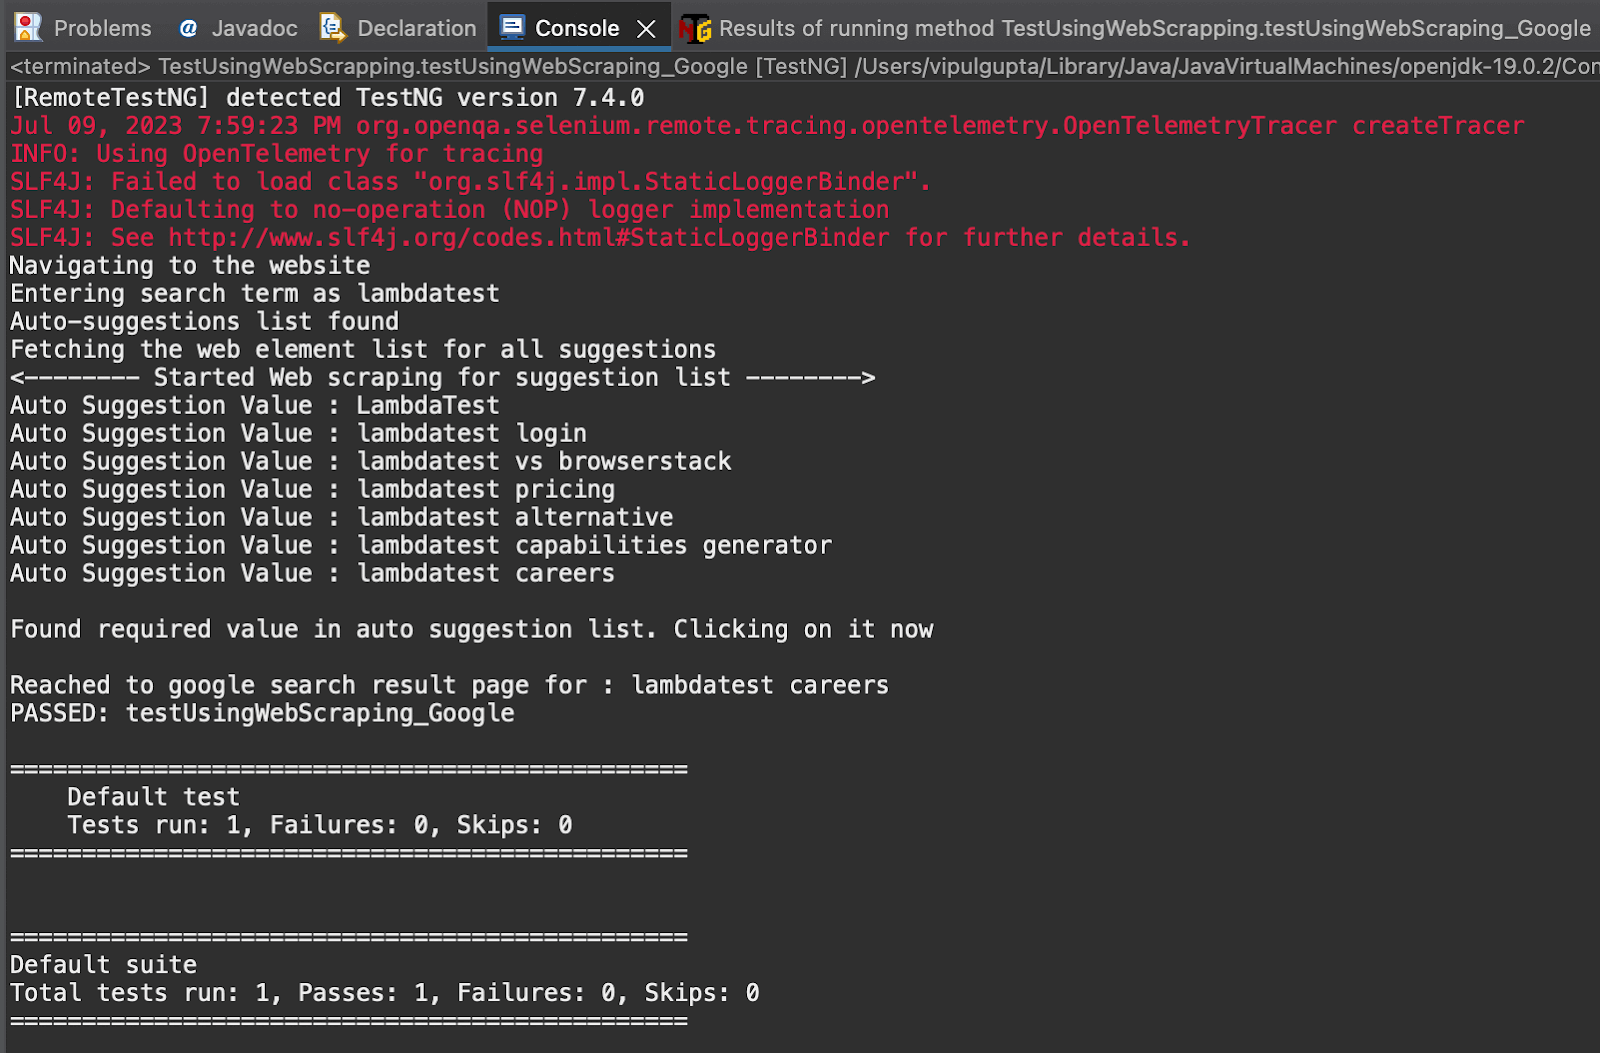
Executing the above test case for handling auto-suggestions in Selenium using web scraping would give an output like the below
Boost Your Mobile App’s Performance! Discover Proven Strategies for Mobile Performance Testing. Increase User Satisfaction & Rankings. Get Results Fast.
Bonus: Handling Auto-Suggestions in Selenium using web-scraping: Amazon
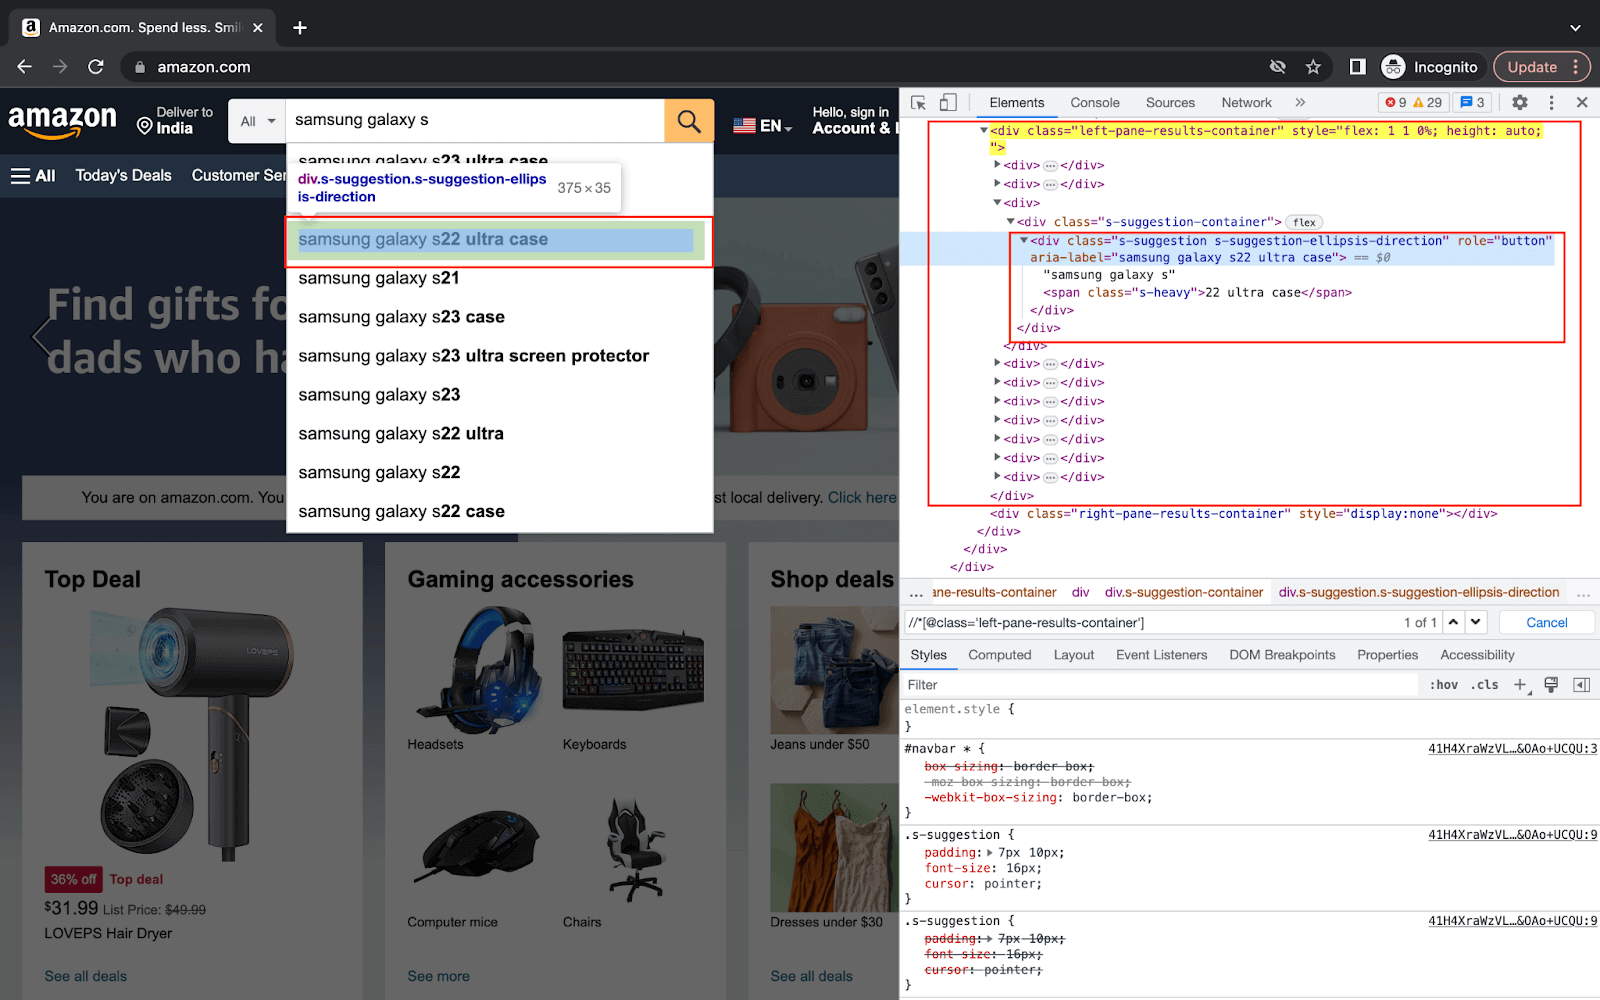
Like the last test scenario, this one also uses web scraping to handle the auto-suggestions list and select the required term. In this one, we take the example of a popular eCommerce website, Amazon, to understand the working of auto-suggestions on an eCommerce platform.
A similar strategy can be added to your website’s test automation scripts. You should be mindful that the website’s design or the products’ availability may change. In such circumstances, you just need to change the search term, and the code will continue functioning correctly.
For this, add a new test case to the same file, *TestUsingWebScrapping.java*, and name it *testUsingWebScraping_Amazon()*.

    @Test
    public void testUsingWebScraping_Amazon()
    {
       String expectedSearchTerm = "samsung galaxy s22";

       // to navigate to the website and enter search term
       System.out.println("Navigating to the website");
       driver.get("https://www.amazon.com");


       System.out.println("Entering search term as : samsung galaxy s");
       driver.findElement(By.id("twotabsearchtextbox")).sendKeys("samsung galaxy s");


       // explicit wait to wait for the auto suggestions list to be present
       wait = new WebDriverWait(driver, Duration.ofSeconds(10));
       wait.until(ExpectedConditions.presenceOfElementLocated(By.xpath("//*[@class='left-pane-results-container']")));
       System.out.println("Auto-suggestions list found");

       // Fetch the list of all suggestions
       System.out.println("Fetching the web element list for all suggestions");
       WebElement autoSuggestionListBox = driver.findElement(By.xpath("//*[@class='left-pane-results-container']"));
       List<WebElement> autoSuggestionList = autoSuggestionListBox.findElements(By.xpath(".//div[@class='s-suggestion-container']"));

       // scrape the autoSuggestionList to get each suggested term for a given search term.
       System.out.println("<-------- Started Web scraping for suggestion list -------->");
       for (WebElement listTerm : autoSuggestionList) {
           WebElement term = listTerm.findElement(By.xpath(".//div"));
           System.out.println("Auto Suggestion Value : " + term.getText());
           if (term.getText().equalsIgnoreCase(expectedSearchTerm)) {
               System.out.println("\nFound required value in auto suggestion list. Clicking on it now\n");
               term.click();
               break;
           }
       }
       wait.until(ExpectedConditions.presenceOfElementLocated(By.xpath("//*[contains(@cel_widget_id,'MAIN-SEARCH_RESULTS')]")));
       //scraping the search results page to get the price of required product
       List<WebElement> productDetails = driver.findElements(By.xpath("//*[contains(@cel_widget_id,'MAIN-SEARCH_RESULTS')]"));
       for(WebElement product : productDetails) {
           WebElement productName = product.findElement(By.xpath(".//h2"));
           WebElement productPrice = product.findElement(By.xpath(".//*[@class='a-price']"));
           System.out.println("Product Name: " + productName.getText());
           if(productName.getText().contains("Ultra 5G S908U")) {
               System.out.println("\nFound Required Product");
               System.out.println("Required Product Price : " + productPrice.getText());
               break;
           }
       }
    }
Code Walkthrough
Step 1. Add a new test case testUsingWebScraping_Amazon(), and annotate it with @Test annotation.
Step 2. Store the expected search term to a variable that will be used to compare and select from the auto-suggestion list at a later stage.
Step 3. Navigate to Amazon.com and enter the search term as samsung galaxy s and wait for the auto-suggestions list to load.
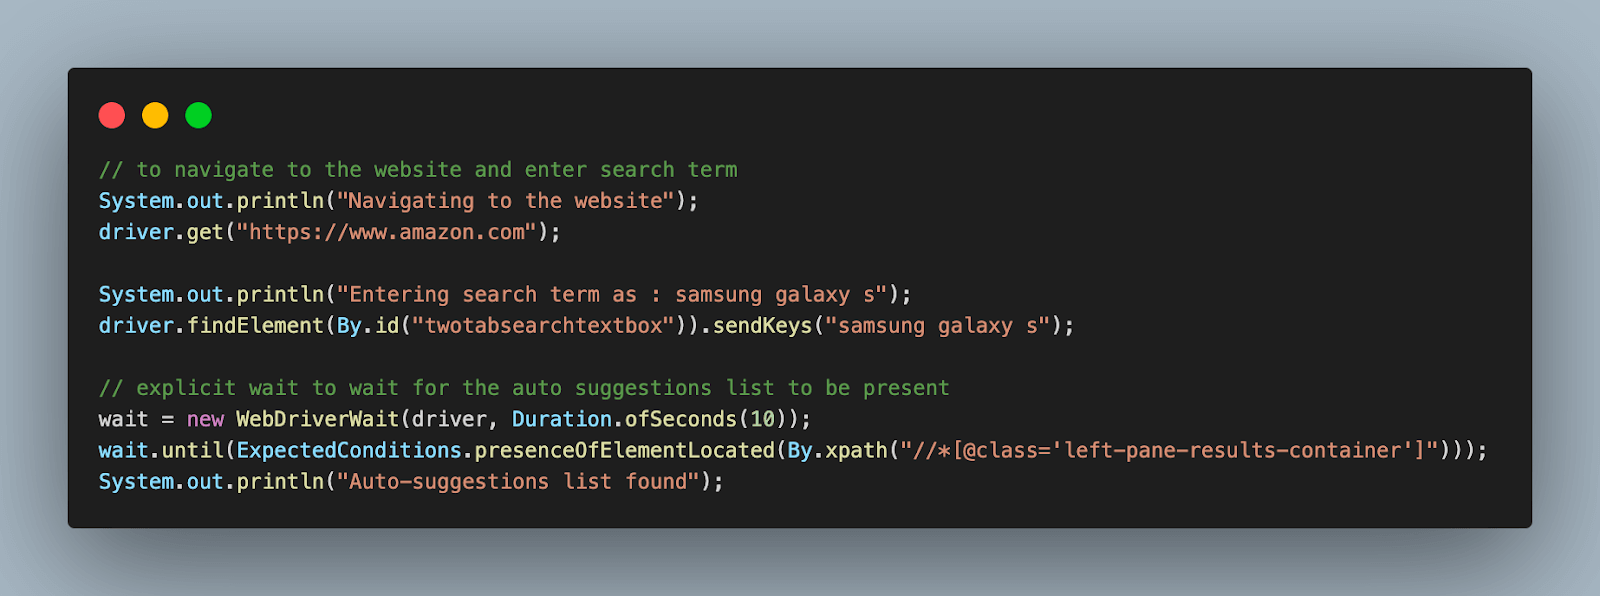
To verify that the auto-suggestion dropdown list has loaded, you can wait for the web element for the same to be present.
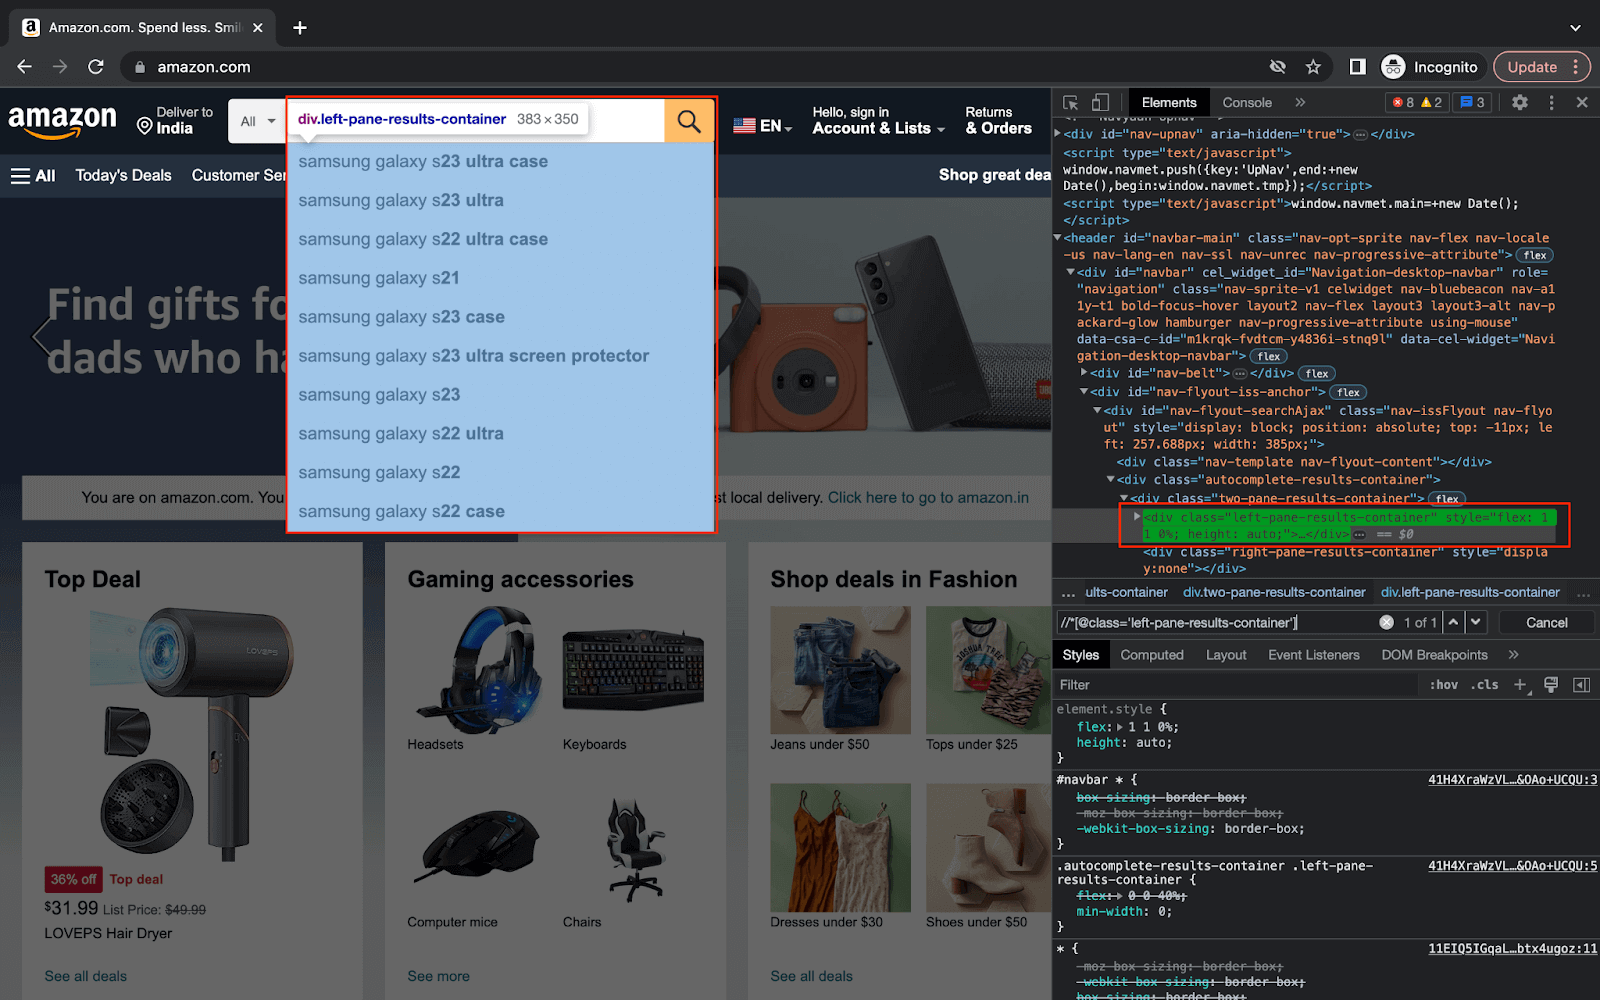
Step 4. Again using the same locator, we store the web element reference to a variable. This refers to the main container web element, which has the auto-suggestion list in child tags.

Step 5. Use the container web element to fetch the list of all auto-suggestions-related data that is present inside the < div > tag in this element.

We are using the XPath locator here for tag along with its class attribute.
Step 6. Use the web scraping approach to fetch relevant auto-suggestion values from the list of web elements fetched in the last step. For this, locate the child < div \> tag again, which holds this information, and print it for each element.
6.1) Inside the loop only, compare the auto-suggestion value with the expected product name. If it matches, select the same to see a detailed list of all related products.
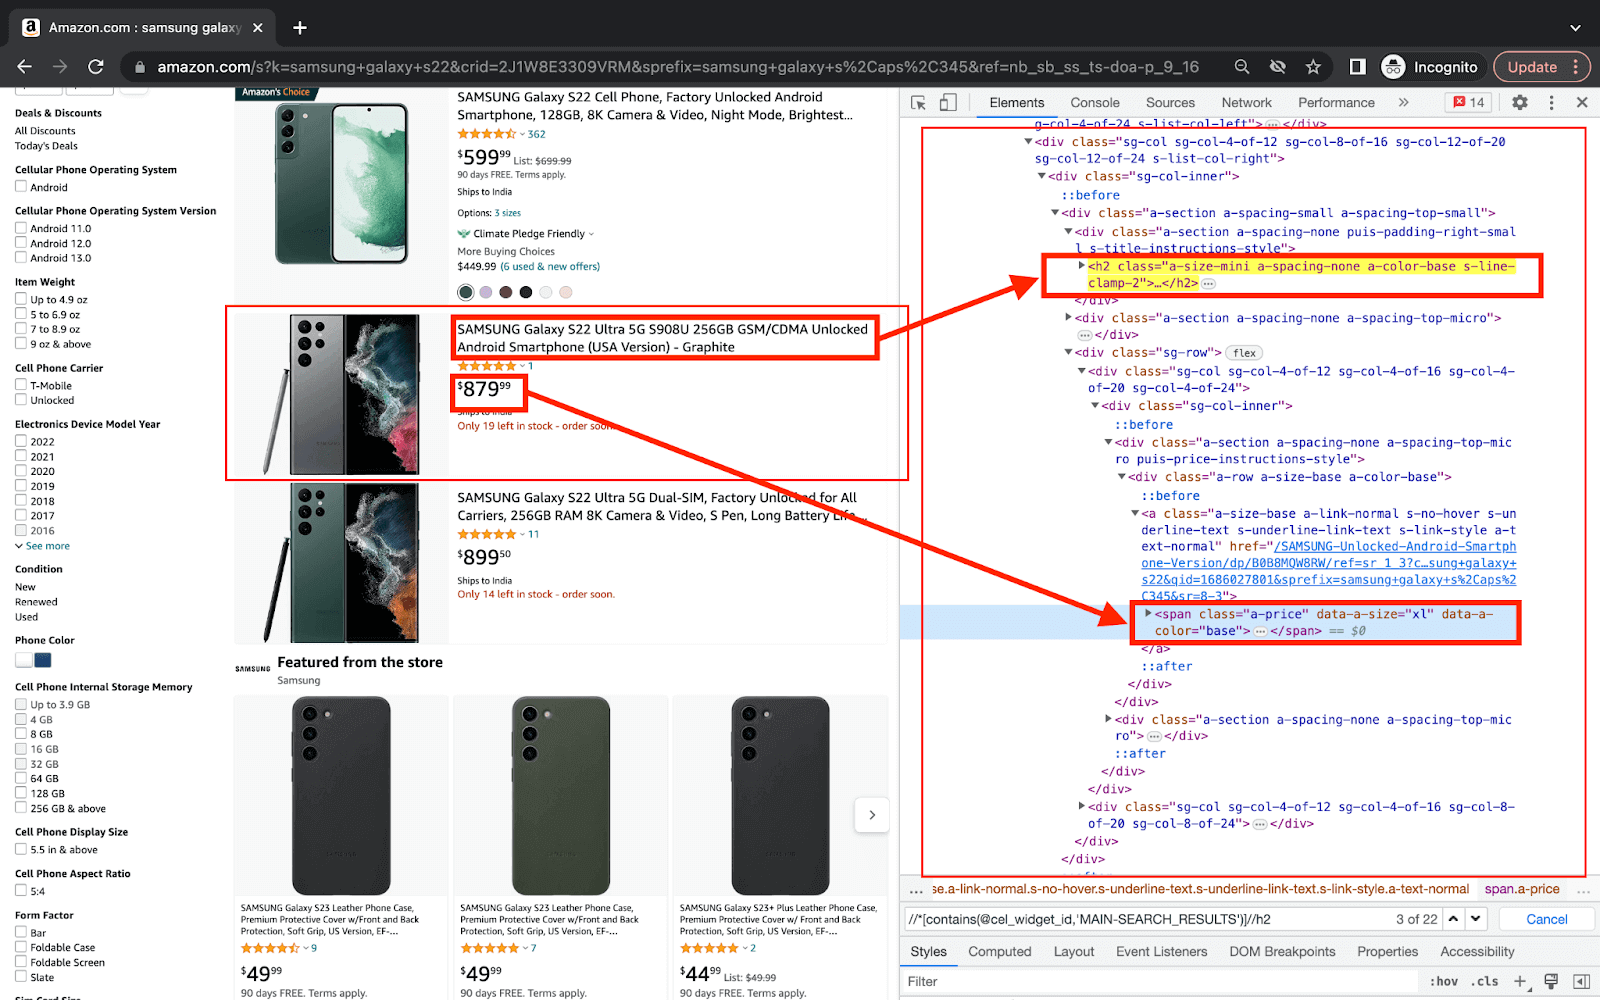
You should see a page like the one below on selecting the product.

Step 7. Use the explicit wait object again to wait for the page load to complete using ExpectedConditions.

Step 8. Implement the web scraping approach again on this page. This time, we scrape the entire page to get the name and price for the required product.
8.1) Fetch the web element locator, which contains all this information, and store it in a list.

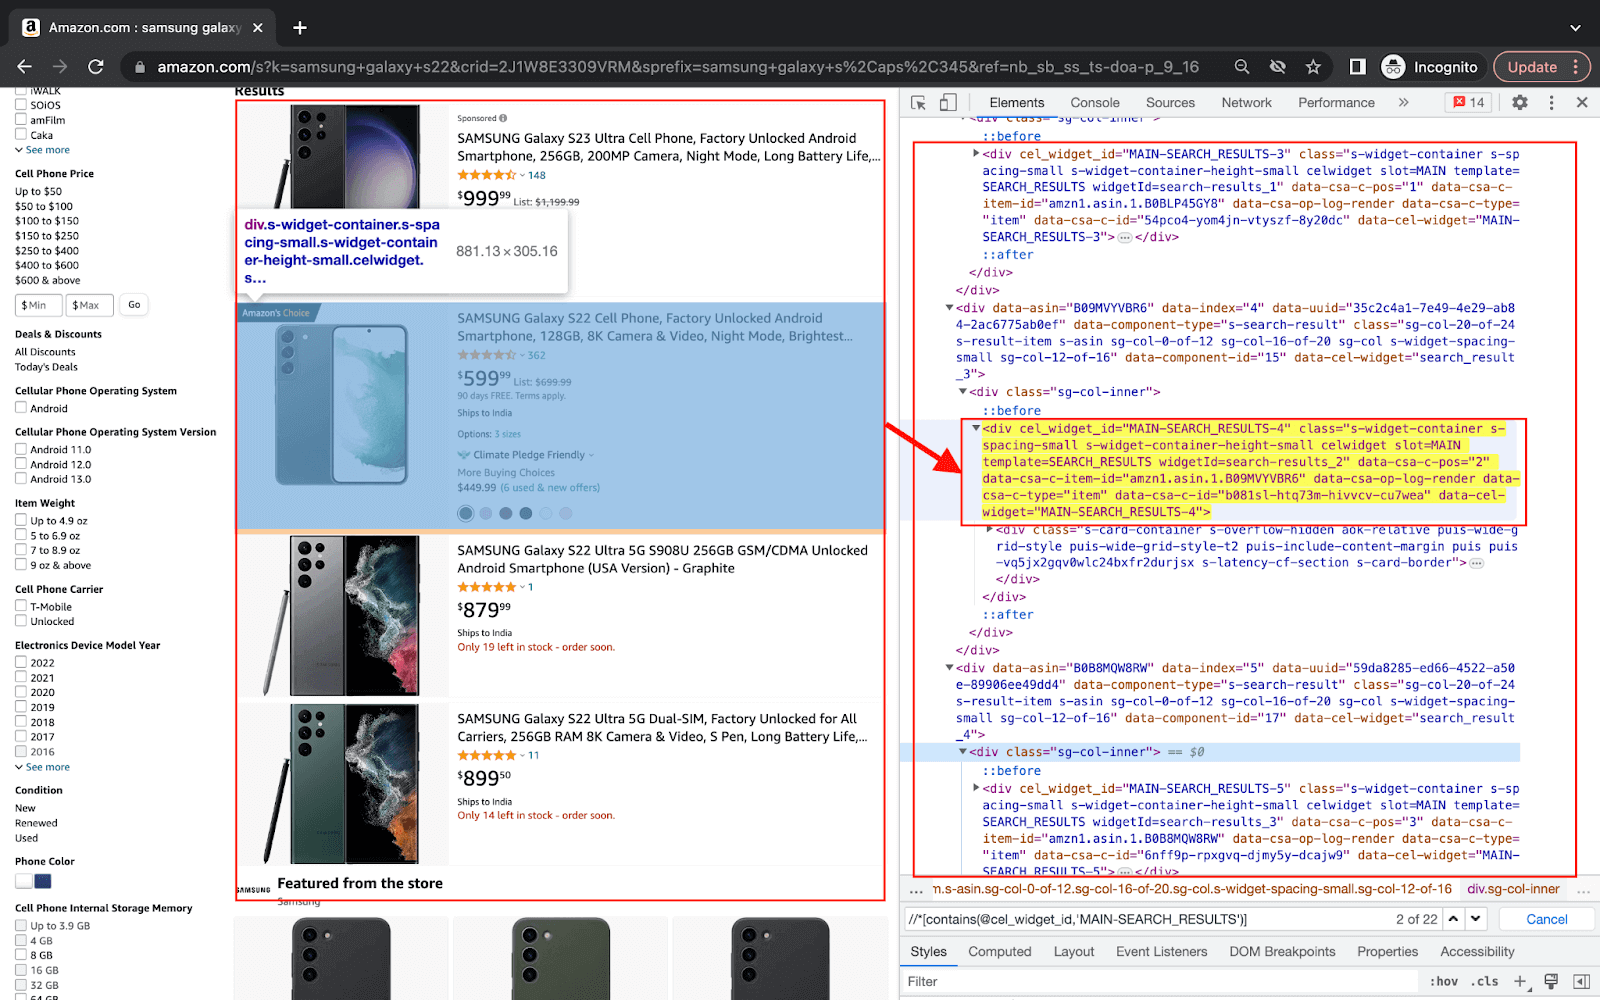
8.2) Scrape the information inside this element to get the product name and price as per requirement. The product name is present inside < h2 > tag and price inside a tag with a class attribute having value class = ‘a-price’.

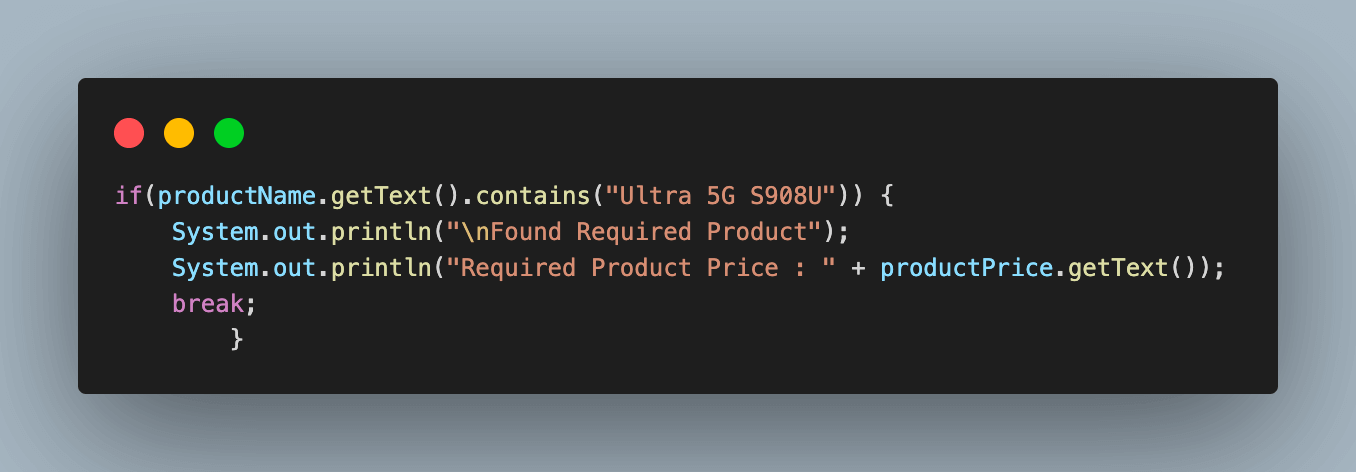
8.3) Use an if condition to check if the product name contains the required model number. If yes, print the price, if not continue to the next element until all product elements are processed.
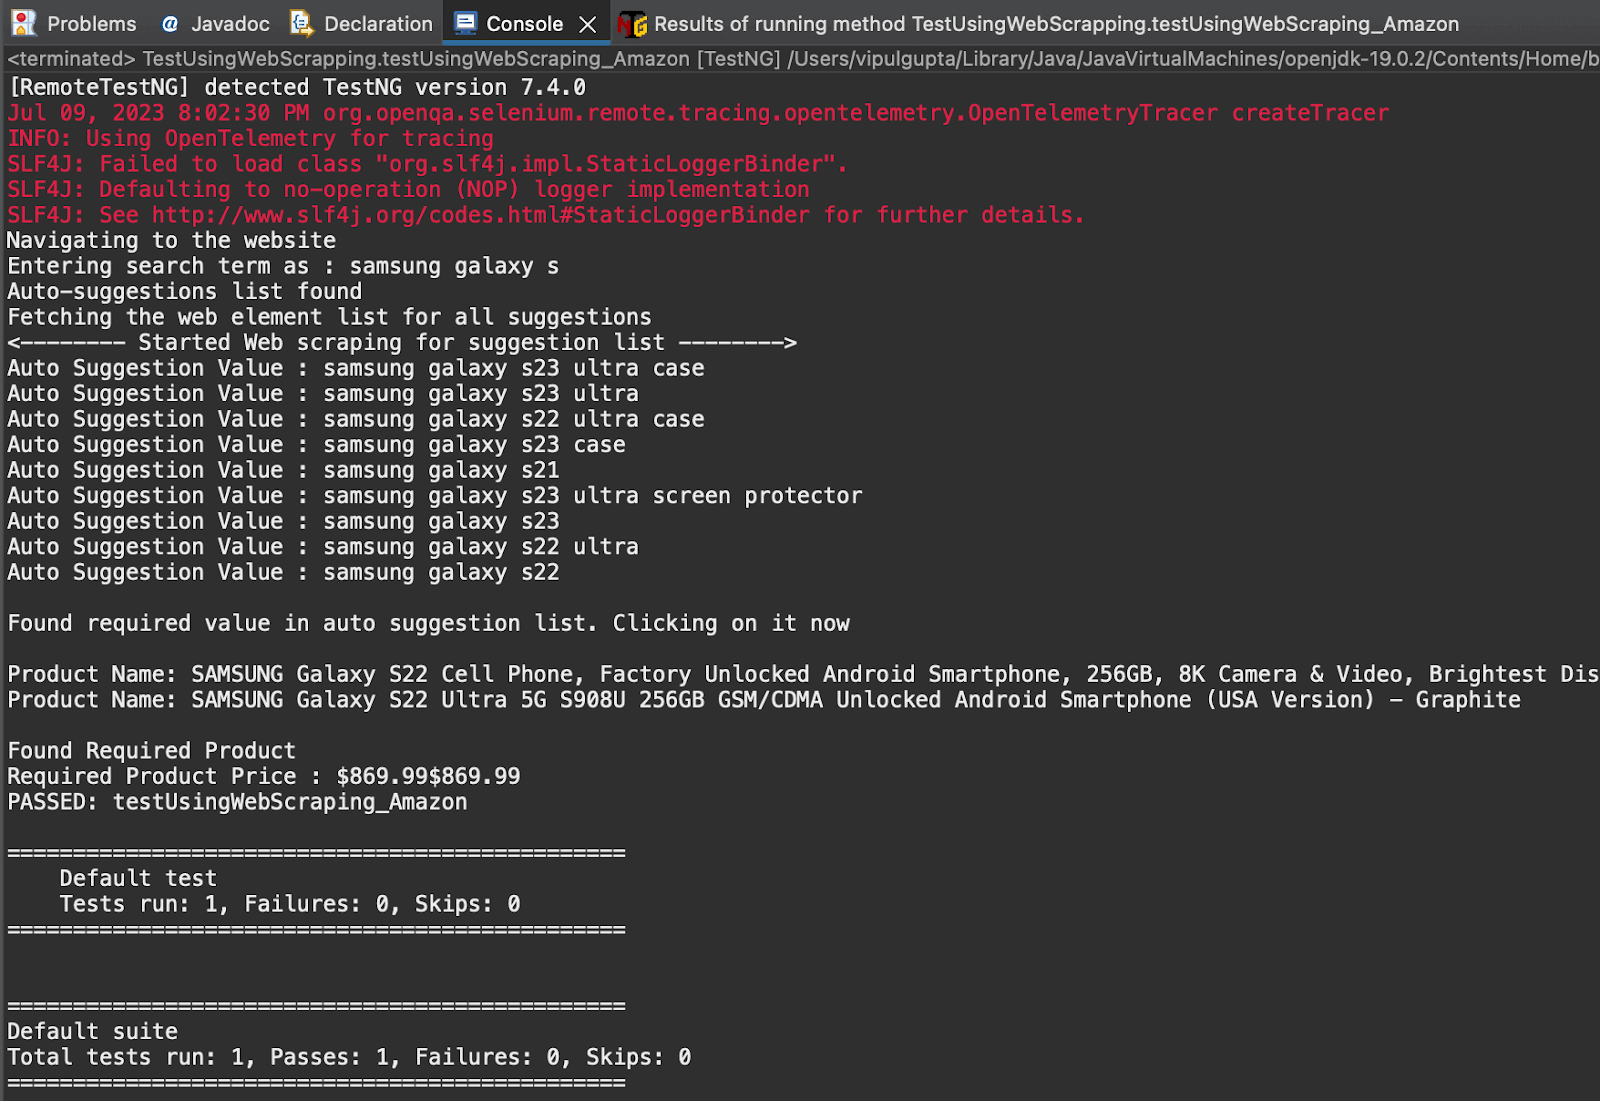
Executing this automation script to handle auto-suggestions on Amazon for a product search and get its price for a matching product using web scraping, you will get an output like the one below.
This guide focuses on test automation metrics, its significance, strategies, challenges, and key test automation metrics for measuring success.
Conclusion
This brings us to the conclusion of our blog on handling auto-suggestions in Selenium Java automation to create robust and reliable automation. We learned details on auto-suggestions, the challenges they might pose, and how to handle them. Auto-suggestions can be successfully handled in automation by using explicit waits, validating suggestions, handling suggestions load time, etc. It is now time for you to begin handling the auto-suggestions on your test website using Selenium automation.