Scrolling in Selenium is crucial for interacting with elements beyond the visible viewport. It ensures proper visibility and accessibility of elements during test execution, especially in scenarios involving dynamic content or lazy loading. Before diving into operations like how to scroll up and scroll down in Selenium, it’s important to understand the classes and interfaces in Selenium WebDriver.
Selenium WebDriver is mainly represented by the WebDriver interface. This interface defines a set of methods for web browsers, allowing users to automate their interactions with WebElements and perform various testing operations. We will learn more about the SeleniumWebDriver interfaces detailed in this tutorial on how to scroll down in Selenium.
In this blog, we will explore performing scrolling actions on web pages using the JavaScriptExecutor interface in Selenium, focusing on how to scroll down in Selenium WebDriver.
We will use Java as a programming language to demonstrate these scroll actions, covering scenarios such as scrolling to a specific element and horizontal scrolling. This straightforward guide on incorporating scroll functionality into your Selenium automation scripts will help you build confidence when scrolling down in Selenium.
Understanding the hierarchy of Selenium interfaces
WebDriver is the foundation for building browser automation scripts in different programming languages. Other Selenium interfaces, such as SearchContext, Remote WebDriver, TakesScreenshot, and JavaScriptExecutor interfaces, extend the capabilities of Selenium WebDriver
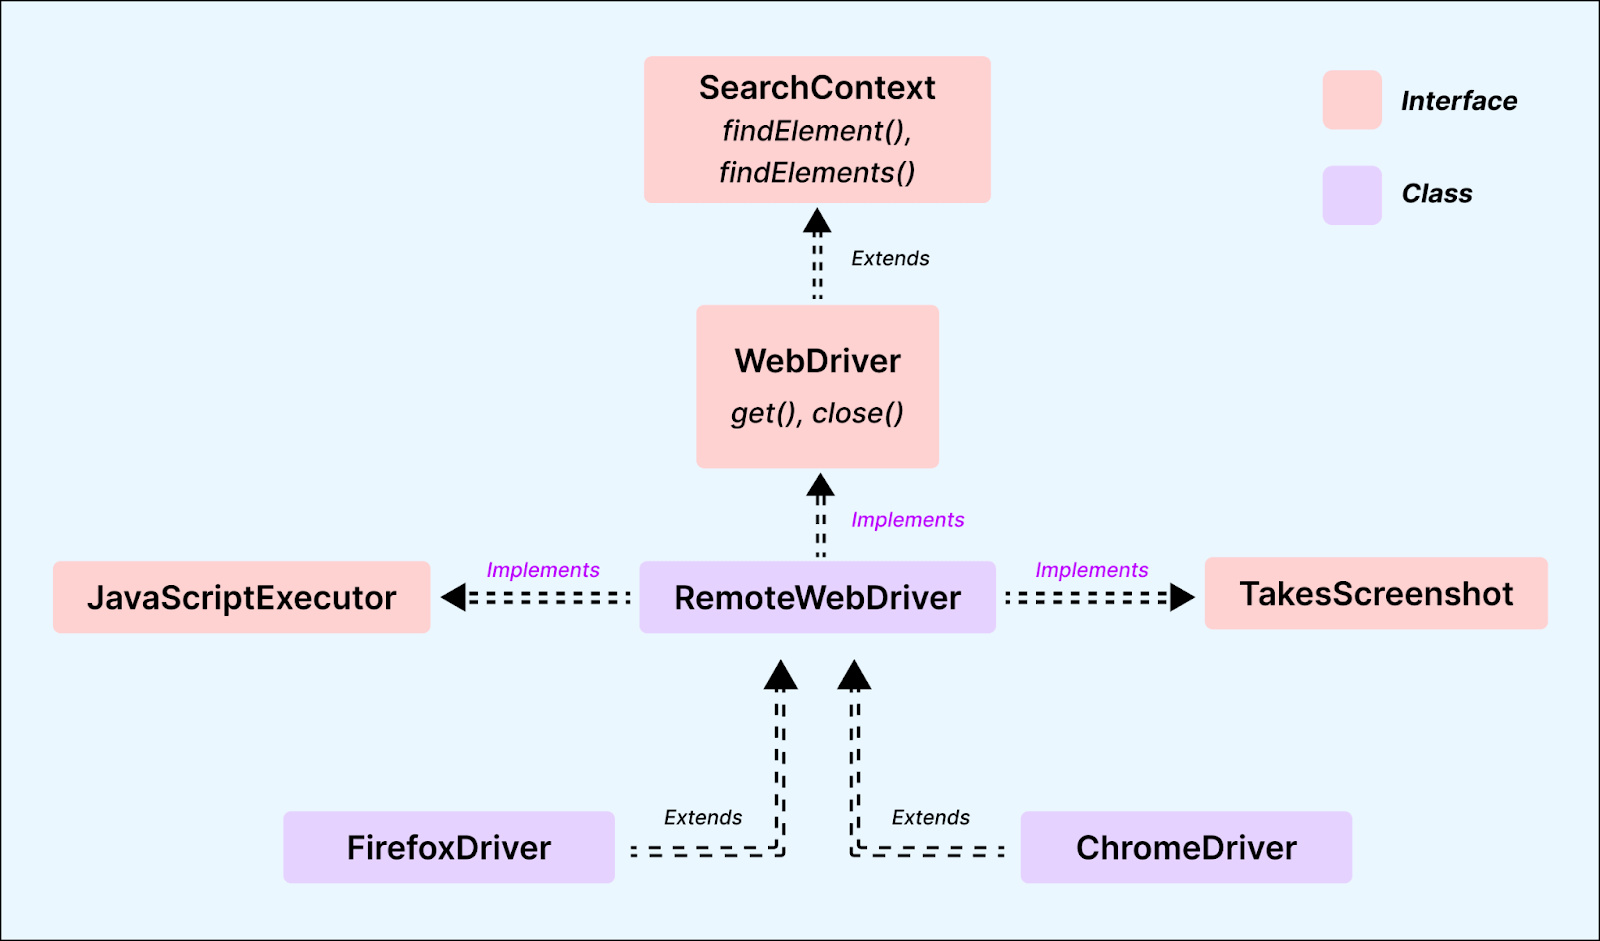
The SearchContext interface in Selenium ensures a consistent method for locating elements within the HTML structure during web automation testing, providing a standardized approach for interaction with WebElements. In addition to the core WebDriver and SearchContext interfaces, Selenium WebDriver incorporates two essential interfaces.
The TakesScreenshot interface enables users to capture screenshots during test execution, enhancing visual information in Selenium scripts.
The JavaScriptExecutor interface empowers users to execute JavaScript code within the Selenium framework, offering two methods: executeScript() for synchronous JavaScript and executeAsyncScript() for asynchronous JavaScript, further expanding the capabilities of Selenium scripts.
Understanding this hierarchy and the relationships between these interfaces is crucial for effectively utilizing Selenium WebDriver for automation testing. It provides a structured approach to performing actions on WebElements and facilitates the creation of robust and maintainable test scripts.
Let’s explore the basics of scrolling down in Selenium WebDriver to understand the significance of scrolling in Selenium.
What is scrolling in Selenium?
Scrolling in Selenium involves navigating up or down a web page to view its contents that extend beyond the visible area of the browser window. In the real-world scenarios of Selenium WebDriver automation, where conventional mouse or keyboard actions are not applicable, we rely on JavaScriptExecutor to scroll down through the content or web pages.
Scrolling in Selenium involves adjusting the view of a web page either vertically or horizontally to access hidden or dynamically loaded content. This becomes particularly useful when the elements you intend to interact with on a web page are not immediately visible and require scrolling into view before interaction is possible.
When performing automation testing with Selenium, various scenarios may demand scrolling, and one crucial aspect is scrolling down in Selenium. These scenarios include:
Locating and interacting with hidden elements: This is a typical situation in Selenium automation. Some web pages have initially hidden elements that only become visible when you scroll down. Incorporating the scroll down in the Selenium technique is crucial to interact with these elements smoothly, ensuring they come into the viewport for effective automation.
Infinite scroll: Infinite scrolling is a feature on certain web pages where new content dynamically loads as the user scrolls down. In automated testing scenarios, there’s a need to scroll down in Selenium WebDriver to initiate the loading of additional content.
Navigating through dropdowns or menus: Navigating through dropdowns or menus, especially those with numerous options, may necessitate scrolling down in Selenium to access the desired option effortlessly.
Verifying page layout: Verifying the page layout occasionally requires scrolling down in Selenium to ensure a comprehensive check of the appearance and arrangement of elements across different page sections.
To implement scroll down in Selenium, especially to an element and other relevant operations, the initial step involves importing the org.openqa.selenium.JavascriptExecutor package into your code.
Below is the syntax of JavaScriptExecutor for Selenium, which is important for seamlessly incorporating scroll down in Selenium functionality and various related operations:
The syntax for JavaScriptExecutor is shown below:
JavascriptExecutor js = (JavascriptExecutor) driver; js.executeScript(script,arguments);
In the provided code snippet, we create an instance of the JavascriptExecutor interface by casting the WebDriver object. JavaScript, a language capable of communicating with HTML in a browser, is used through the JavascriptExecutor interface for executing JavaScript code in Selenium automation. This interface acts as a bridge, enabling the WebDriver to interact with HTML elements within the browser and facilitating various actions, such as scrolling, as this blog emphasizes.
Subsequently, the JavascriptExecutor object invokes the executeScript() method. This method executes the specified test script as an anonymous function for the current browser window in focus.
Notably, the executeScript() method returns a WebElement if the script involves an HTML element and includes a return statement, which is relevant when incorporating the scroll down in Selenium WebDriver functionality.
Some examples of this script would be.
To click a button
To enter some data
To scroll down in Selenium WebDriver
Now that the basic premise is set let’s delve into scrolling a web page using Selenium WebDriver. In this blog on how to scroll down in Selenium WebDriver, we will learn to incorporate scroll down functionality for effective automation testing.
Scrolling a web page using Selenium WebDriver
Effectively scrolling a web page using Selenium WebDriver is crucial, especially when confronted with elements that aren’t immediately visible or that trigger specific behaviors on a web page. Selenium WebDriver offers multiple methods for seamless scrolling, providing diverse techniques to simulate this action.
There are various approaches to achieving this, including the natural integration of the scroll down in Selenium WebDriver.
scrollTo() method
This scrollTo() method is valuable for scrolling a web page to a specific location using Selenium WebDriver. This method requires the (x, y) coordinates of the desired location as arguments. For instance, to effortlessly scroll down to the bottom of the web page, you would pass the y-coordinate set as the maximum height of the document (web page).
js.executeScript(“window.scrollTo(0, document.body.scrollHeight)”);
This approach proves particularly useful when dealing with scroll down in Selenium WebDriver functionality.
scrollBy() method
This scrollBy() method is handy when adjusting the view by a specific number of pixels in Selenium WebDriver. Similar to the scrollTo() method, it also takes (x, y) coordinates as arguments. However, in the scrollBy() method, the coordinates signify the number of pixels to scroll rather than the absolute position to scroll to. For instance, to smoothly scroll 50 pixels on the x-axis and 100 pixels on the y-axis, you would provide these values as arguments to the method.
js.executeScript(“window.scrollBy(50,100)”);
This approach proves effective, especially with scroll down in Selenium WebDriver functionality.
scrollIntoView() method
This scrollIntoView() method in Selenium WebDriver is a valuable approach for scrolling to a specific WebElement that is currently not visible on the screen. This method takes the script to scroll and the WebElement as arguments. Like the scrollTo() and scrollBy() methods, it effectively manages elements’ visibility during automation testing.
js.executeScript(“arguments[0].scrollIntoView();”, element);
This functionality becomes particularly relevant when seamlessly integrating the scroll down in the Selenium WebDriver technique.
In the following section of this blog, we will learn how to scroll down in Selenium WebDriver with a demonstration and code walkthrough.
How to scroll down to the bottom of the page in Selenium WebDriver?
To achieve a smooth scroll down in Selenium WebDriver, we will obtain the height of the page. Once the page height is determined, we will perform a scroll down in Selenium to reach the end of the page. This method is frequently used in Selenium automation testing, where scrolling is essential to carry out relevant operations on the WebElements within the Document Object Model (DOM).
The following code helps you scroll down to the bottom of the page using the JavascriptExecutor interface.
js.executeScript(“window.scrollTo(0, document.body.scrollHeight)”);
In the following implementation, we navigate to the LambdaTest Selenium Playground web page and execute a scroll down to the bottom of the page in Selenium WebDriver.
Demonstration: Scroll down to the bottom of the page in Selenium WebDriver
Before proceeding with the demonstration of scrolling to the bottom using Selenium, let’s establish the basic setup for the project. This setup involves creating a Maven — TestNG project and configuring it to connect to a remote cloud grid where we will execute all the test cases and assess the results.
We will be using a cloud-based platform to access Selenium Grid, and one such platform is LambdaTest. LambdaTest is an AI-powered test orchestration and execution platform that lets you run manual and automated tests at scale with over 3000+ real devices, browsers, and OS combinations. It also provides detailed execution reports that can be viewed on its dashboard and analytics for test execution trends and other key performance indicator metrics.
This platform will assist us in executing and managing all the test cases over the cloud. Furthermore, this platform enables you to use the Selenium Grid for parallel testing. This preparation is crucial, especially when integrating the scroll down in Selenium technique later in the project.
If you are new to automation testing over the cloud, follow this detailed video tutorial on using LambdaTest to run your tests. It provides valuable insights and step-by-step instructions, helping you start automation testing projects over a cloud platform.
This platform will assist us in executing and managing all the test cases over the cloud. Furthermore, this platform enables you to use the Selenium Grid for parallel testing. This preparation is crucial, especially when integrating the scroll down in Selenium technique later in the project.
Let’s look at the project setup, including the configuration for connecting to the LambdaTest cloud grid. This setup will be utilized in all demonstrations involving scrolling using Selenium.
Project Setup:
Below are the steps to set up your project and perform scroll down functionalities using Selenium WebDriver.
Step 1. Launch Eclipse IDE or any other IDE of your choice. The steps for project setup and all demonstrations remain the same for the chosen IDE. If you do not have Eclipse installed, download the IDE from their official website.
Step 2. Create a new Maven project and name it as SeleniumScroll.
Step 3. Inside the src package, add a new package as a test. This package will have all the Java test files for this blog demonstration.
Step 4. Add a class file and name it BaseTest.java. This Java file will contain all the common code for test execution, like setup and initializing the WebDriver, declaring and initializing public variables for the project, handling driver termination after test completion, etc.
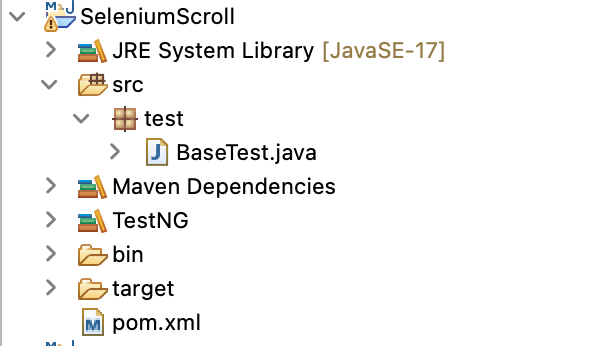
This file will have the details and steps required to connect to the LambdaTest cloud grid on which all the test cases will be executed.
If you wish to learn how to install TestNG in Eclipse, follow this detailed guide that covers all the steps needed to set up TestNG in Eclipse and start your automation testing process.
As this project uses Selenium and TestNG as the testing framework, add the latest stable versions of Selenium 4 and TestNG dependencies inside the pom.xml for the best execution results. You can fetch the latest dependencies from the Maven repository.
For an in-depth understanding of Selenium 4, including its architecture, types, and differences compared to Selenium 3, you can follow this comprehensive video tutorial. It provides valuable insights into the workings of Selenium 4. {% gist %} The updated pom.xml should look like this.
4.0.0 SeleniumScroll SeleniumScroll 0.0.1-SNAPSHOT src maven-compiler-plugin 3.8.1 17 org.seleniumhq.selenium selenium-java 4.16.1 org.testng testng 7.8.0 test
And the finalized BaseTest.java with all the cloud configuration and LambdaTest configurations should look like below.
Code Implementation:
The following code implementation consists of the cloud capabilities and establishes a common file containing the base code for performing scroll operations.
`package test;

import java.net.MalformedURLException; import java.net.URL; import java.util.HashMap;

import org.openqa.selenium.chrome.ChromeOptions; import org.openqa.selenium.remote.RemoteWebDriver; import org.openqa.selenium.JavascriptExecutor; import org.testng.annotations.*;

public class BaseTest {

public RemoteWebDriver driver = null; JavascriptExecutor js; String username = System.getenv("LT_USERNAME") == null ? "<lambdatest_username>" : System.getenv("LT_USERNAME"); String accessKey = System.getenv("LT_ACCESS_KEY") == null ? "<lambdatest_accesskey>" : System.getenv("LT_ACCESS");

@BeforeTest public void setup() { try { ChromeOptions chromeOptions = new ChromeOptions(); chromeOptions.setPlatformName("Windows 10"); chromeOptions.setBrowserVersion("121.0");

HashMap<String, Object> ltOptions = new HashMap<String, Object>(); ltOptions.put("build", "Scroll with Selenium WebDriver"); ltOptions.put("project", "Scroll with Selenium WebDriver"); chromeOptions.setCapability("LT:Options", ltOptions);

driver = new RemoteWebDriver( new URL("https://" + username + ":" + accessKey + "@hub.lambdatest.com/wd/hub"), chromeOptions); js = (JavascriptExecutor) driver; } catch (MalformedURLException e) { e.printStackTrace(); } }

@AfterTest public void tearDown() { driver.quit(); } }

Before we jump to the result, let us understand the above code in the step-by-step process below.
Code Walkthrough:
The code below consists of the functions used to connect to the cloud grid, set up RemoteWebDriver, add LambdaTest username and access key, and more.
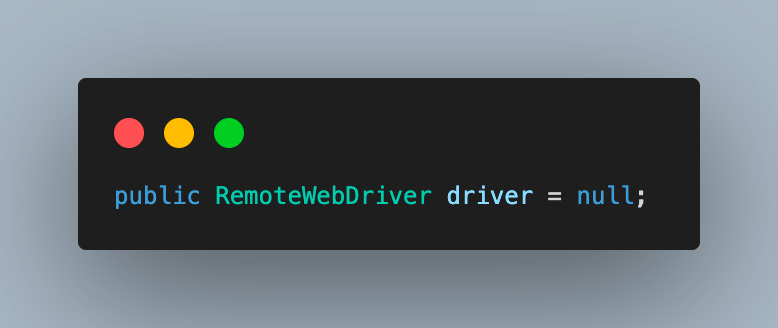
The above code creates an object of RemoteWebDriver and initializes it as null.
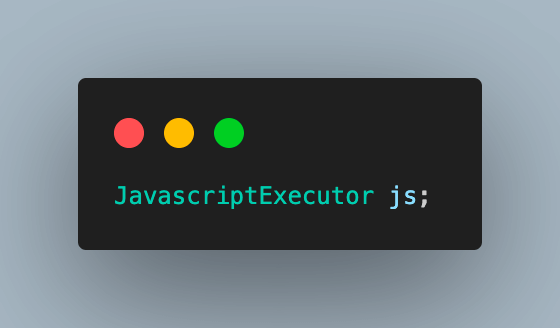
The above code creates an object of the JavascriptExecutor interface. We will initiate it after connecting to the cloud grid later.

The above code displays how to add your username and access key once you have fetched it from the LambdaTest platform. To fetch the credentials, click Profile > Account Settings > Password & Security, copy the details, and connect to the cloud grid for test execution.
Alternatively, you can configure these as environment variables and directly fetch them in code.
For macOS and Linux:
export LT_USERNAME=LT_USERNAME export LT_ACCESS_KEY=LT_ACCESS_KEY
For Windows:
set LT_USERNAME=LT_USERNAME set LT_ACCESS_KEY=LT_ACCESS_KEY
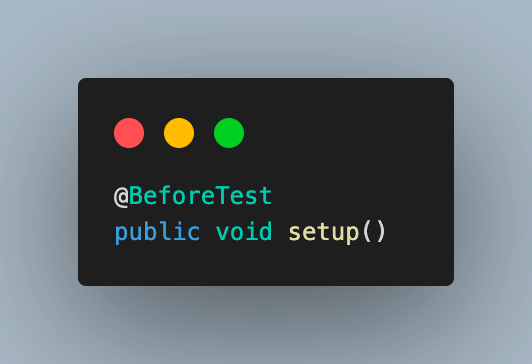
The above code creates a method for this class and names it setup(). Annotate it with the @BeforeTest annotation in TestNG so that it is executed before each test.
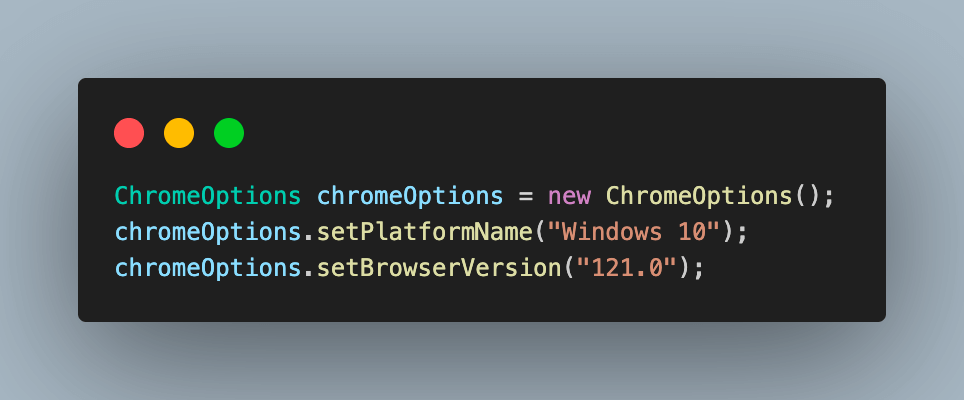
The above code creates an object of the ChromeOptions class. This can be used to set the OS and browser versions.
The above code creates a HashMap type variable to pass the additional browser capabilities required by the LambdaTest platform to support test execution on their cloud grid. This will help identify the dashboard test results using the build name and other details.
Lastly, fetch the required browser capabilities for the LambdaTest platform by navigating to the Automation Capabilities Generator. This helps by offering ready-to-use code for setting up browser capabilities that can be used in execution.
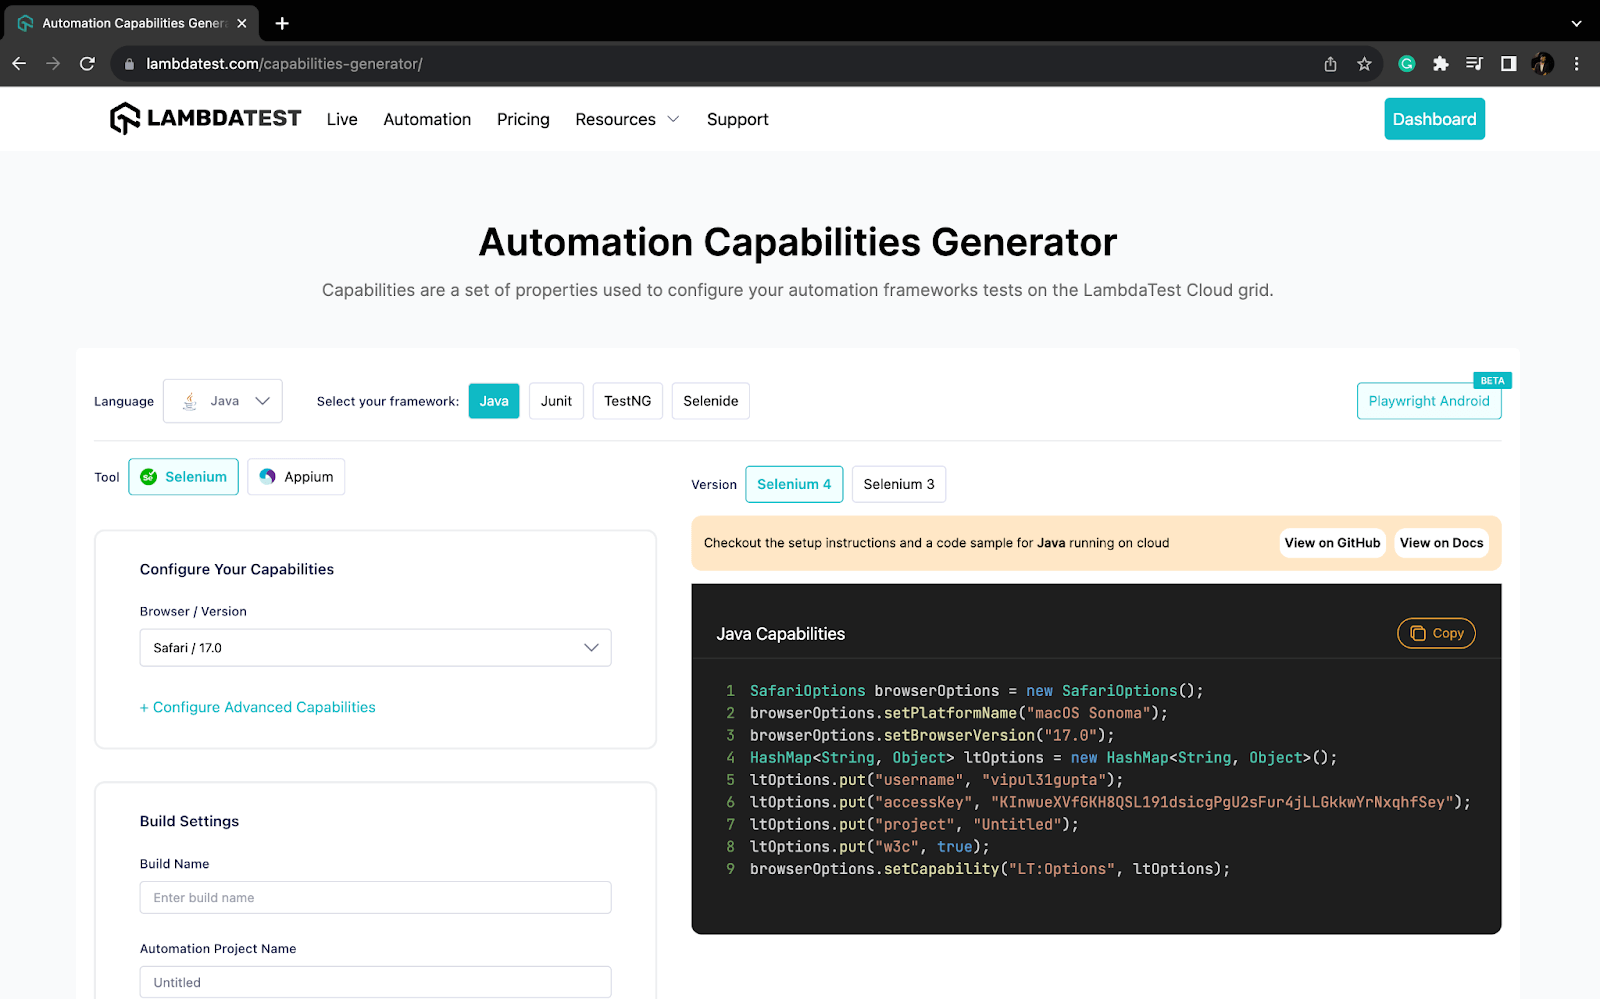

The above code uses the Selenium RemoteWebDriver to connect to the LambdaTest remote Grid using the credentials and the ChromeOptions objects containing all specified browser capabilities.
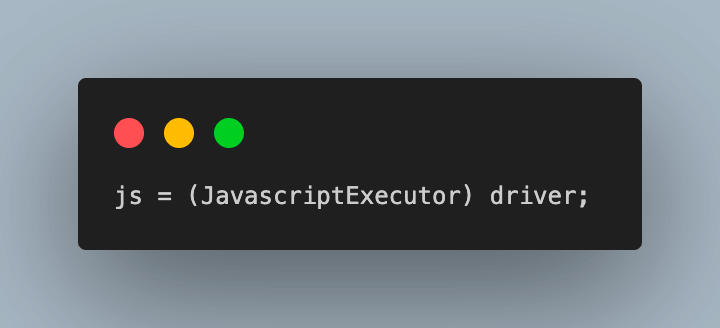
In the above code, the driver is initialized, which is used to initialize the JavascriptExecutor object that we created towards the beginning as well.
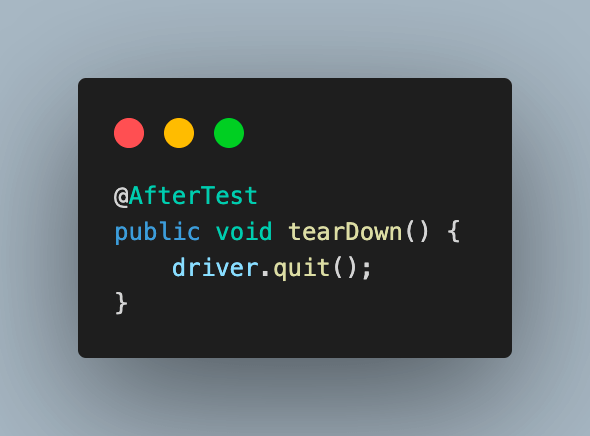
The above code adds a new method to close the browser and terminate the WebDriver session after each test execution. Name it as tearDown(), and annotate it with @AfterTest.
With this, the setup for the BaseTest.java file to hold the common code is completed. We will extend this file in all test classes going forward in this blog to demonstrate different scrolling operations used with Selenium.
Let’s proceed and explore the process of scrolling down to the bottom of a web page using Selenium WebDriver.
Code Implementation:
Below is the code implementation of performing scroll down in Selenium WebDriver with Java.
package test;

import org.testng.annotations.Test;

public class ScrollDown extends BaseTest{

@Test public void testScrollDown() { //launch the website driver.get("https://www.lambdatest.com/selenium-playground/");

//get the height of the web page and scroll to the end js.executeScript("window.scrollTo(0, document.body.scrollHeight)");
} }
Let us try to understand the above code’s workings in the step-by-step procedure below.
Code Walkthrough:
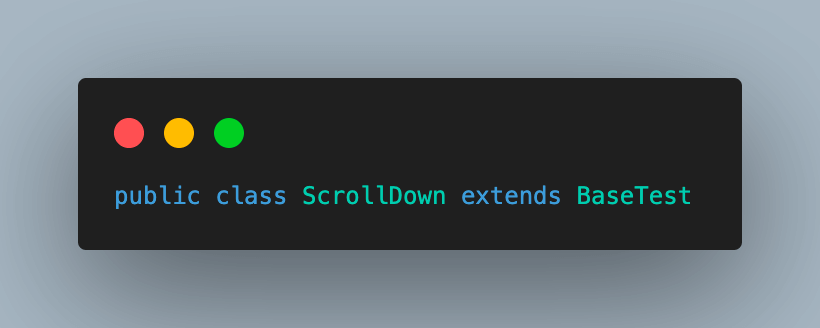
The above code extends the test class with the BaseTest.java file to inherit and use its functionalities, including the WebDriver and JavascriptExecutor.
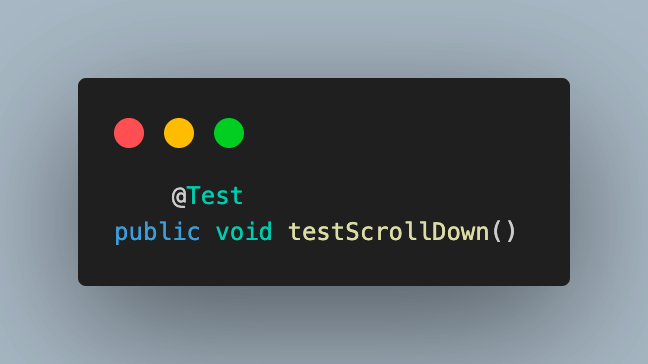
The above code adds a new test method as testScrollDown() and annotates it with @Test annotation.


The above code uses the JavascriptExecutor object to scroll down to the bottom of the page using the scrollTo() method.
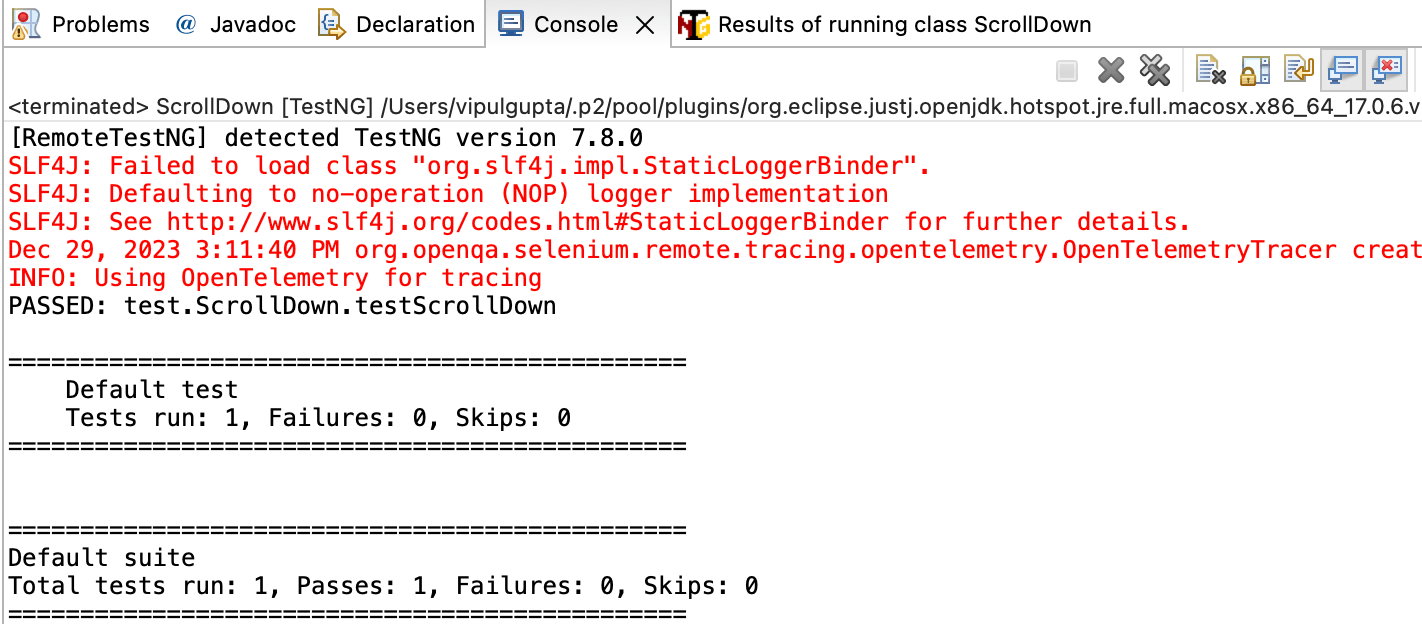
Result:
On executing the above code, you can see output like the below on the local and the LambdaTest dashboard.

How to scroll down to the WebElement visibility in Selenium WebDriver?
In any web page, several WebElements may load dynamically. To execute scroll down in Selenium, the relevant WebElement must be present or visible in the DOM.
The JavaScript scrollIntoView() interface is invaluable for this purpose, smoothly scrolling an element into the visible part of the window and enhancing the effectiveness of scroll down operations in Selenium WebDriver.
// Locate the desired WebElement WebElement element = driver.findElement(By.linkText("Espresso Testing")); js.executeScript("arguments[0].scrollIntoView();", element);
In the following implementation, we navigate to the LambdaTest Selenium Playground web page and execute a scroll down to the WebElement in Selenium WebDriver.
Demonstration: Scroll down to the WebElement in Selenium WebDriver
Below is the code to cover the complete working of visibility of an element on the web page.
Code Implementation:
The code below consists of the functions that perform scroll down in Selenium WebDriver for element visibility on the web page.
package test;

import org.openqa.selenium.By; import org.openqa.selenium.WebElement; import org.testng.annotations.Test;

public class ScrollDownByElementVisibility extends BaseTest{

@Test public void testScrollDownByElementVisibility() { //launch the website driver.get("https://www.lambdatest.com/selenium-playground/");

//specify the WebElement till which the page has to be scrolled WebElement element = driver.findElement(By.linkText("Espresso Testing"));

//get the height of the web page and scroll to the end js.executeScript("arguments[0].scrollIntoView();", element);
} }
Let us understand the code in detail below before jumping to the result.
Code Walkthrough:

The above code creates a new test class and extends BaseTest.java.
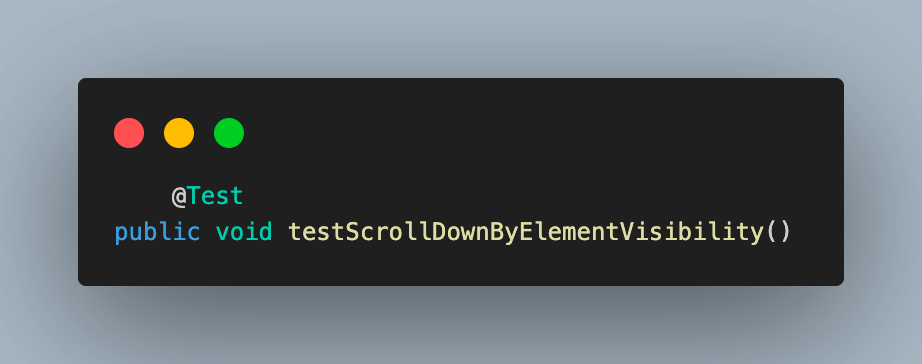
The above code adds a test method testScrollDownByElementVisibility() and annotates it with @Test.

The above code navigates to LambdaTest Selenium Playground.

The above code locates the WebElement to which we want to scroll. We have used the element’s Link Text to locate it.
To learn more about how to findElement() by Link Text or Partial Link Text, follow this guide on using Link Text and Partial Link Text in Selenium and get valuable information.

The above code uses the JavascriptExecutor object to execute the scrollIntoView() method with the element as the argument to scroll to it.
Result:
On executing the above code, you can see the result on the local and LambdaTest dashboard.


To learn more about WebElements and how you can interact with them, follow the video tutorial and get practical insight on dealing with WebElements to make your automation testing process efficient.
Not sure how to optimize your website for all devices? Follow our responsive design best practices to ensure a seamless user experience.
How to scroll down by specified pixels in Selenium WebDriver?
You can also scroll to a particular point by specifying the exact location or coordinates on the page. This can be done using the scrollBy() method.
js.executeScript(“window.scrollBy(0,3000)”);
In the following implementation, we navigate to the LambdaTest Selenium Playground web page and execute a scroll down by specified pixels in Selenium WebDriver.
Demonstration: Scroll down by specified pixels in Selenium WebDriver
Below is the code for scrolling down by a specified number of pixels on a web page using Selenium WebDriver.
Code Implementation:
The provided code consists of functions that scroll down in Selenium WebDriver to a specified number of pixels on a web page using Selenium WebDriver.
package test;

import org.testng.annotations.Test;

public class ScrollDownByPixel extends BaseTest{

@Test public void testScrollDownByPixel() { //launch the website driver.get("https://www.lambdatest.com/selenium-playground/");

//specify the number of pixels the page has to be scrolled js.executeScript("window.scrollBy(0,3000)"); } }
Let us understand the working of the above code in detail below before jumping to the result.
Code Walkthrough:
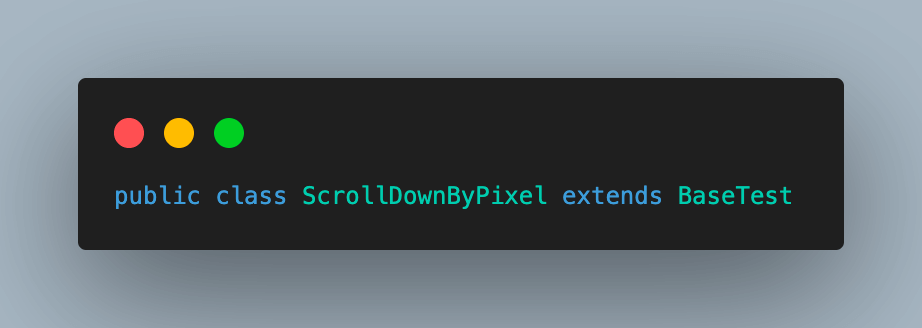
The above code creates a new test class and extends BaseTest.java.
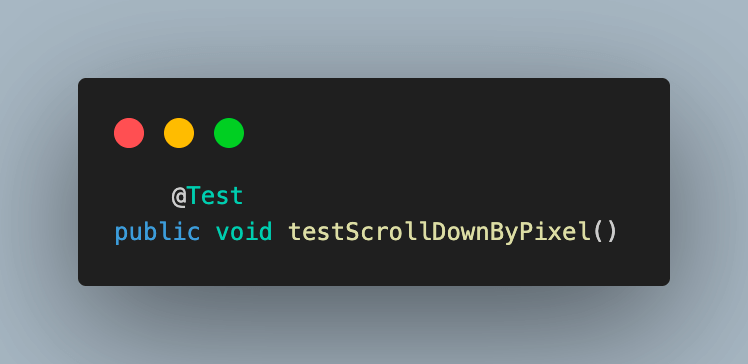
In the above code, we use a test method, testScrollDownByPixel(), which annotates it with @Test.

The above code navigates to LambdaTest Selenium Playground.
The above code uses the JavascriptExecutor object to execute the scrollBy() method by specifying the location pixels we want to scroll.
Result:
On executing the above code, you can see output like the below on the local and the LambdaTest dashboard.


How to scroll left in the horizontal direction in Selenium WebDriver?
When performing automation testing for websites or web apps, there are times when it becomes crucial to scroll the page in the horizontal direction. Particularly, when focusing on horizontal scrolling, the requirement may arise to scroll to the page’s left or right.
Use the below code snippet to scroll left horizontally during an automation test.
js.executeScript(“window.scrollBy(-3000,0)”);
In the following implementation, we navigate to the LambdaTest website and scroll left in the horizontal direction in Selenium WebDriver.
Demonstration: Scroll left in the horizontal direction in Selenium WebDriver
This demonstration is part of performing scroll down in Selenium, aiming to scroll a web page to the left in the horizontal direction using Selenium WebDriver.
Code Implementation:
The provided code below consists of functions that perform a horizontal scroll to the left on a web page using Selenium WebDriver.
package test;

import org.openqa.selenium.Dimension; import org.testng.annotations.Test;

public class ScrollToHorizontalLeft extends BaseTest{

@Test public void testScrollToHorizontalLeft() { //launch the website driver.get("https://www.lambdatest.com");

//decrease the size of window to show both scoll bars driver.manage().window().setSize(new Dimension(450,630));

//scroll to the right js.executeScript("window.scrollBy(6000,0)");

//scroll to the left js.executeScript("window.scrollBy(-3000,0)"); } }
Let us understand the working of the above code in detail below before jumping to the result.
Code Walkthrough:

The above code creates a new class, ScrollToHorizontalLeft, and extends BaseTest.java.
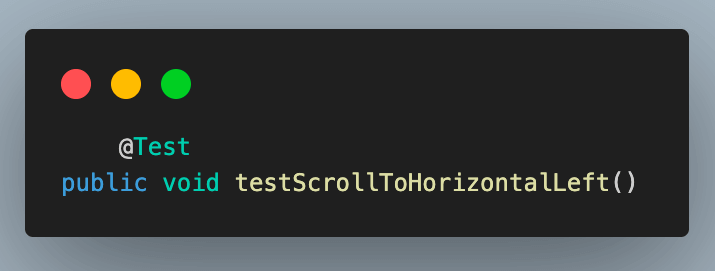
The above code adds the test method testScrollToHorizontalLeft() and annotates it with the @Test annotation of TestNG.
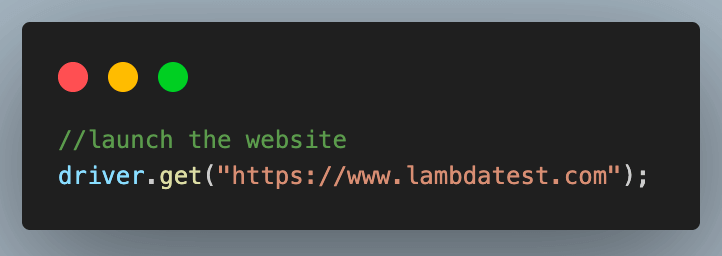
The above code navigates to the LambdaTest website.

The above code resizes the browser window from a maximized size to a smaller one to make both scroll bars visible.
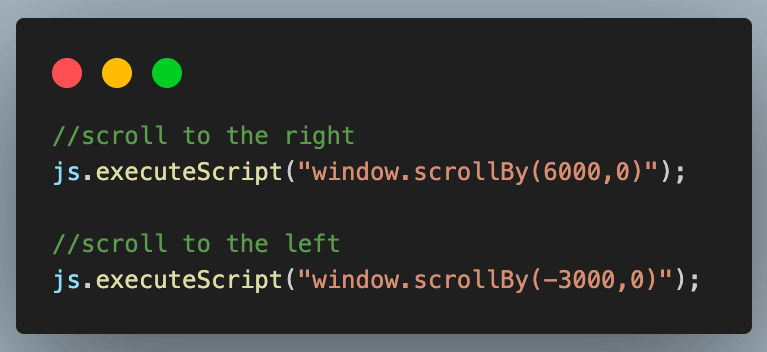
The above code visualizes the movement of the scroll bar in the horizontal left direction, and we first scroll to the right and then to the left.
Result:
On executing the above code, you can see output like the below on the local and the LambdaTest dashboard.


How to scroll right in the horizontal direction in Selenium WebDriver?
To scroll the web page horizontally in the right direction, use the below code snippet.
js.executeScript(“window.scrollBy(2000,0)”);
In the following implementation, we navigate to the LambdaTest website and scroll right in the horizontal direction in Selenium WebDriver.
Demonstration: Scroll right in the horizontal direction in Selenium WebDriver
This demonstration is part of the scroll down in Selenium WebDriver, aiming to scroll a web page to the right in the horizontal direction using Selenium WebDriver.
Code Implementation:
The provided code below consists of functions that perform the scroll right on a web page horizontally using Selenium WebDriver.
package test;

import org.openqa.selenium.Dimension; import org.testng.annotations.Test;

public class ScrollToHorizontalRight extends BaseTest{

@Test public void testScrollToHorizontalRight() { //launch the website driver.get("https://www.lambdatest.com");

//decrease the size of window to show both scroll bars driver.manage().window().setSize(new Dimension(450,630));

//scroll to the right js.executeScript("window.scrollBy(6000,0)");
} }
Before delving into the results, let’s delve into a detailed breakdown of the code. The provided example illustrates scrolling to the right in the horizontal direction using Selenium WebDriver.
Code Walkthrough:

The above code is similar to the last demonstration; add a new class as ScrollToHorizontalRight and extend BaseTest.java to it.
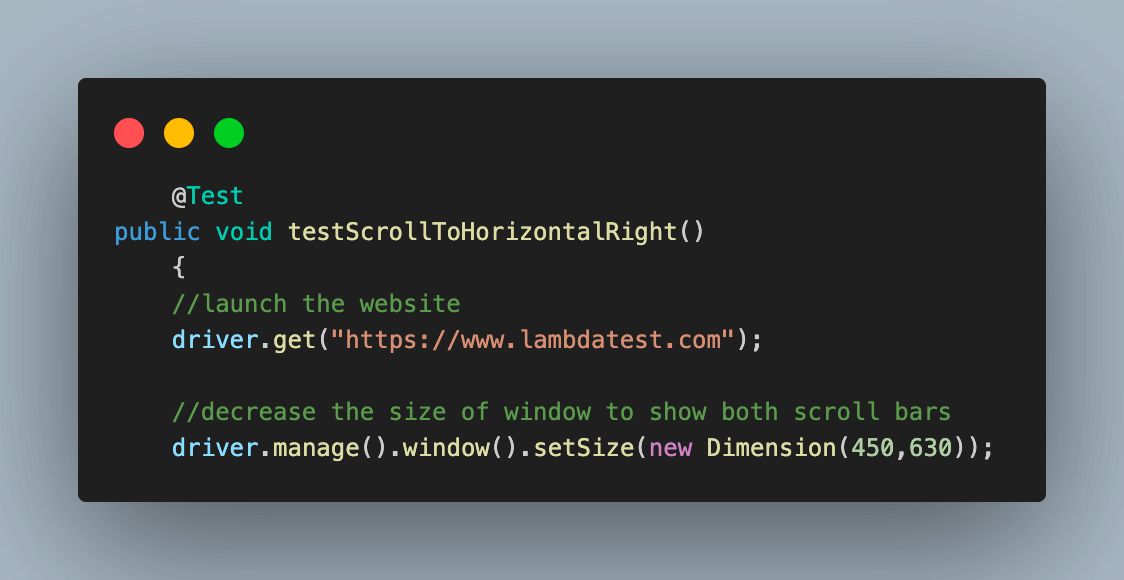
The above code adds the test case as testScrollToHorizontalRight() navigates to the LambdaTest website and resizes the browser window to show both scroll bars.

The above code scrolls to the right using the scrollBy() method.
Result:
On executing the above code, you can see output like the below on the local and the LambdaTest dashboard.


How to scroll horizontally and vertically in Selenium WebDriver
When working with Selenium for automated testing, it’s essential to scroll horizontally and vertically on web pages. To accomplish this, use the following code snippet in your automation script.
Here, values are set for both x and y coordinates, allowing for a natural scroll in horizontal and vertical directions.
js.executeScript(“window.scrollBy(3000,50)”);
In the following implementation, we navigate to the LambdaTest website and scroll horizontally and vertically in Selenium WebDriver.
Demonstration: Scroll horizontally and vertically in Selenium WebDriver
This demonstration is part of scroll down in Selenium, aiming to scroll horizontally and vertically using Selenium WebDriver.
Code Implementation:
The provided code below consists of functions that perform a scroll horizontally and vertically on a web page using Selenium WebDriver.
package test;

import org.openqa.selenium.Dimension; import org.testng.annotations.Test;

public class VerticalAndHorizontalScroll extends BaseTest{

@Test public void testVerticalAndHorizontalScroll() { //launch the website driver.get("https://www.lambdatest.com");

//decrease the size of window to show both scroll bars driver.manage().window().setSize(new Dimension(450,630));

//scroll to the right and left js.executeScript("window.scrollBy(3000,50)");
} }
Before delving into the results, let’s thoroughly understand the code functionality in a step-by-step process.
Code Walkthrough:
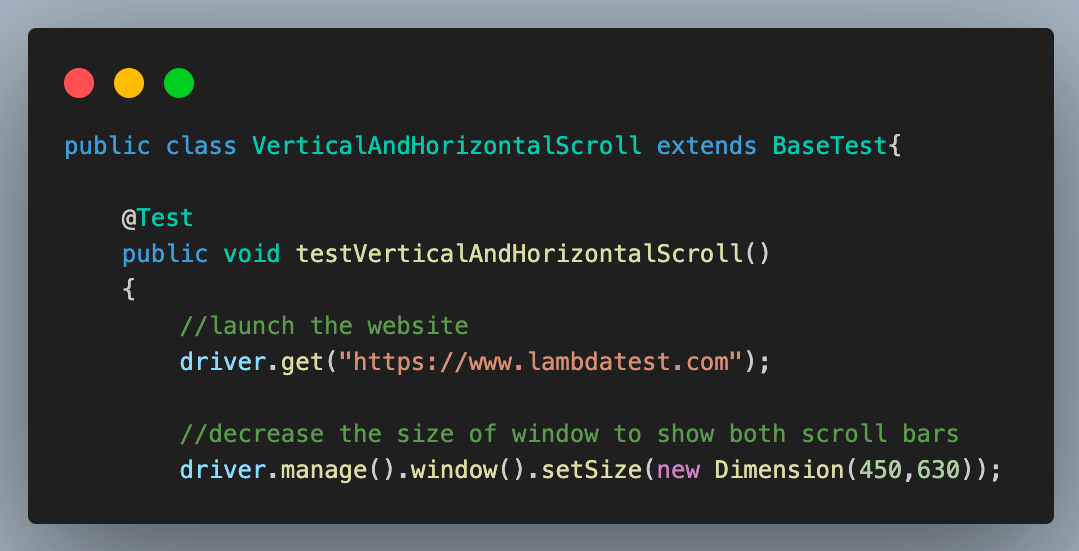
The above code is similar to previous horizontal and vertical scroll demonstrations. We add a new class and test method, which navigates to the LambdaTest website and resizes the browser.

The above code performs a vertical and horizontal scroll by passing non-zero values for both the x and y coordinates of the scrollBy() method.
Result:
On executing the above code, you can see output like the below on the local and the LambdaTest dashboard.


How to move the scroll bar in Selenium WebDriver?
If a web page features a scroll bar, users can adjust its value and navigate it to their desired position.
Below is the example taken from LambdaTest Selenium Playground to demonstrate the scroll bar activity.

To achieve this, it is necessary to locate the WebElement representing the scroll bar and execute the scrolling action.
In the following implementation, we navigate the LambdaTest Selenium Playground web page and move the scroll bar in Selenium WebDriver.
Demonstration: Move the scroll bar in Selenium WebDriver
This demonstration is part of the scroll down in Selenium WebDriver, aiming to scroll the bar on a page using Selenium WebDriver.
Code Implementation:
The provided code below consists of functions that perform a scroll bar on a web page using Selenium WebDriver.
package test;

import org.openqa.selenium.By; import org.openqa.selenium.Keys; import org.openqa.selenium.WebElement; import org.testng.annotations.Test;

public class ScrollOnAPage extends BaseTest{

@Test public void testScrollOnAPage() { //launch the website driver.get("https://www.lambdatest.com/selenium-playground/drag-drop-range-sliders-demo");

//locate the scroll bar element on page WebElement element = driver.findElement(By.xpath("(//input[@type='range'])[1]"));

//scroll the range element on page element.sendKeys(Keys.END); } }
Let us understand the working of the code snippet before looking into the results in the step-by-step process below.
Code Walkthrough:
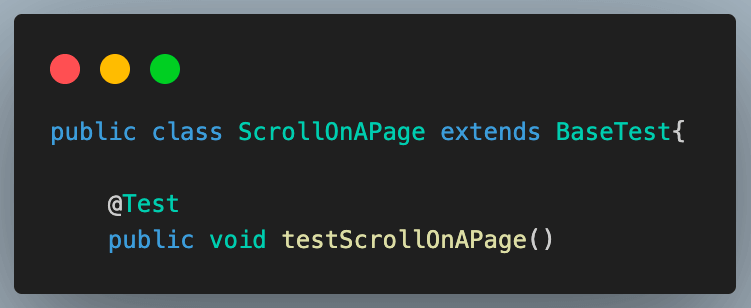
The above code ****creates a new test class and extends BaseTest to it. This class adds a test method testScrollOnAPage() and annotates it with @Test annotation.

The above code navigates to the Slider Demo page of LambdaTest Selenium Playground.

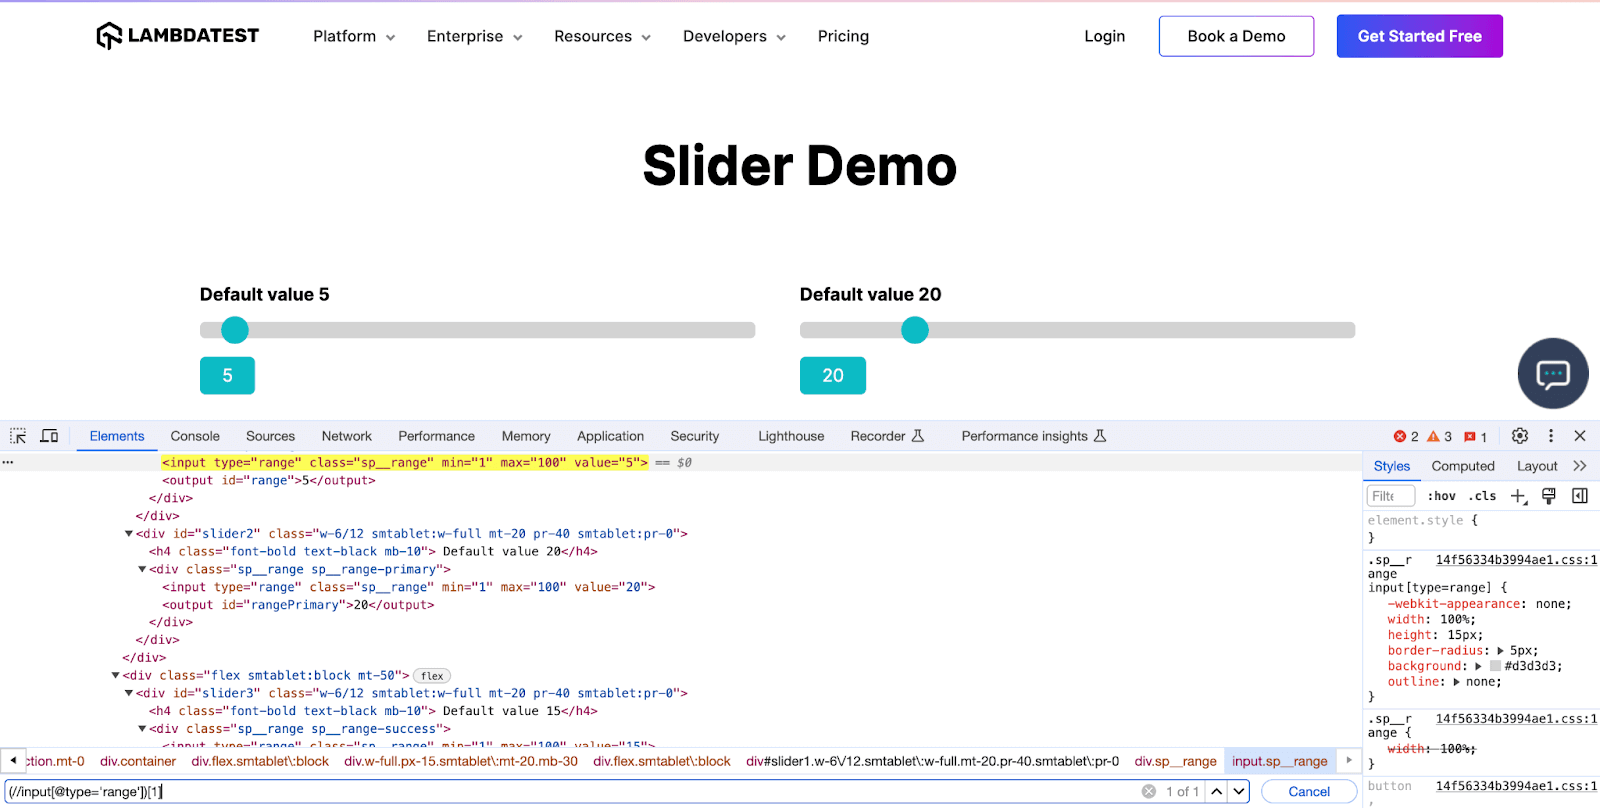
The above code identifies the range element on the web page for the intended scrolling action.
Since this element appears multiple times, we utilize the index to interact specifically with the first occurrence.
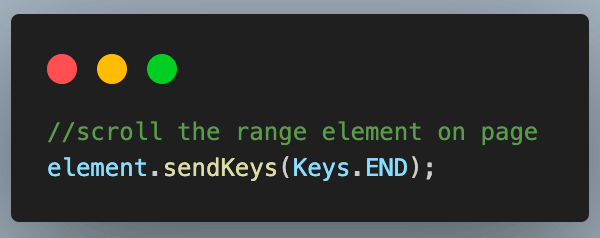
The above code uses the sendKeys() function to scroll to the end of the range element.
Result:
On executing the above code, you can see output like the below on the local and the LambdaTest dashboard.


How to perform infinite scrolling in Selenium WebDriver?
Many websites incorporate long or infinite scrolling to enhance user engagement. With infinite scrolling, users can seamlessly navigate through content without the need for repetitive clicks on the Previous or Next buttons. You can visit this Infinite Scrolling sample website to examine infinite scrolling briefly.
To enable infinite scrolling, we obtain the page’s height and then scroll to that height. This process iterates until the maximum height and the current height of the web page are equal, signifying that we have reached the end of the web page.
Below is the code snippet that enables infinite scrolling on a web page.
Code Implementation:
//find the initial page height long intialLength = (long) js.executeScript("return document.body.scrollHeight");

//start the loop to perform infinite scroll to reach end of page while(true) { js.executeScript("window.scrollTo(0,document.body.scrollHeight)");

//find the height of page again long currentLength = (long) js.executeScript("return document.body.scrollHeight");

//check if its end of page if(intialLength == currentLength) { break; } intialLength = currentLength; }
Demonstration: Infinite scrolling in Selenium WebDriver
This demonstration is part of scroll down in Selenium, aiming to perform infinite length scrolling on a web page using Selenium WebDriver.
Code Implementation:
The provided code below consists of functions that perform infinite scroll on a web page using Selenium WebDriver.
package test;

import org.testng.annotations.Test;

public class InfiniteScroll extends BaseTest { @Test public void testInfiniteScroll() { //launch the website driver.get("https://the-internet.herokuapp.com/infinite_scroll");

//find the initial page height long intialLength = (long) js.executeScript("return document.body.scrollHeight");

//start the loop to perform infinite scroll to reach end of page while(true) { js.executeScript("window.scrollTo(0,document.body.scrollHeight)");

//find the height of page again long currentLength = (long) js.executeScript("return document.body.scrollHeight");

//check if its end of page if(intialLength == currentLength) { break; } intialLength = currentLength; } } }
Let’s delve into the functionality of the code before looking at the results. The following code is designed to perform the specific task of infinite scrolling. Let’s break down the steps involved in this process.
Code Walkthrough:
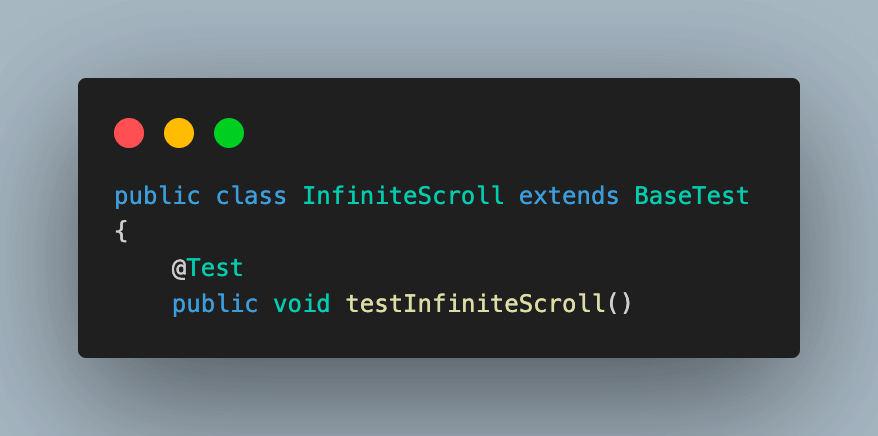
The above code creates a new test class, testInfiniteScroll(), and adds a test method.

The above code navigates to the infinite scroll website to simulate infinite scrolling.

The above code fetches the initial height of the page and stores it in a variable.

The above code starts a loop to scroll till the end of the web page is reached.

The above code executes the first scrollTo() script using the initial height to start scrolling.

The above code fetches the web page height again and checks if the heights equal the initial height value. If heights are equal, it means the end of the web page is reached, and it breaks the loop and stops scrolling.
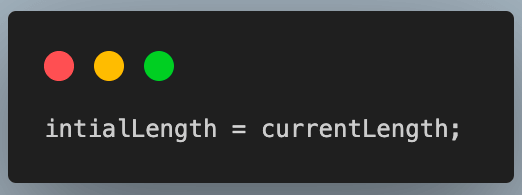
The above code condition is responsible for checking if the height is equal or not equal, replacing the value, and continuing scrolling until the end of the web page is reached.
Result:
On executing the above code, you can see output like the below on the local and the LambdaTest dashboard.


Ready to enhance your UX? Explore the best usability testing tools and ensure your site meets user needs.
How to scroll up to the top in Selenium WebDriver?
In addition to Selenium’s functionalities for scrolling down and scrolling to a specific element, scrolling to the top of the web page is a frequently used operation facilitated by the JavaScriptExecutor interface. There are various approaches to scrolling to the top of the page.
To achieve this operation, we initially perform a scroll down using Selenium in Java, followed by a scroll up of the page.
In the following implementation, we navigate to the LambdaTest Selenium Playground web page and scroll up to the top in Selenium WebDriver.
Demonstration: Scroll up to the top in Selenium WebDriver
This demonstration is part of the scroll down in the Selenium WebDriver, aiming to perform a scroll to the top of the web page using Selenium WebDriver.
Code Implementation:
The provided code below consists of functions that perform a scroll to the top of a web page using Selenium WebDriver.
package test;

import org.testng.annotations.Test;

public class ScrollToTheTopOfPage extends BaseTest { public void navigateAndScrollToBottom() { //launch the website driver.get("https://www.lambdatest.com/selenium-playground/");

//get the height of the web page and scroll to the end js.executeScript("window.scrollTo(0, document.body.scrollHeight)"); }

@Test public void testScrollToTop_Method_1() { navigateAndScrollToBottom();

js.executeScript("window.scrollTo(document.body.scrollHeight,0)"); }

@Test public void testScrollToTop_Method_2() { navigateAndScrollToBottom();

js.executeScript("window.scrollTo(0,0)"); }

@Test public void testScrollToTop_Method_3() { navigateAndScrollToBottom();

js.executeScript("window.scrollTo(0,-document.body.scrollHeight)"); } }
Let’s delve into the functionality of the code before examining the results. The below walkthrough will give us a better understanding of the functions used in the code implementation above.
Code Walkthrough:

The above code adds a new test class and extends BaseTest.
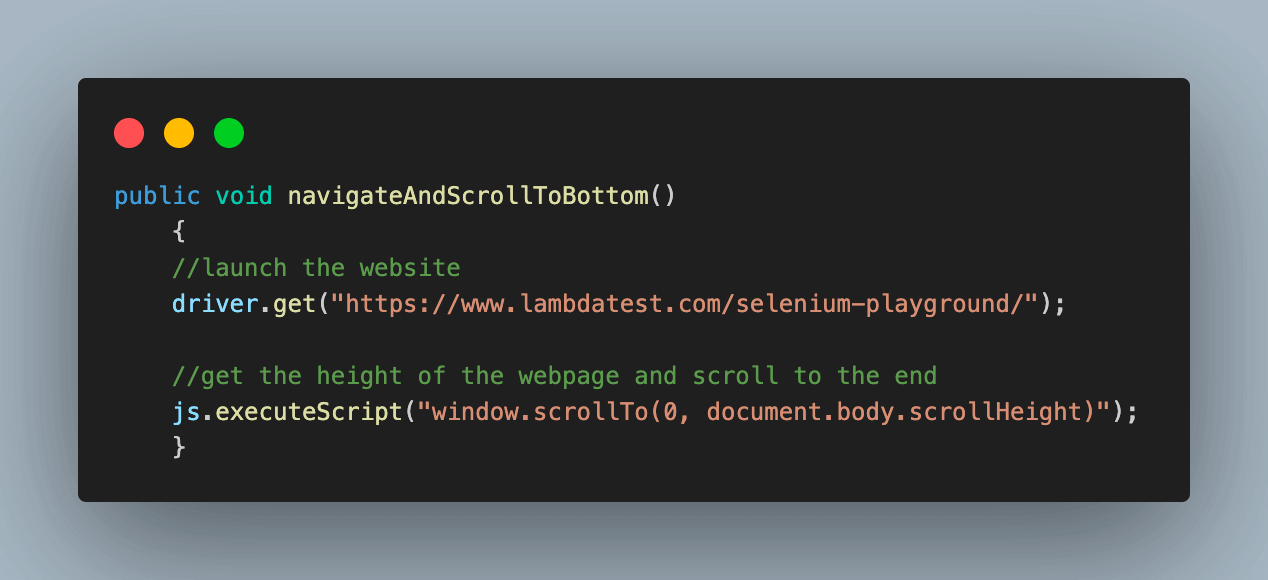
The provided code introduces the first method named navigateAndScrollToBottom().
This is a common method for navigating the LambdaTest Selenium Playground and scrolling down the page. This method will be invoked in various approaches to showcase scrolling to the top.
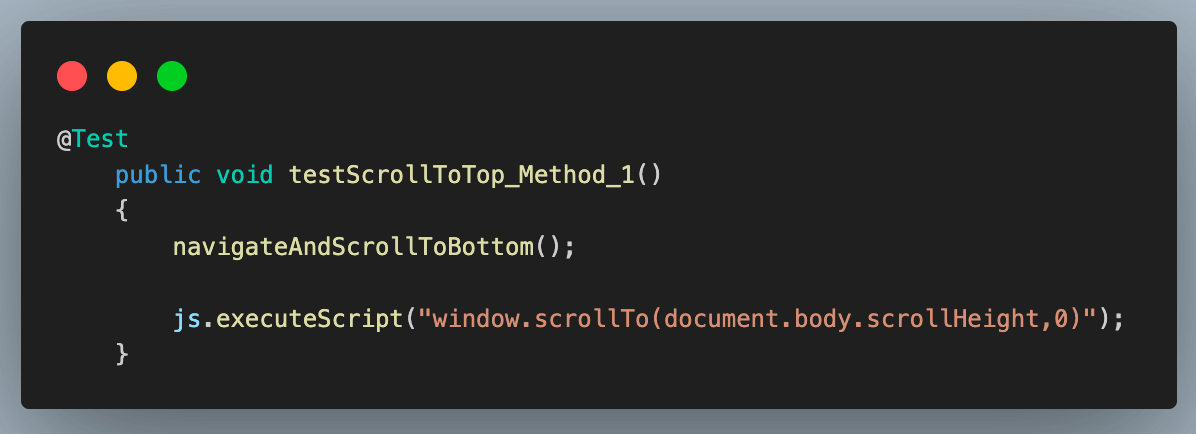
The above code in the first approach uses the scrollTo() method with the x coordinate as the max scroll height and the y coordinate as the 0 value.
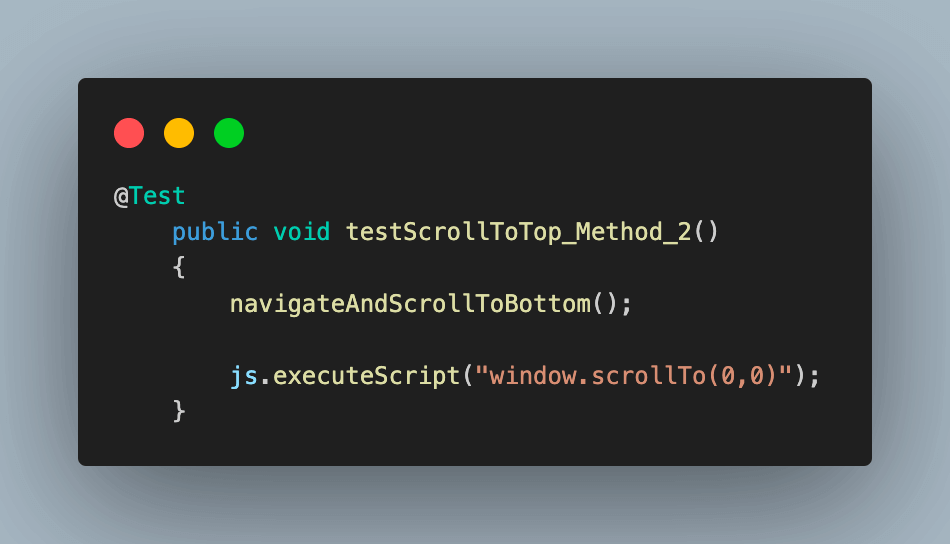
The above code uses the scrollTo() method that uses x and y coordinates as 0.
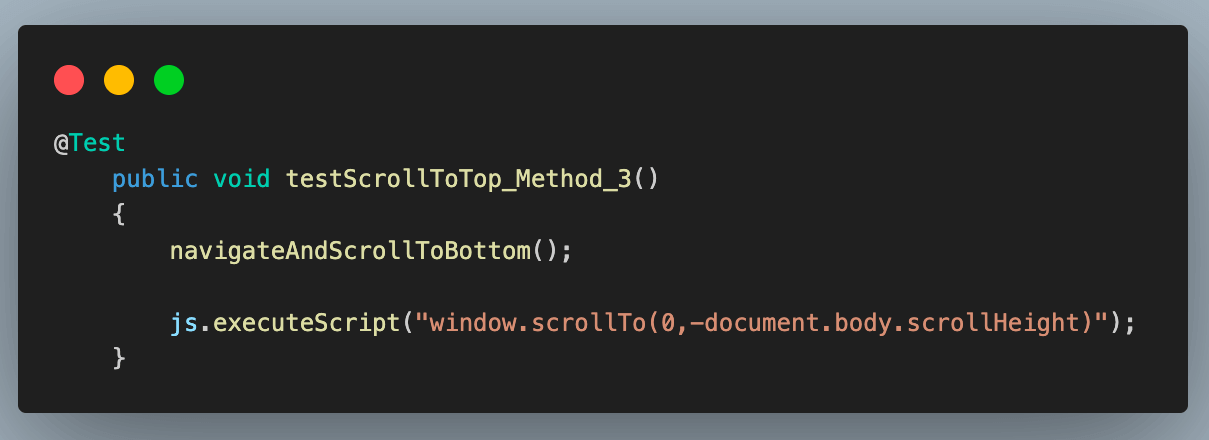
The above code passes the y-coordinate value as a negative max height to scroll to the top.
Result:
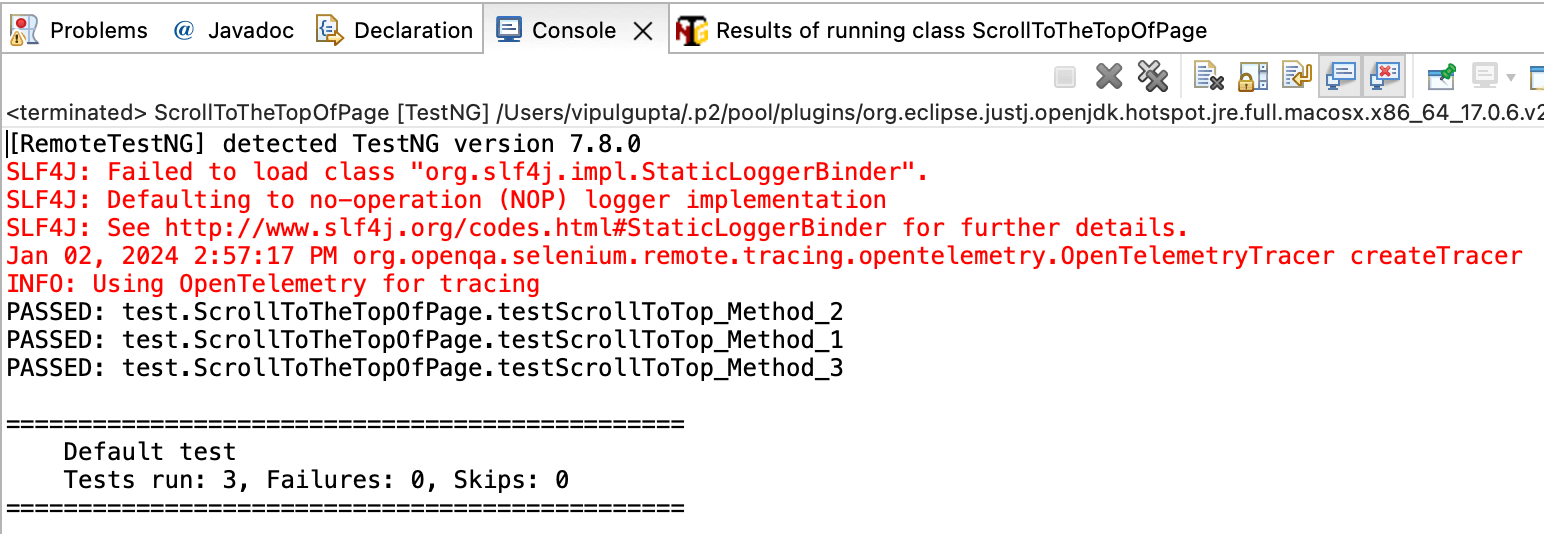
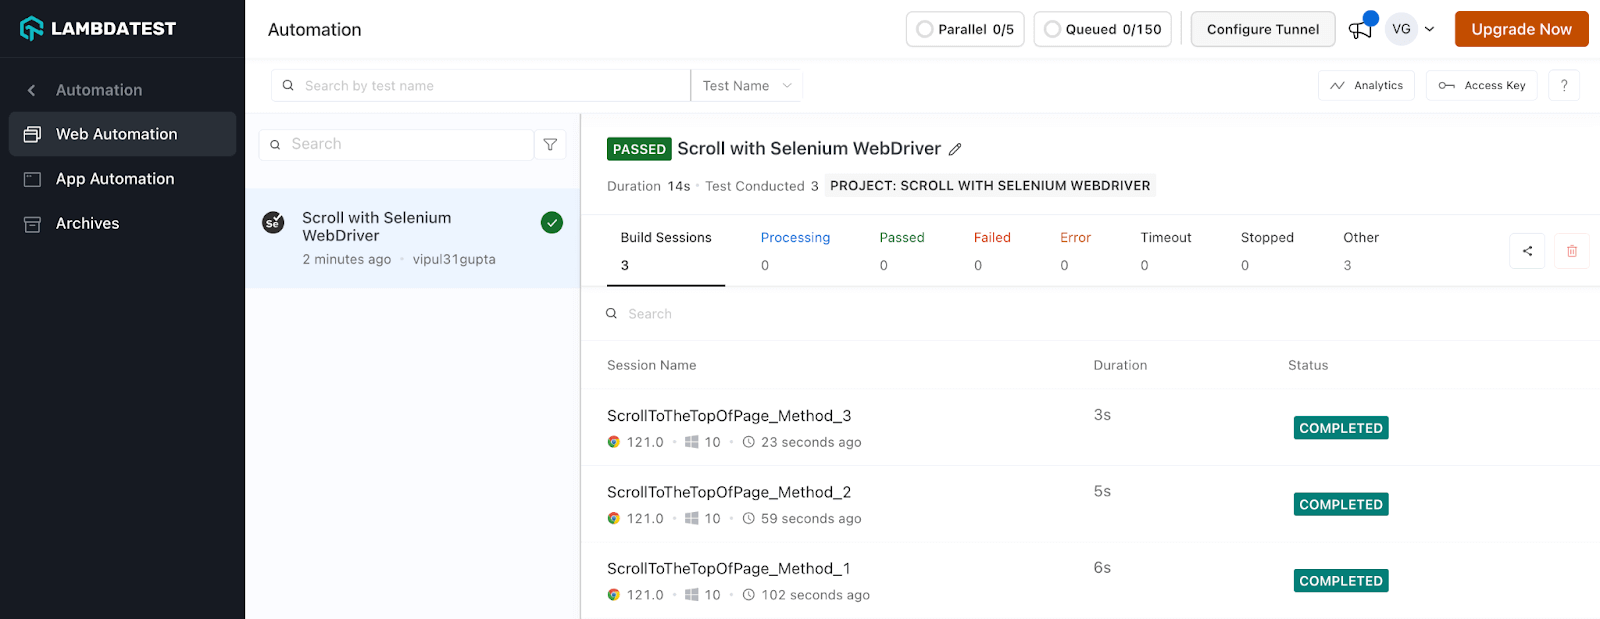
On executing the above code, you can see output like the below on the local and the LambdaTest dashboard.
How to scroll horizontally to a specific element in Selenium WebDriver?
The scrollIntoView() method in JavaScript is used in conjunction with the WebElement to which horizontal scroll has to be performed. Their combination is passed to the executeScript() method to realize the scroll to an element in Selenium.
js.executeScript(“arguments[0].scrollIntoView();”, Element);
In the following implementation, we navigate to the LambdaTest Selenium Playground web page and scroll horizontally to a specific element in Selenium WebDriver.
Ready to boost your web development skills? Explore the best Python web frameworks and take your projects to the next level.
Demonstration: Scroll horizontally to a specific element in Selenium WebDriver
This demonstration is part of the scroll down in the Selenium WebDriver, aiming to perform a scroll operation to a specific page element using Selenium WebDriver.
Code Implementation:
The provided code below consists of functions that perform the scroll to specific elements on a web page using Selenium WebDriver.
package test;

import org.openqa.selenium.*; import org.testng.annotations.Test;

public class ScrollToSpecificElement extends BaseTest {

@Test public void testScrollToSpecificElement() { //launch the website driver.get("https://www.lambdatest.com/selenium-playground");

//locate the element WebElement element = driver.findElement(By.linkText("Changelog"));

//scroll to the element js.executeScript("arguments[0].scrollIntoView();", element);

} }
Let us understand the working code implementation above by breaking down the functionality of the code in step by step procedure.
Code Walkthrough:
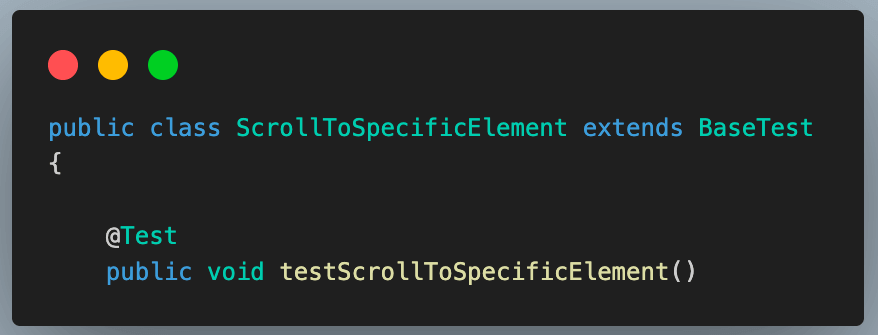
The above code adds a new test class, testScrollToSpecificElement(), and creates a test method by extending the BaseTest class.
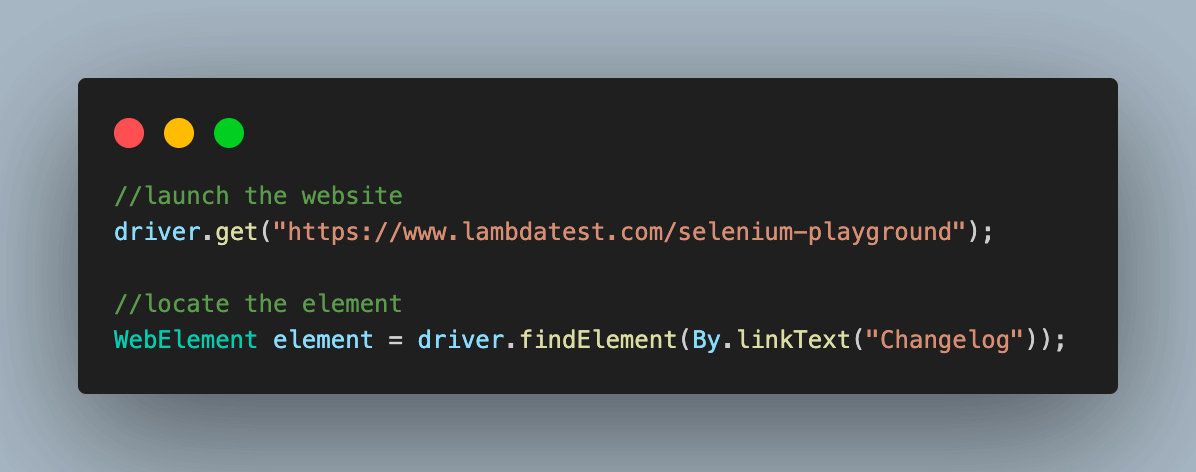
The above code navigates to the LambdaTest Selenium Playground website and identifies the Changelog WebElement, which will be used for scrolling.


The above code scrolls to the element using the scrollIntoView() method.
Result:
On executing the above code, you can see output like the below on the local and the LambdaTest dashboard.


Conclusion
To summarize, we have learned many ways to scroll that can be performed on web pages using Selenium with Java. Automating the page scroll operation using the JavaScriptExecutor interface is one of the widely used operations for Selenium automation testing. Do let us know how you scroll down in Selenium for automated browser testing.
Happy Scrolling…!
